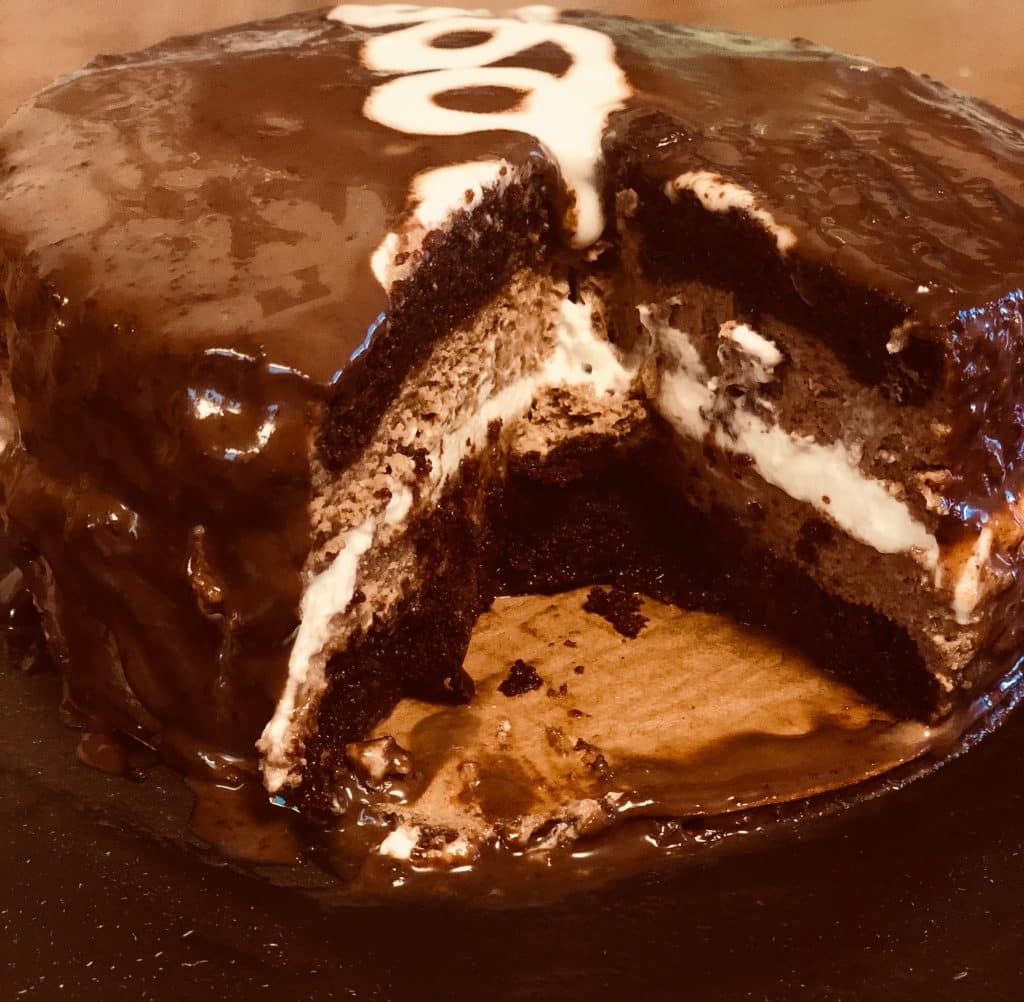
Hi Everyone! So, my dad’s birthday is on friday and he requested homemade hostess cupcakes. So I went to one of my favorite websites for some help, Pinterest! I found a recipe from the lovely Tasty’s that I thought I would use for this.
This got me thinking. I should really “cheesecakeify” Hostess cupcakes. So I went to Pinterest once more and looked up “Hostess Cupcake Cheesecake”. Nothing. I LOVE that. I love when I come up with a baking idea that no one has ever thought of before. When I see that, I say to myself “This definitely has to happen!”
When thinking about what this hostess cupcake cheesecake would be, I thought this needed a few key elements. It needed a cake element, that deliciously sweet filling, a chocolate coating and that signature swirl. From there I developed a game plan. Let me show you what I did.
Hostess Cupcake Cheesecake: The Process
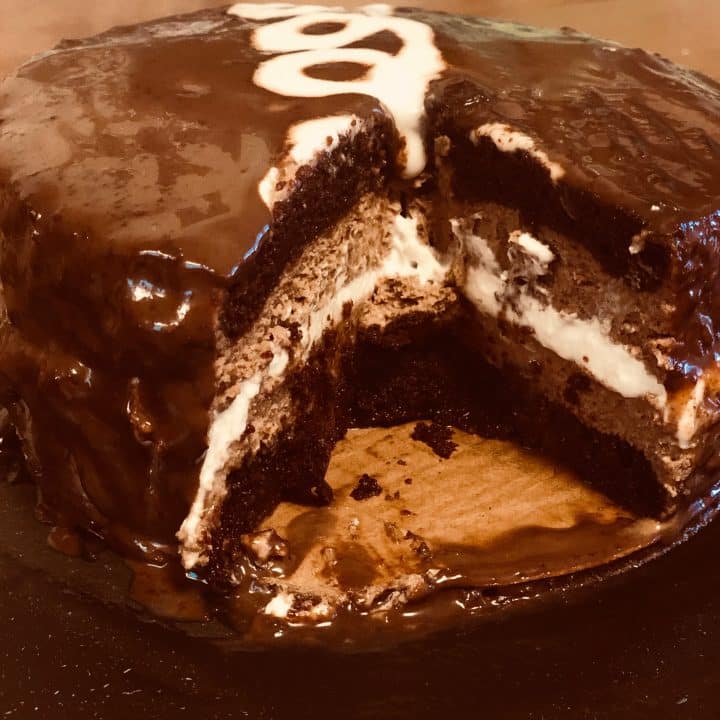
My biggest dilemma was “How am I going to incorporate the filling?” I can’t squeeze it in the middle like a cupcake because cheesecake is so delicate. So what I settled on was making this a 2 layered cheesecake with the filling in the center like a traditional cake.
So, first I got out my 2 6 inch springform pans. I picked 6 inch because this is going to be really rich and has a lot of different components with, chocolate cake, chocolate cheesecake, chocolate ganache, a filling and icing.
Hostess Cupcake Cheesecake – The Chocolate Cake
For the “crust” I am making a third of the chocolate cake recipe. I began by sifting all of the dry ingredients in a medium sized bowl. After that, just simply add all the wet ingredients and mix it up. Divide it evenly between the prepared pans and bake for 20 minutes or until a toothpick inserted in the center comes out clean.
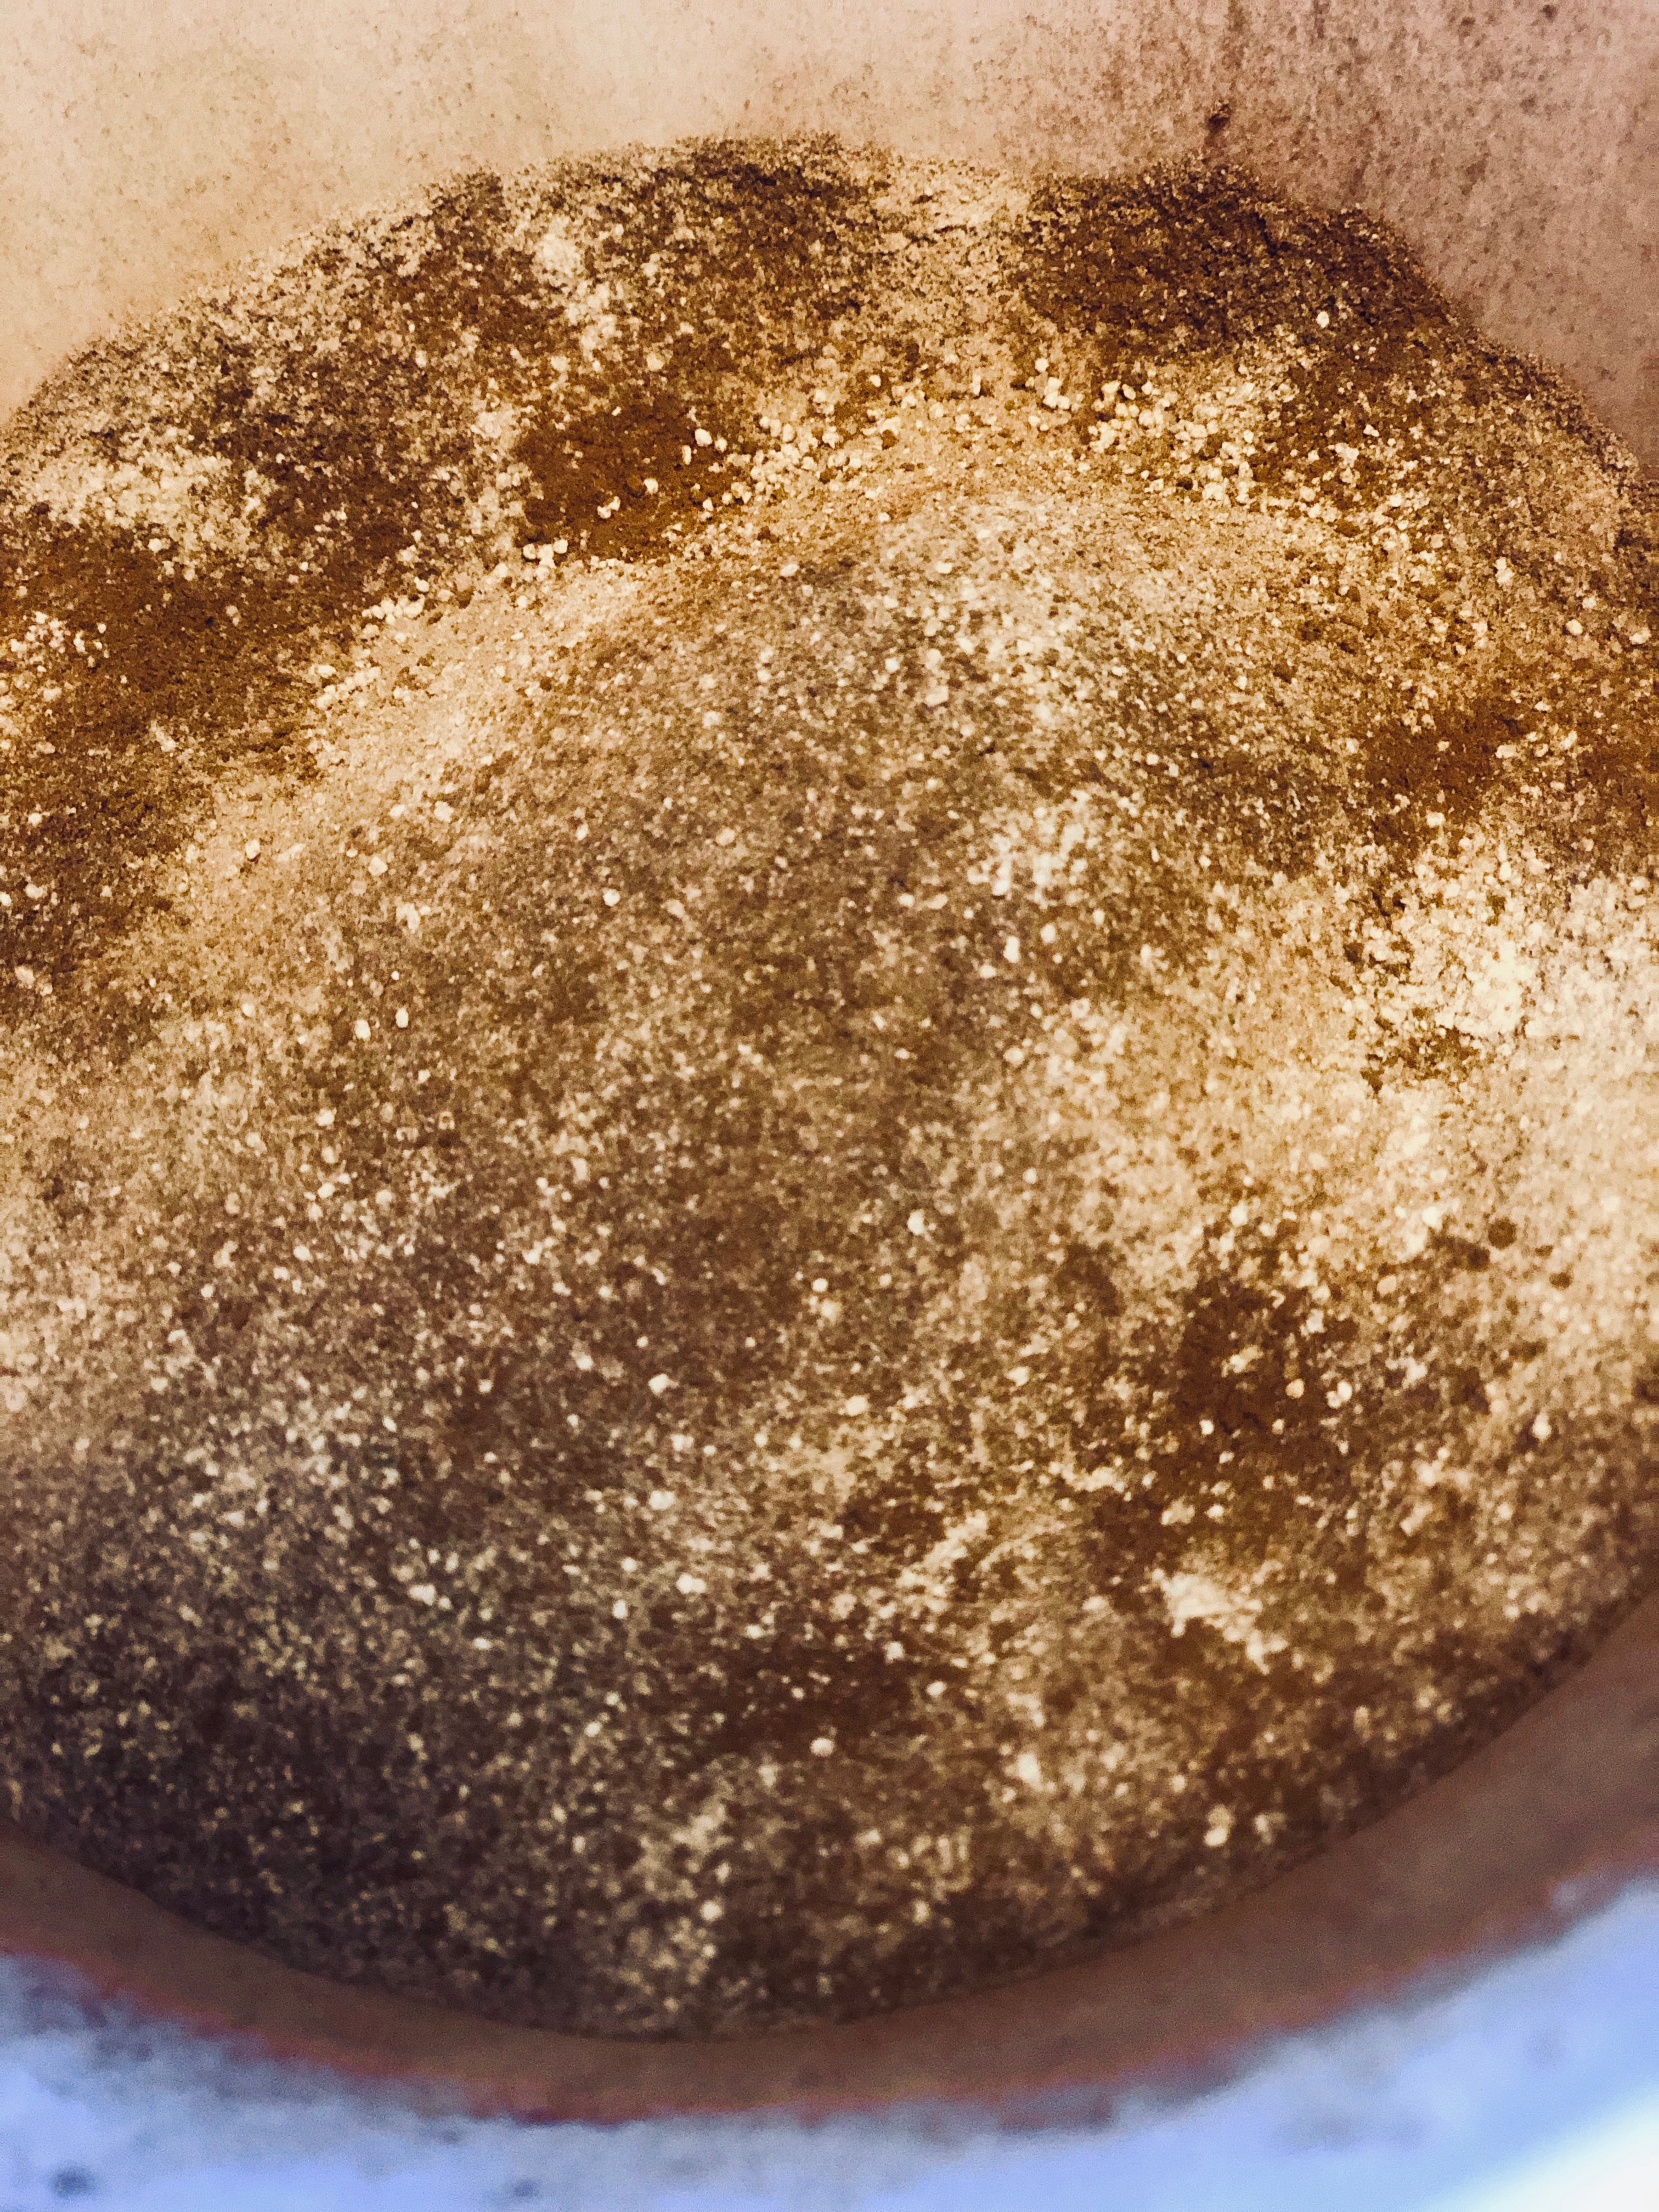
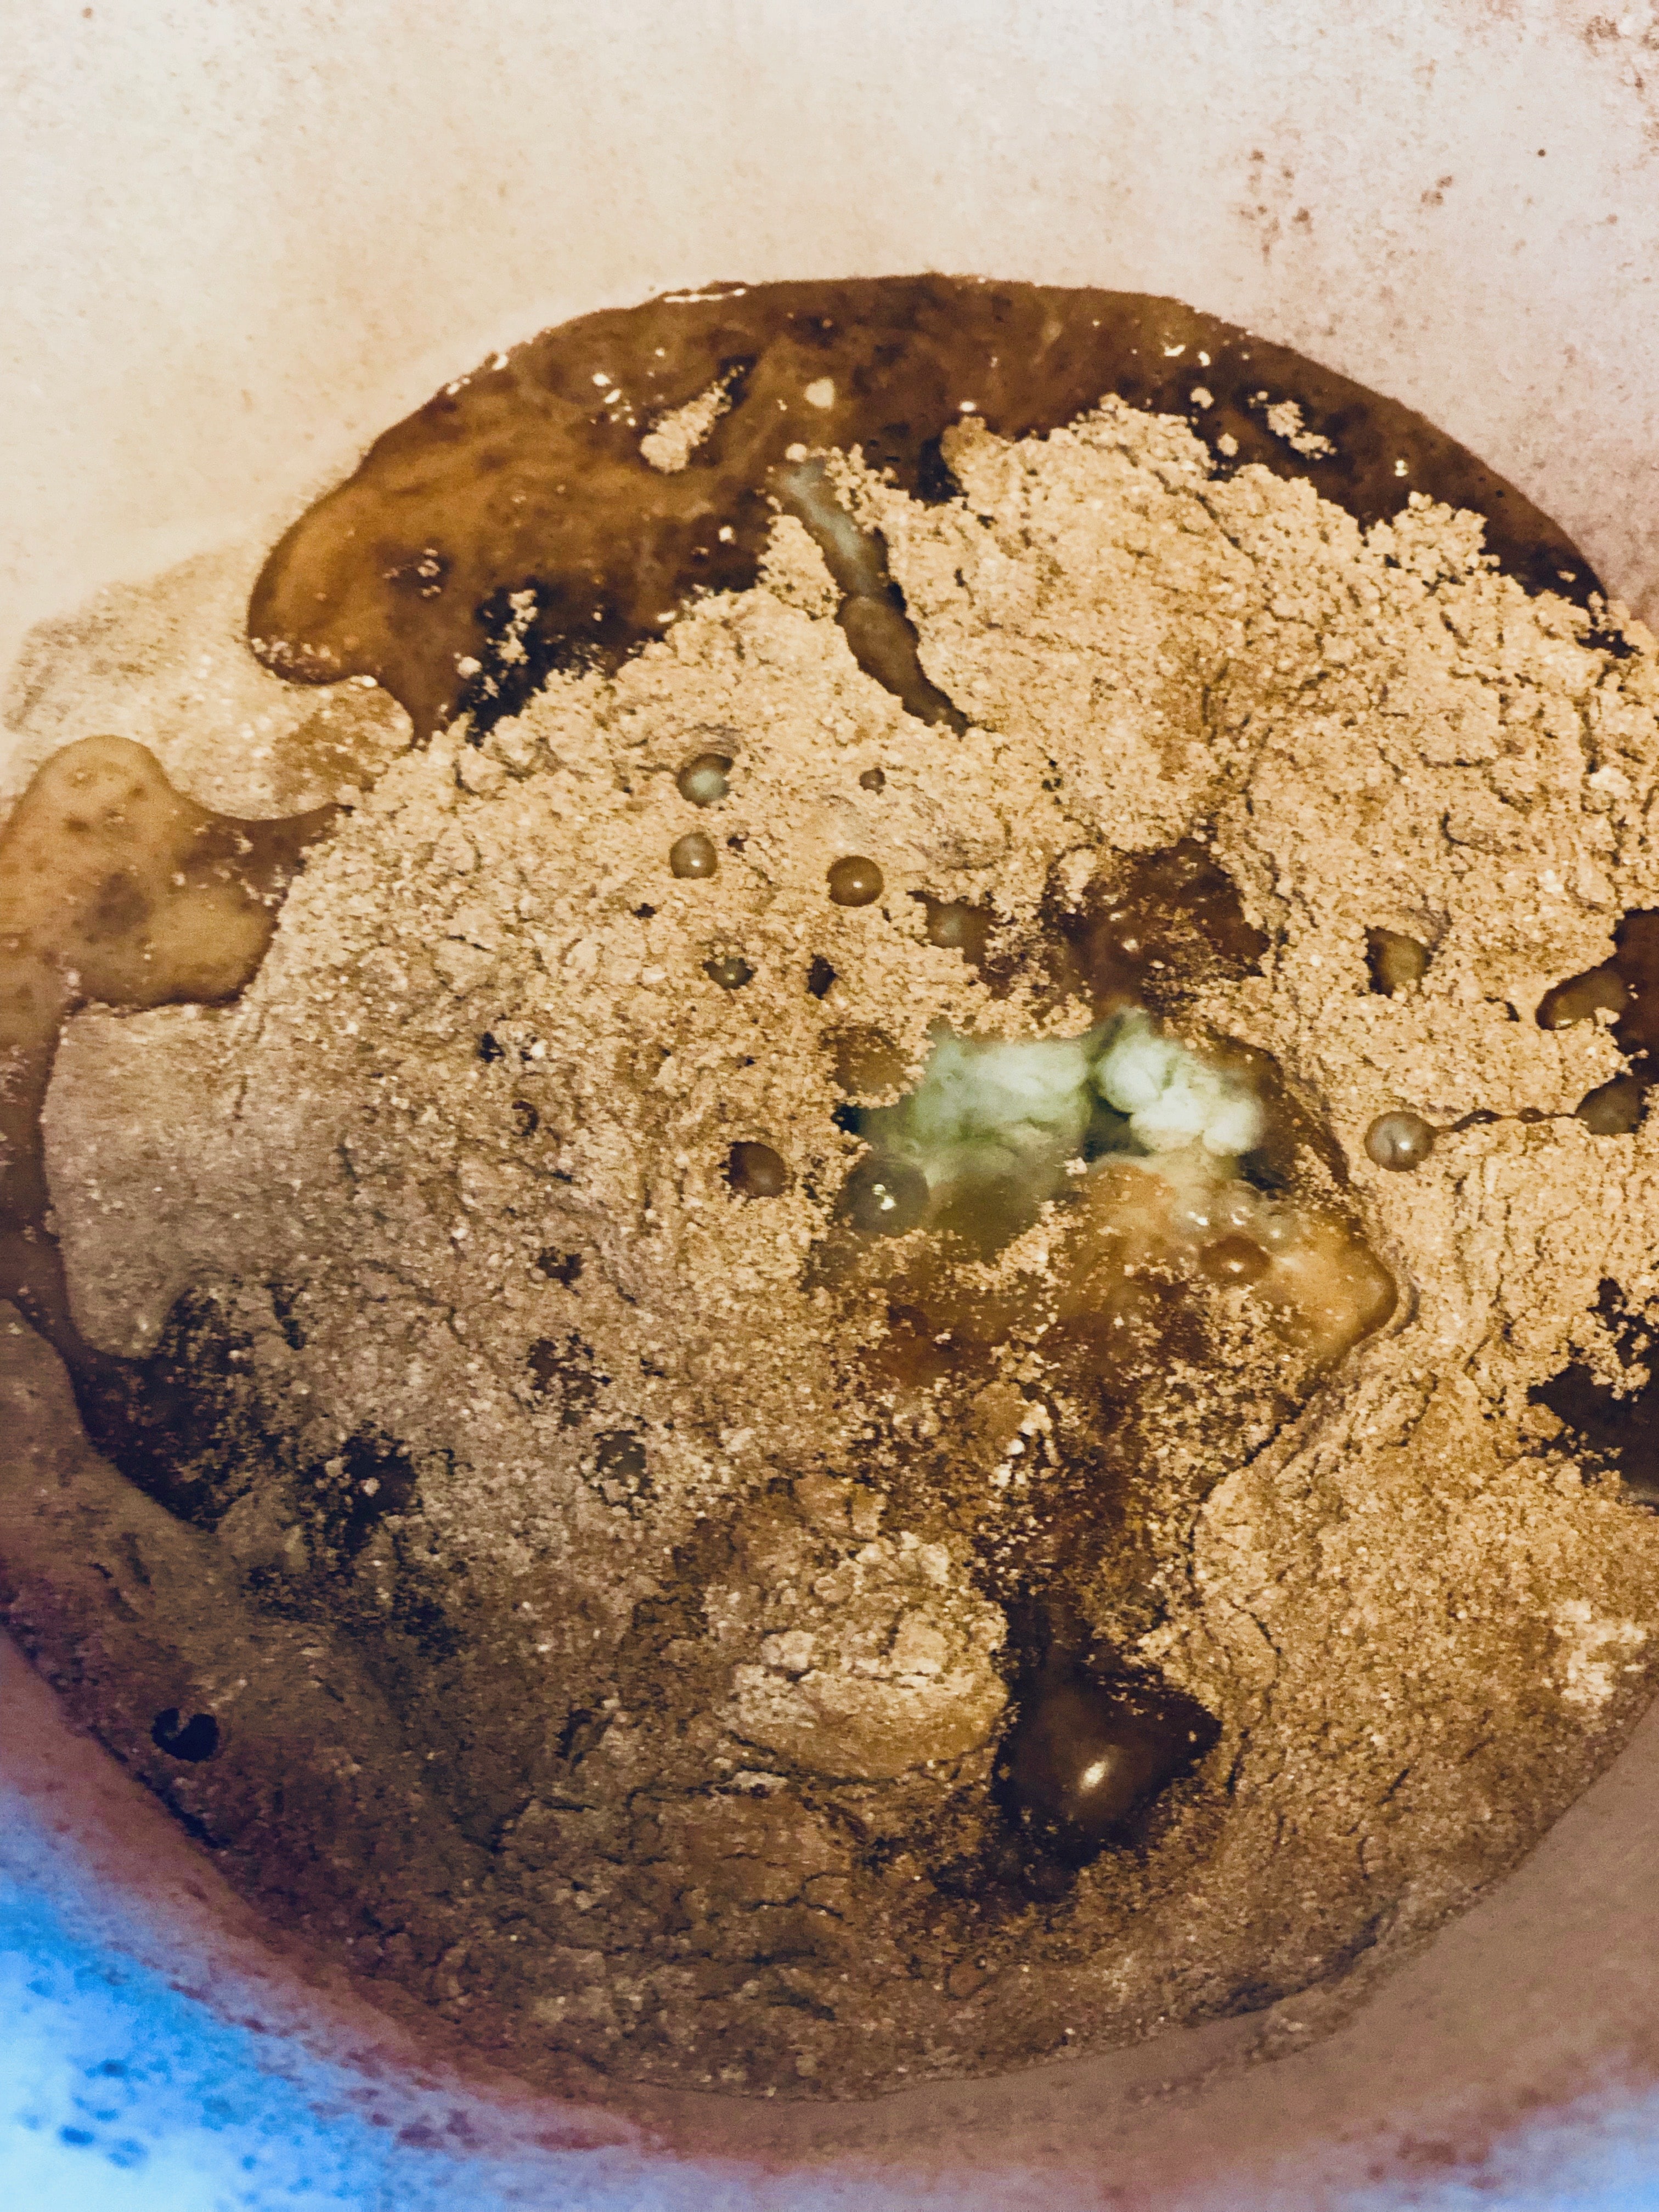
Hostess Cupcake Cheesecake -The Cheesecake
Now that that’s in the oven, we can start the next component which is arguably the star of this cake, although I think they all balance out really nicely. Of course i’m talking about the cheesecake.
Because this is a 6 inch cake we are only going to use half the amount of batter, which feels so strange to me because I am so used to making 9 inch cakes.
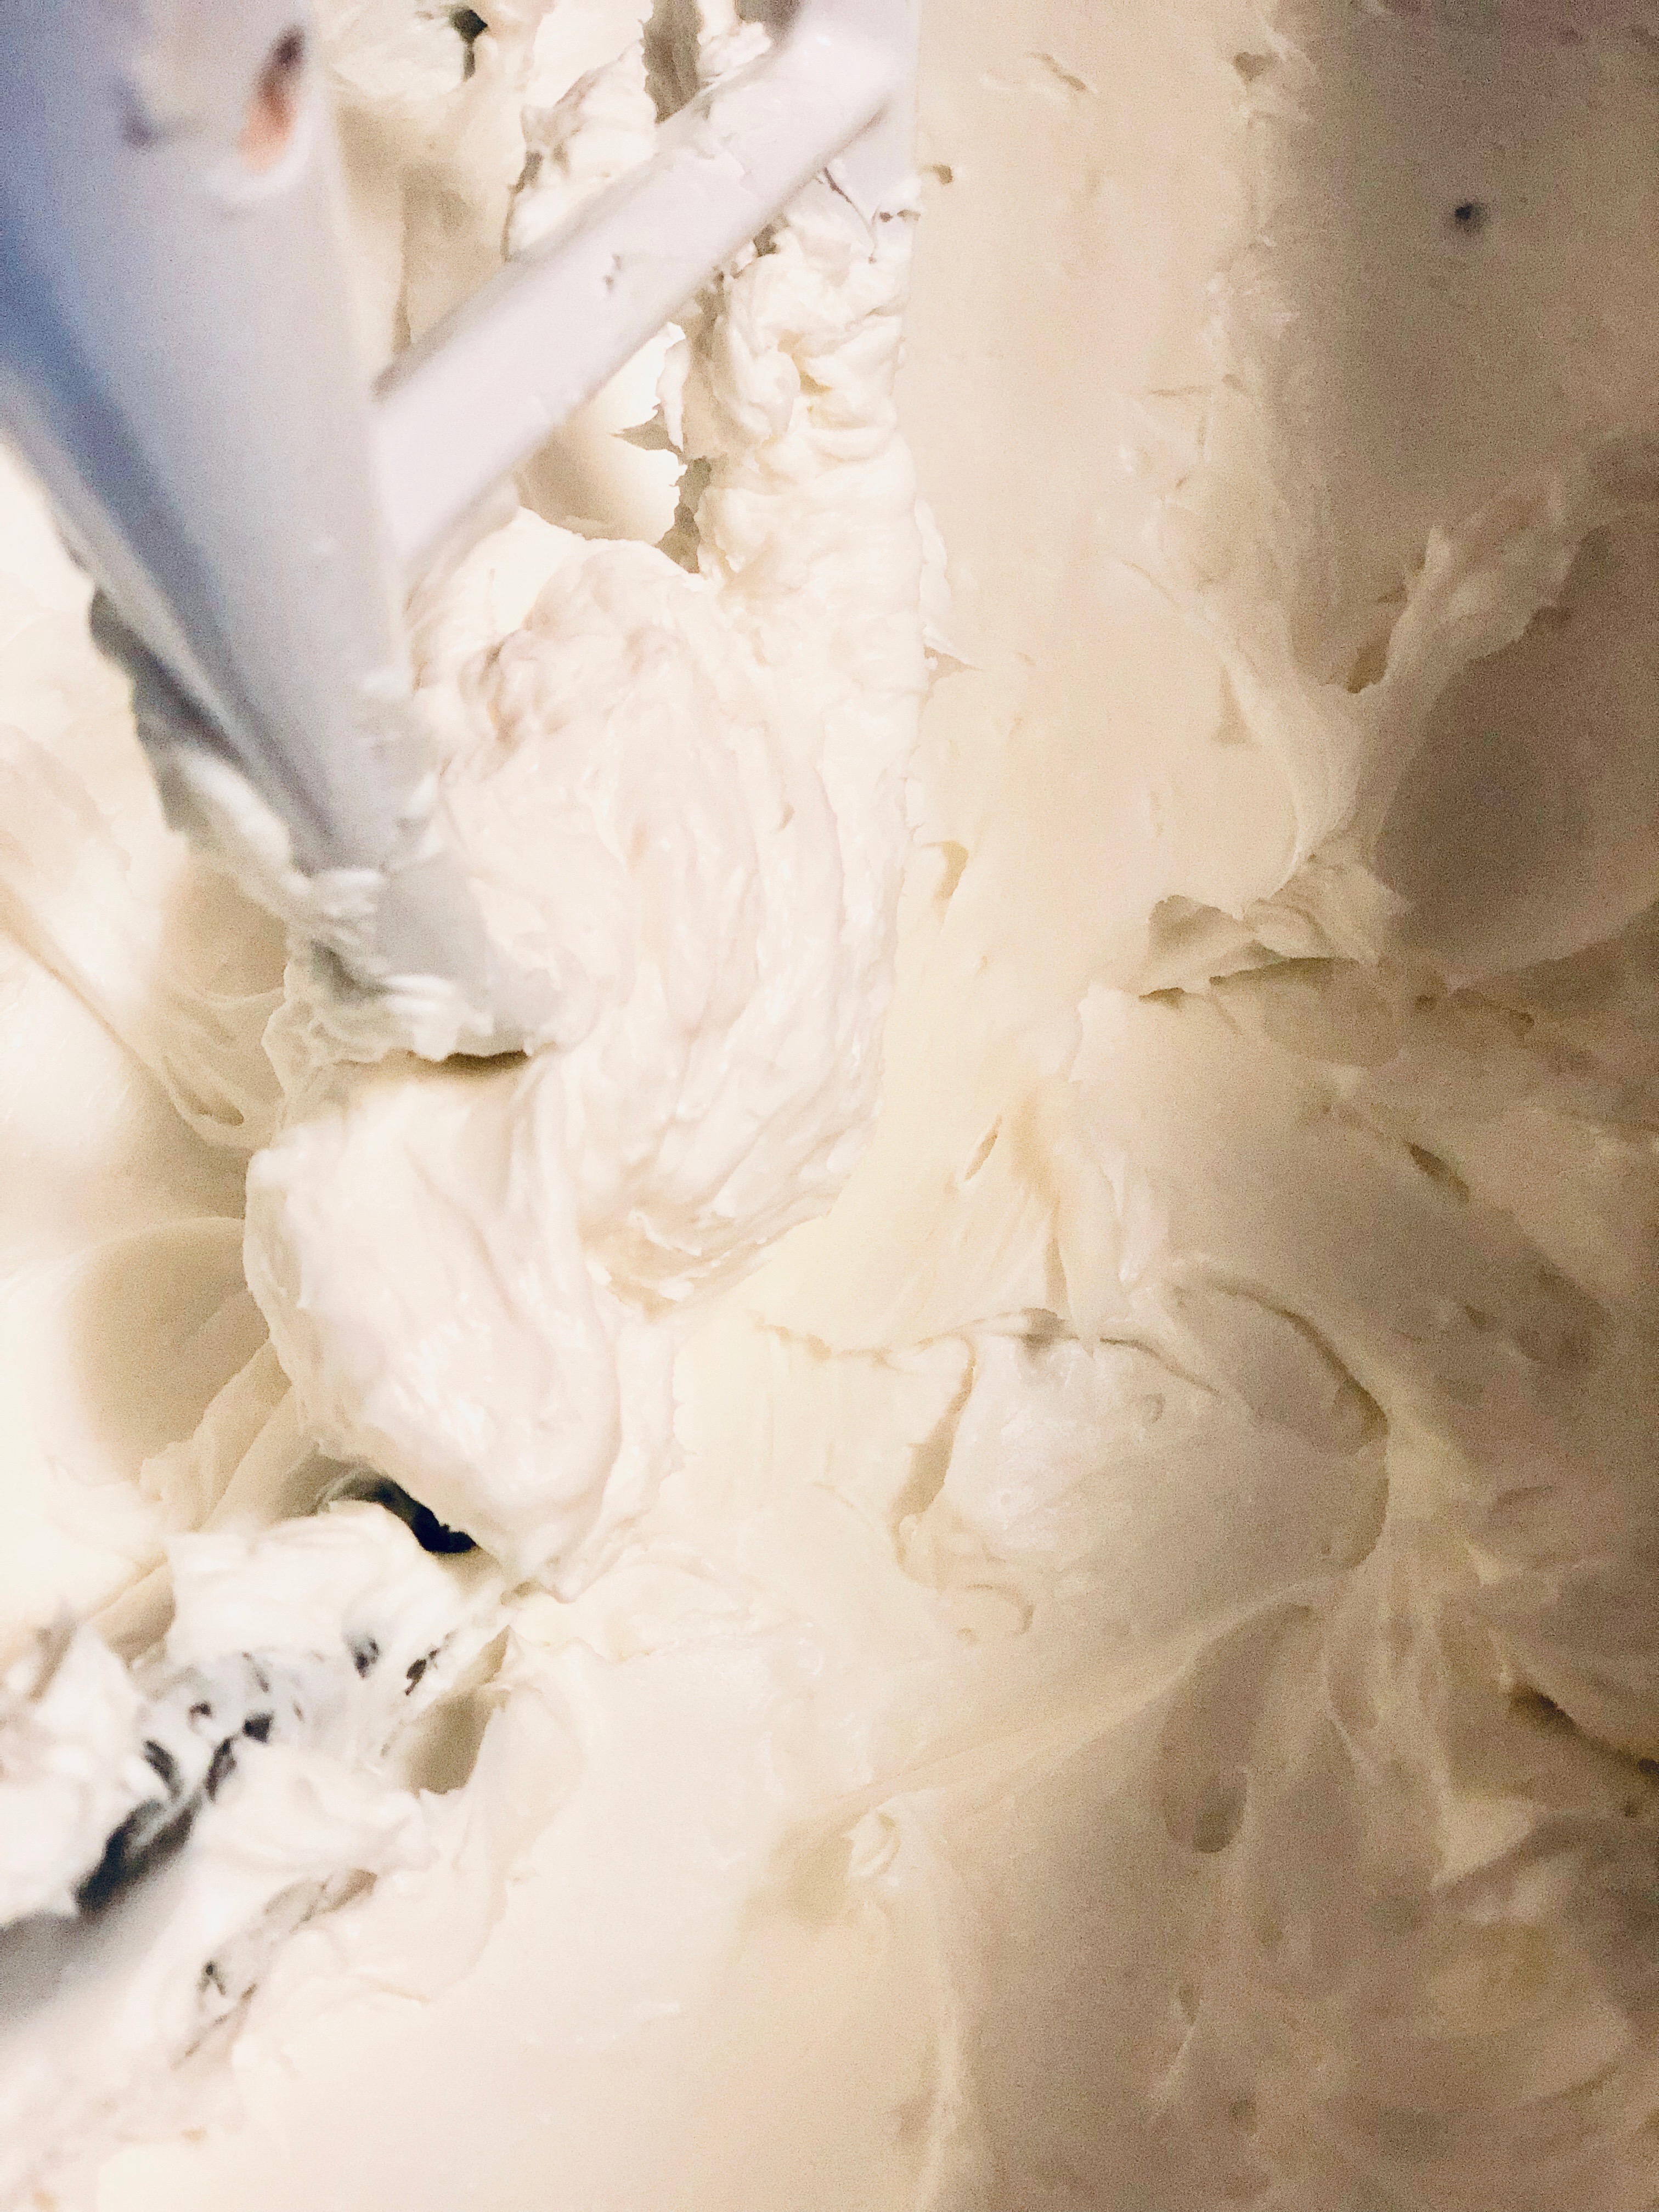
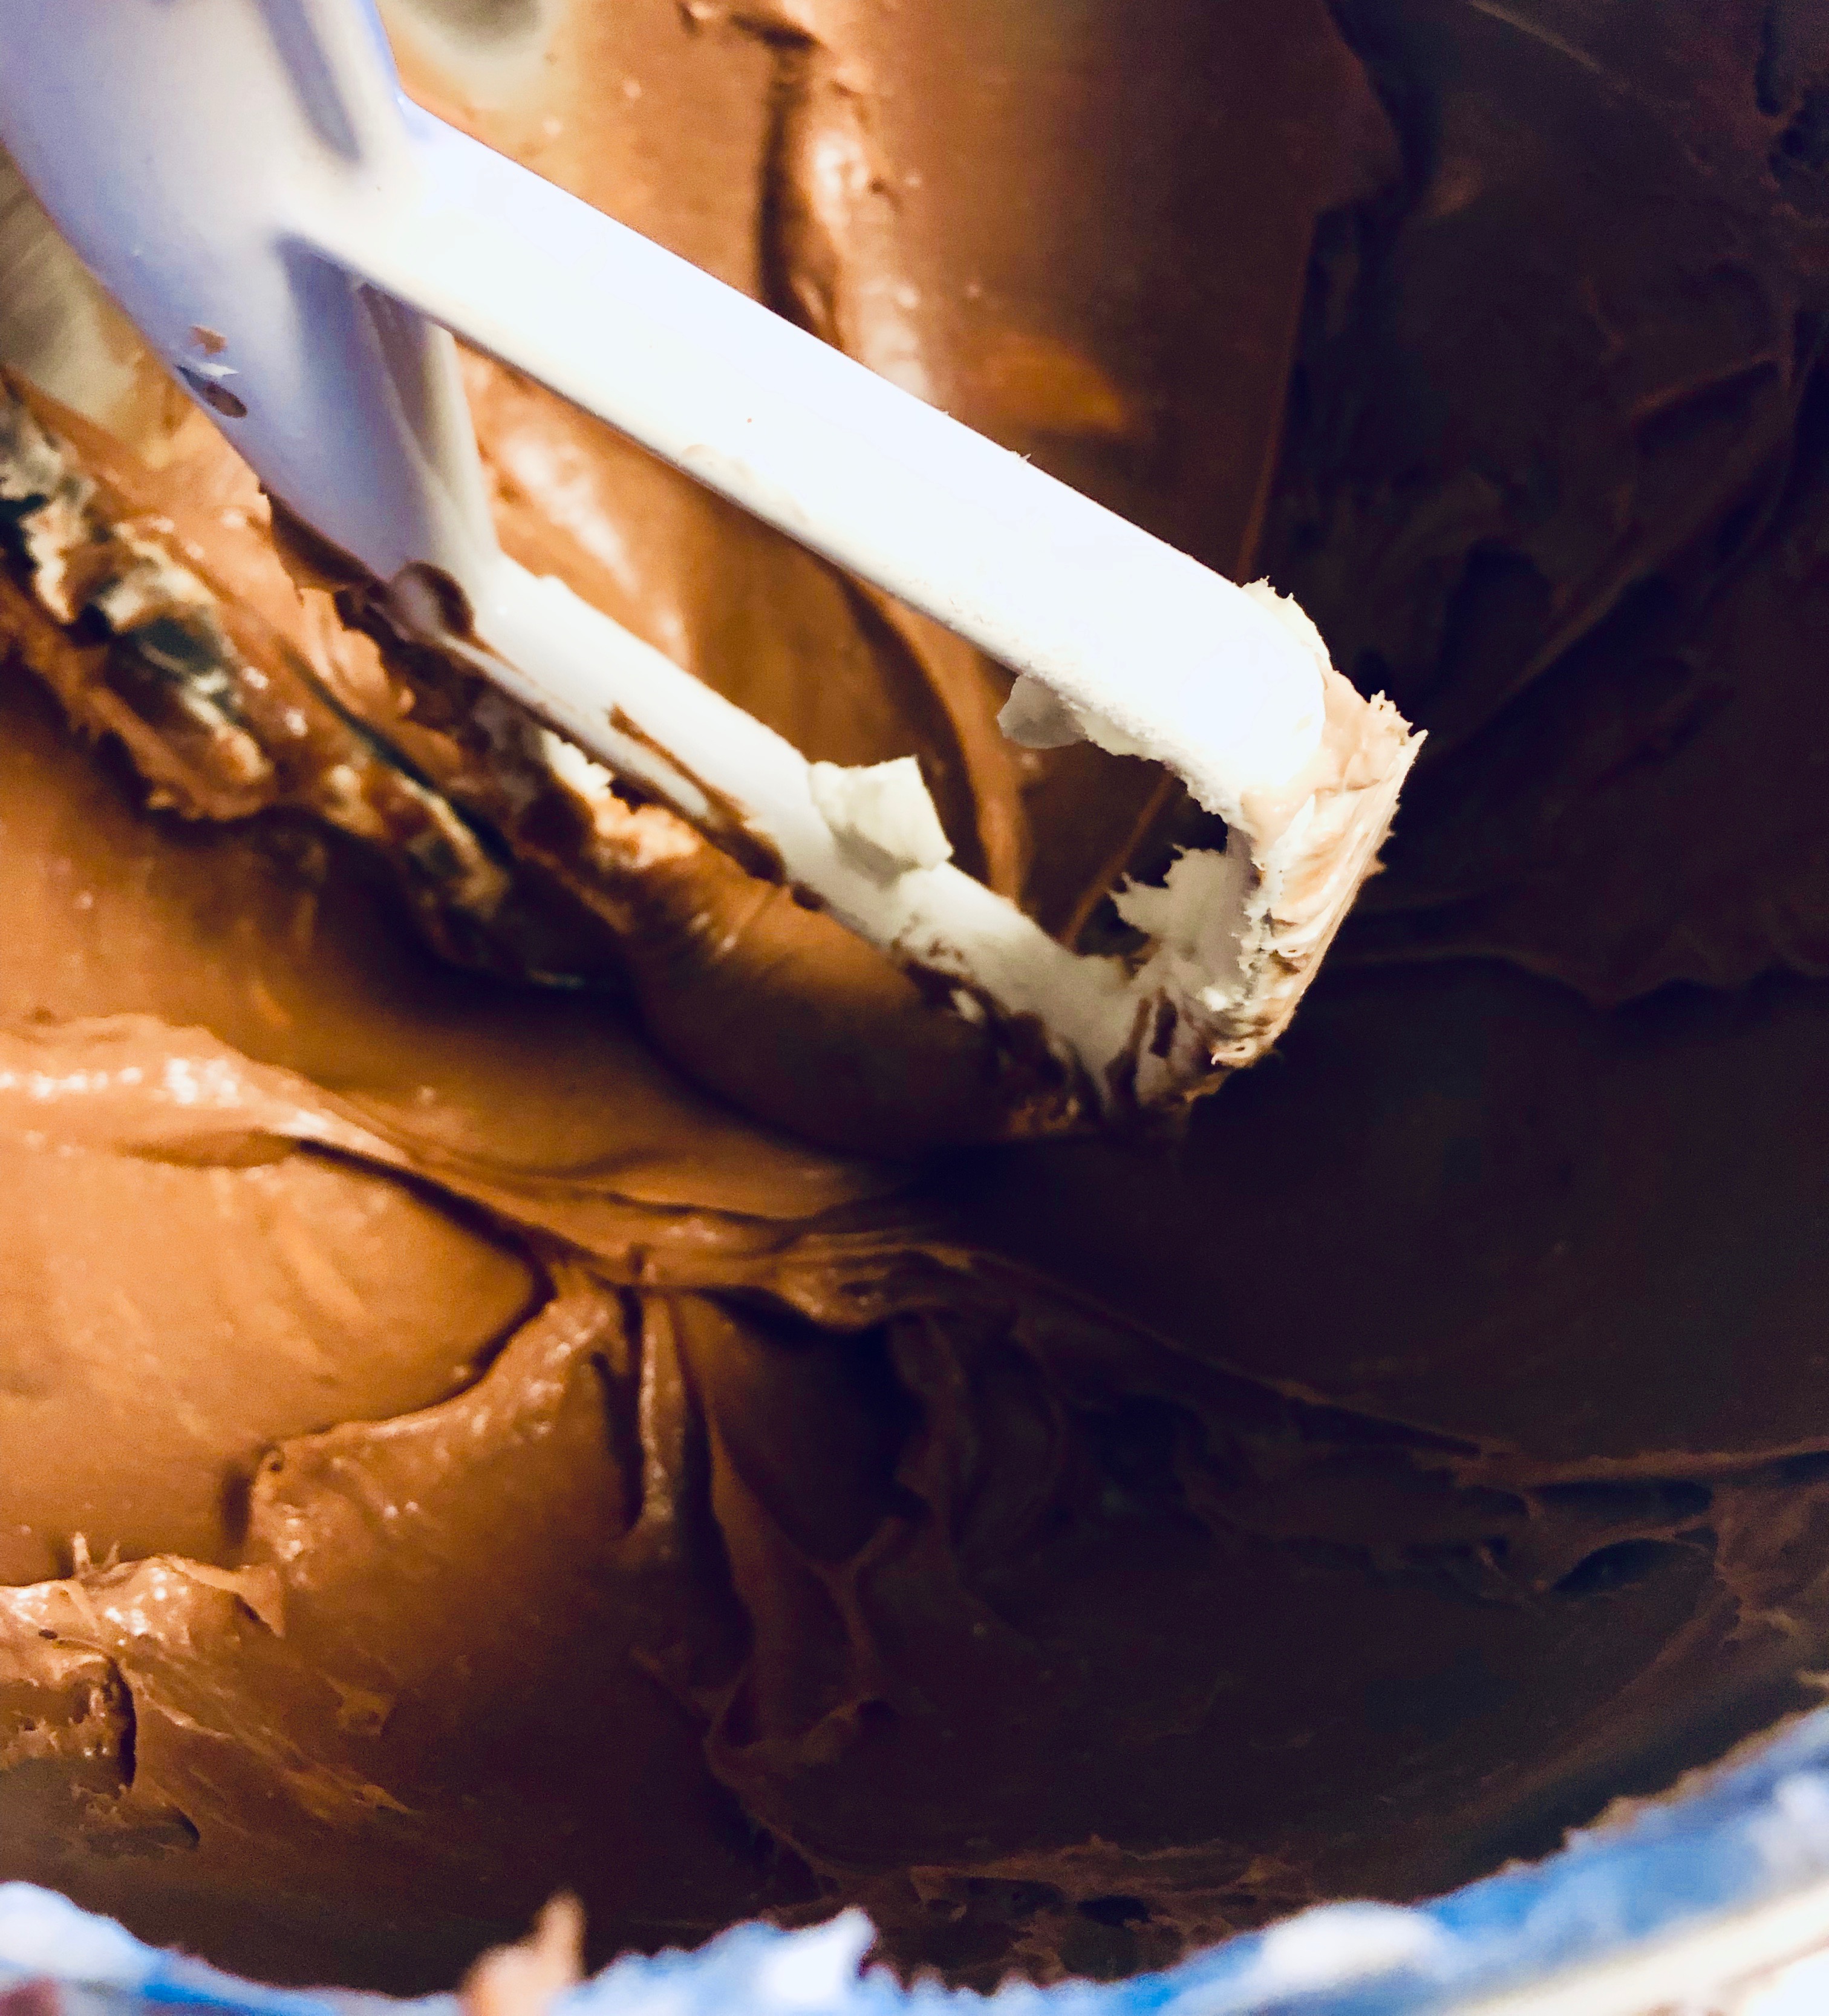
The biggest thing to remember with making a cheesecake, well, baking in general but especially cheesecake, is to making sure the batter is as smooth as you can get it, Also, especially if you are using a kitchen Aid, scrape down the bottom and the sides of the bowl. The beater doesn’t really reach to the bottom of the bowl all the way and doesn’t always scrape everything off the sides. Especially, if you don’t have the paddle with the little blade on the side. So unsoftened cream cheese or other bits of batter can get stuck to the bottom or the sides and not mix in. You don’t want that.
It is also very important that your cream cheese is softened so it is easier to get it mixed in and smooth. So just take your time and beat in each ingredient until smooth. Make sure to scrape down the bottom and the sides of the bowl.
After you add in the yogurt, take your time and get the batter as smooth as you can because once you add the eggs, it’s best to beat just until incorporated because if you beat eggs too much the texture of the finished product can be kind of gummy. Once smooth, add the eggs one at a time beating until incorporated.
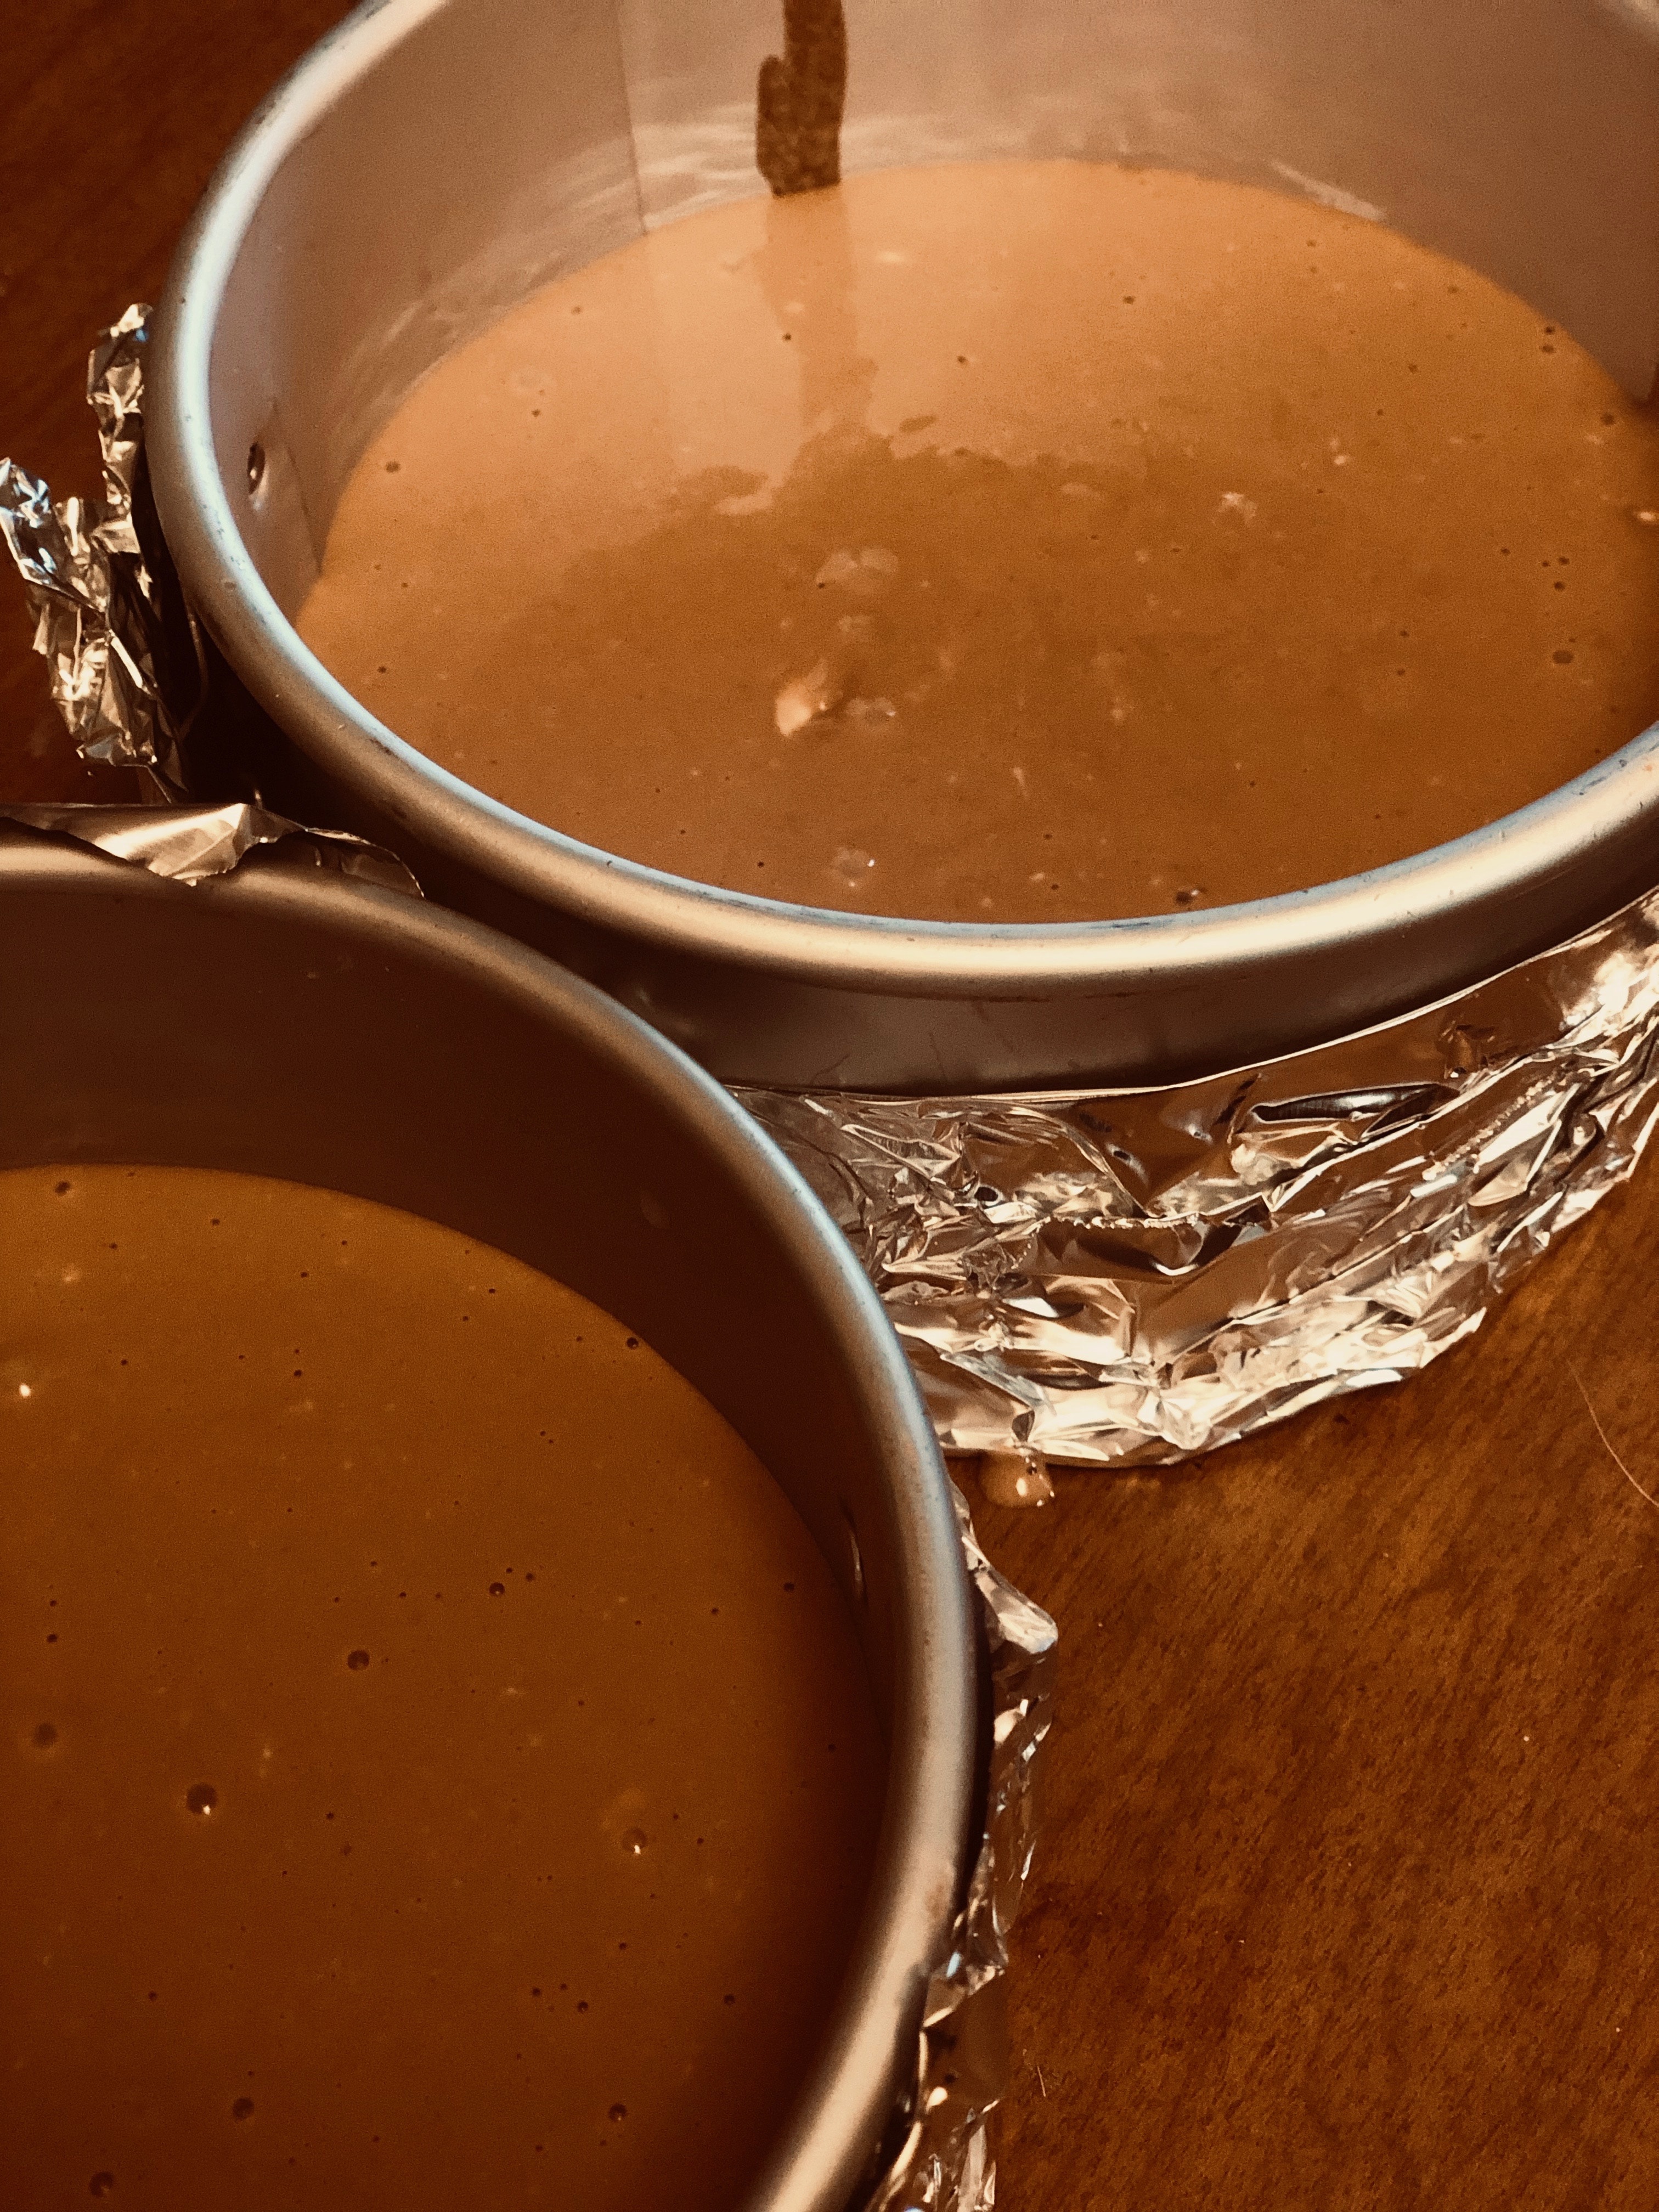
Then divide the batter evenly into the prepared pans and then a water bath and in the oven they go for 35 minutes at 350 degrees or until the edges are set but the middle jiggles slightly. Once that’s done, shut the oven off and leave the cheesecake in the oven with the door cracked for an additional hour. After that, Bake the cheesecake out and leave it in the fridge overnight.
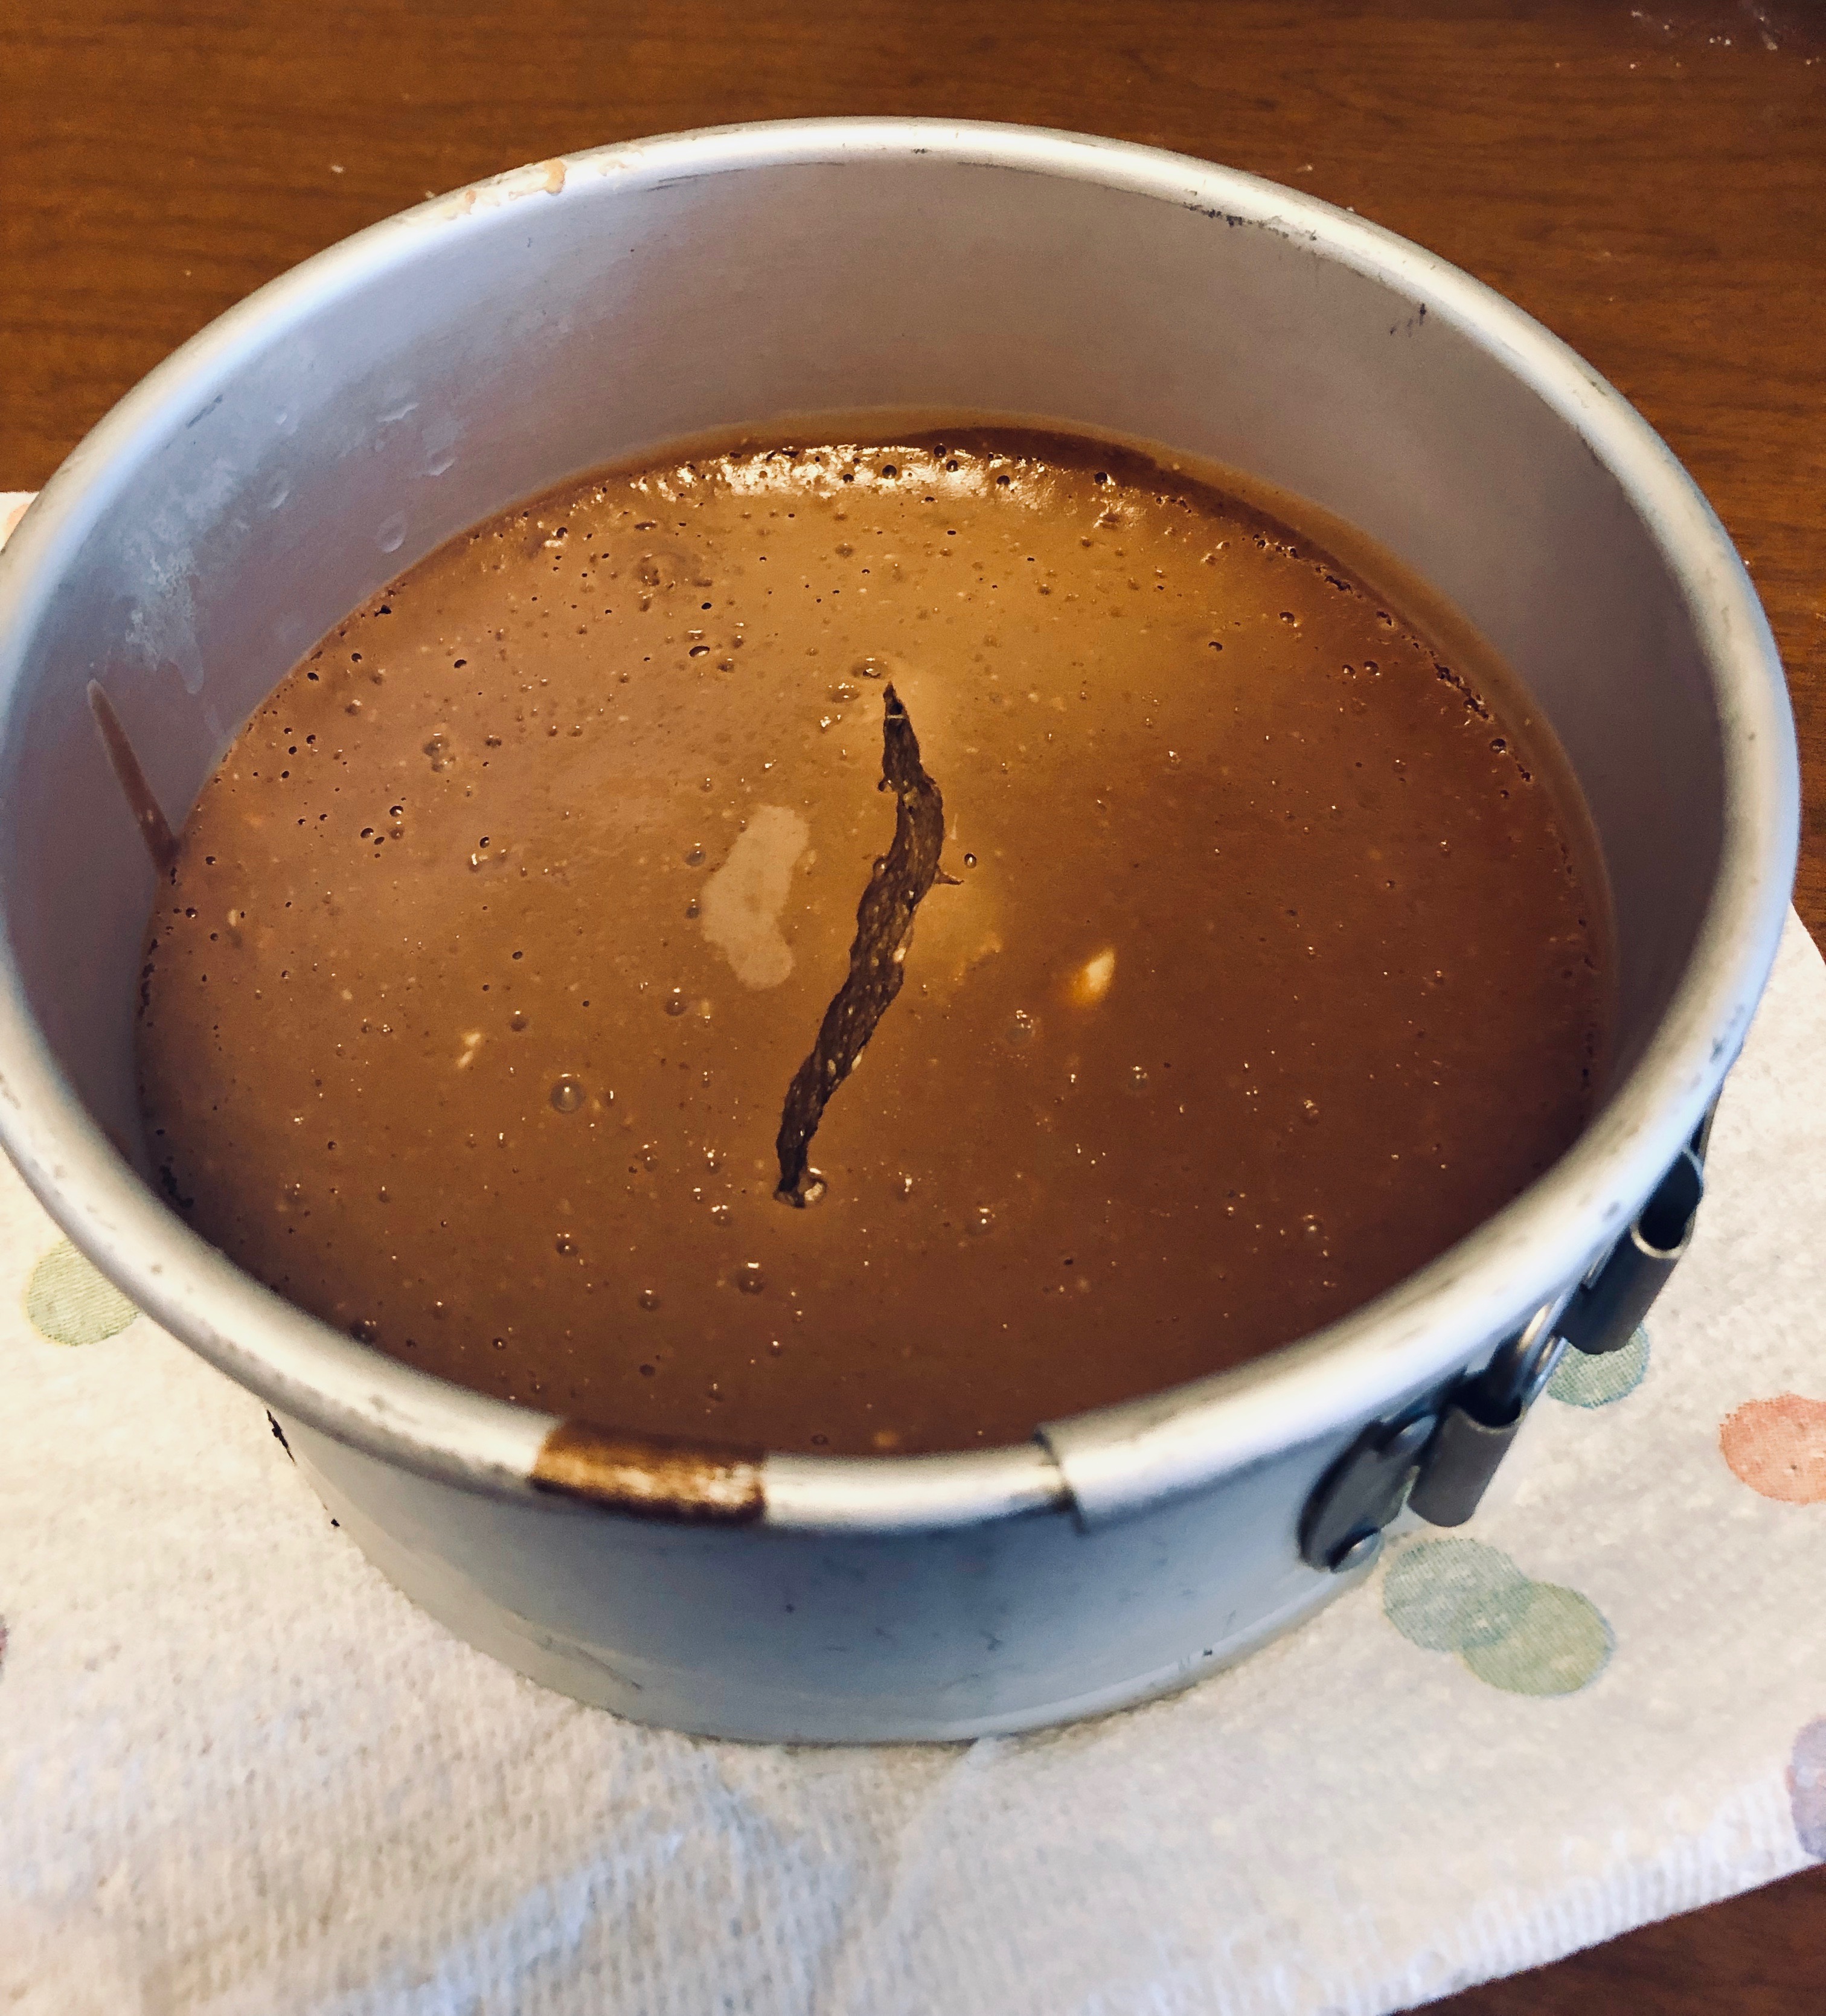
Now, you have a choice. To not make yourself nuts (like me), You can make all of the other components while the cheesecake is in the oven and leave them in the fridge until the next day when you go to assemble the cake, There is still icing, filling and ganache left to make.
Hostess Cupcake Cheesecake – The Assembly
Now comes the fun part. Well, I think it’s all fun, but, it’s time to assemble! So first start by un-molding just one cheesecake. One of my biggest problems in the kitchen is I don’t give myself enough room. You can probably tell by the things in the background of my pictures. *sigh* I’m working on it. Don’t make fun of me :(. So in an effort to get better at that I am only taking one component of this out at a time. After that is un – molded, smear on the filling in as even of a layer as you can manage.
After this is on, un mold the other cheesecake and sandwich that on top cheesecake side down. Pour the chocolate ganache on top of the cake that is sitting on top of a wire rack. Let this sit for about 10 minutes to set a little bit so that the icing won’t melt and become one with the ganache.
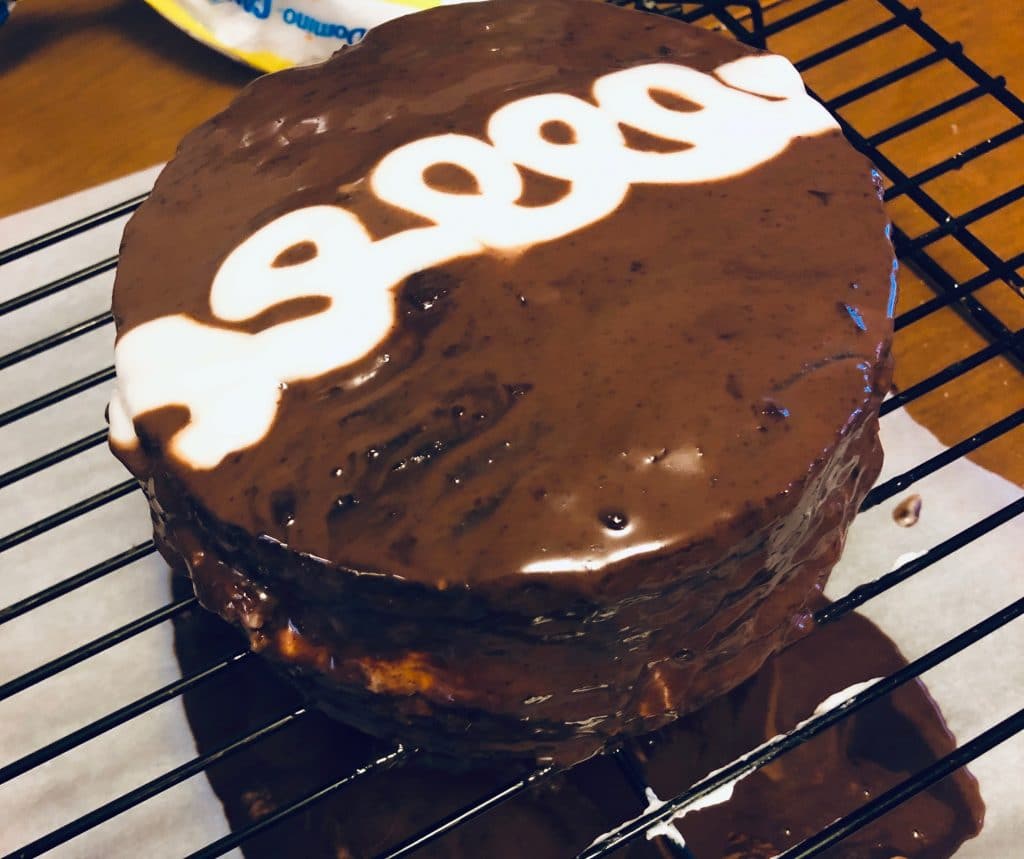
I didn’t do this. This is another one of my issues in the kitchen, I’M IMPATIENT. Don’t be me. Do as I say, not as I do. I have seen so many blogs and youtube videos where people show you just the perfect parts. I never want to do that. I want you guys to learn from me, and one of the things we learn the most from are mistakes. It doesn’t have to be your’s. If you can learn from my mistakes, I’m totally fine with that. So your last step is to make the signature, hostess cupcake swirl on top. So to make this easier, transfer the icing to a ziplock bag or piping bag. So the best way I can describe this is that you are going to make cursive lowercase e’s in a line across the top.
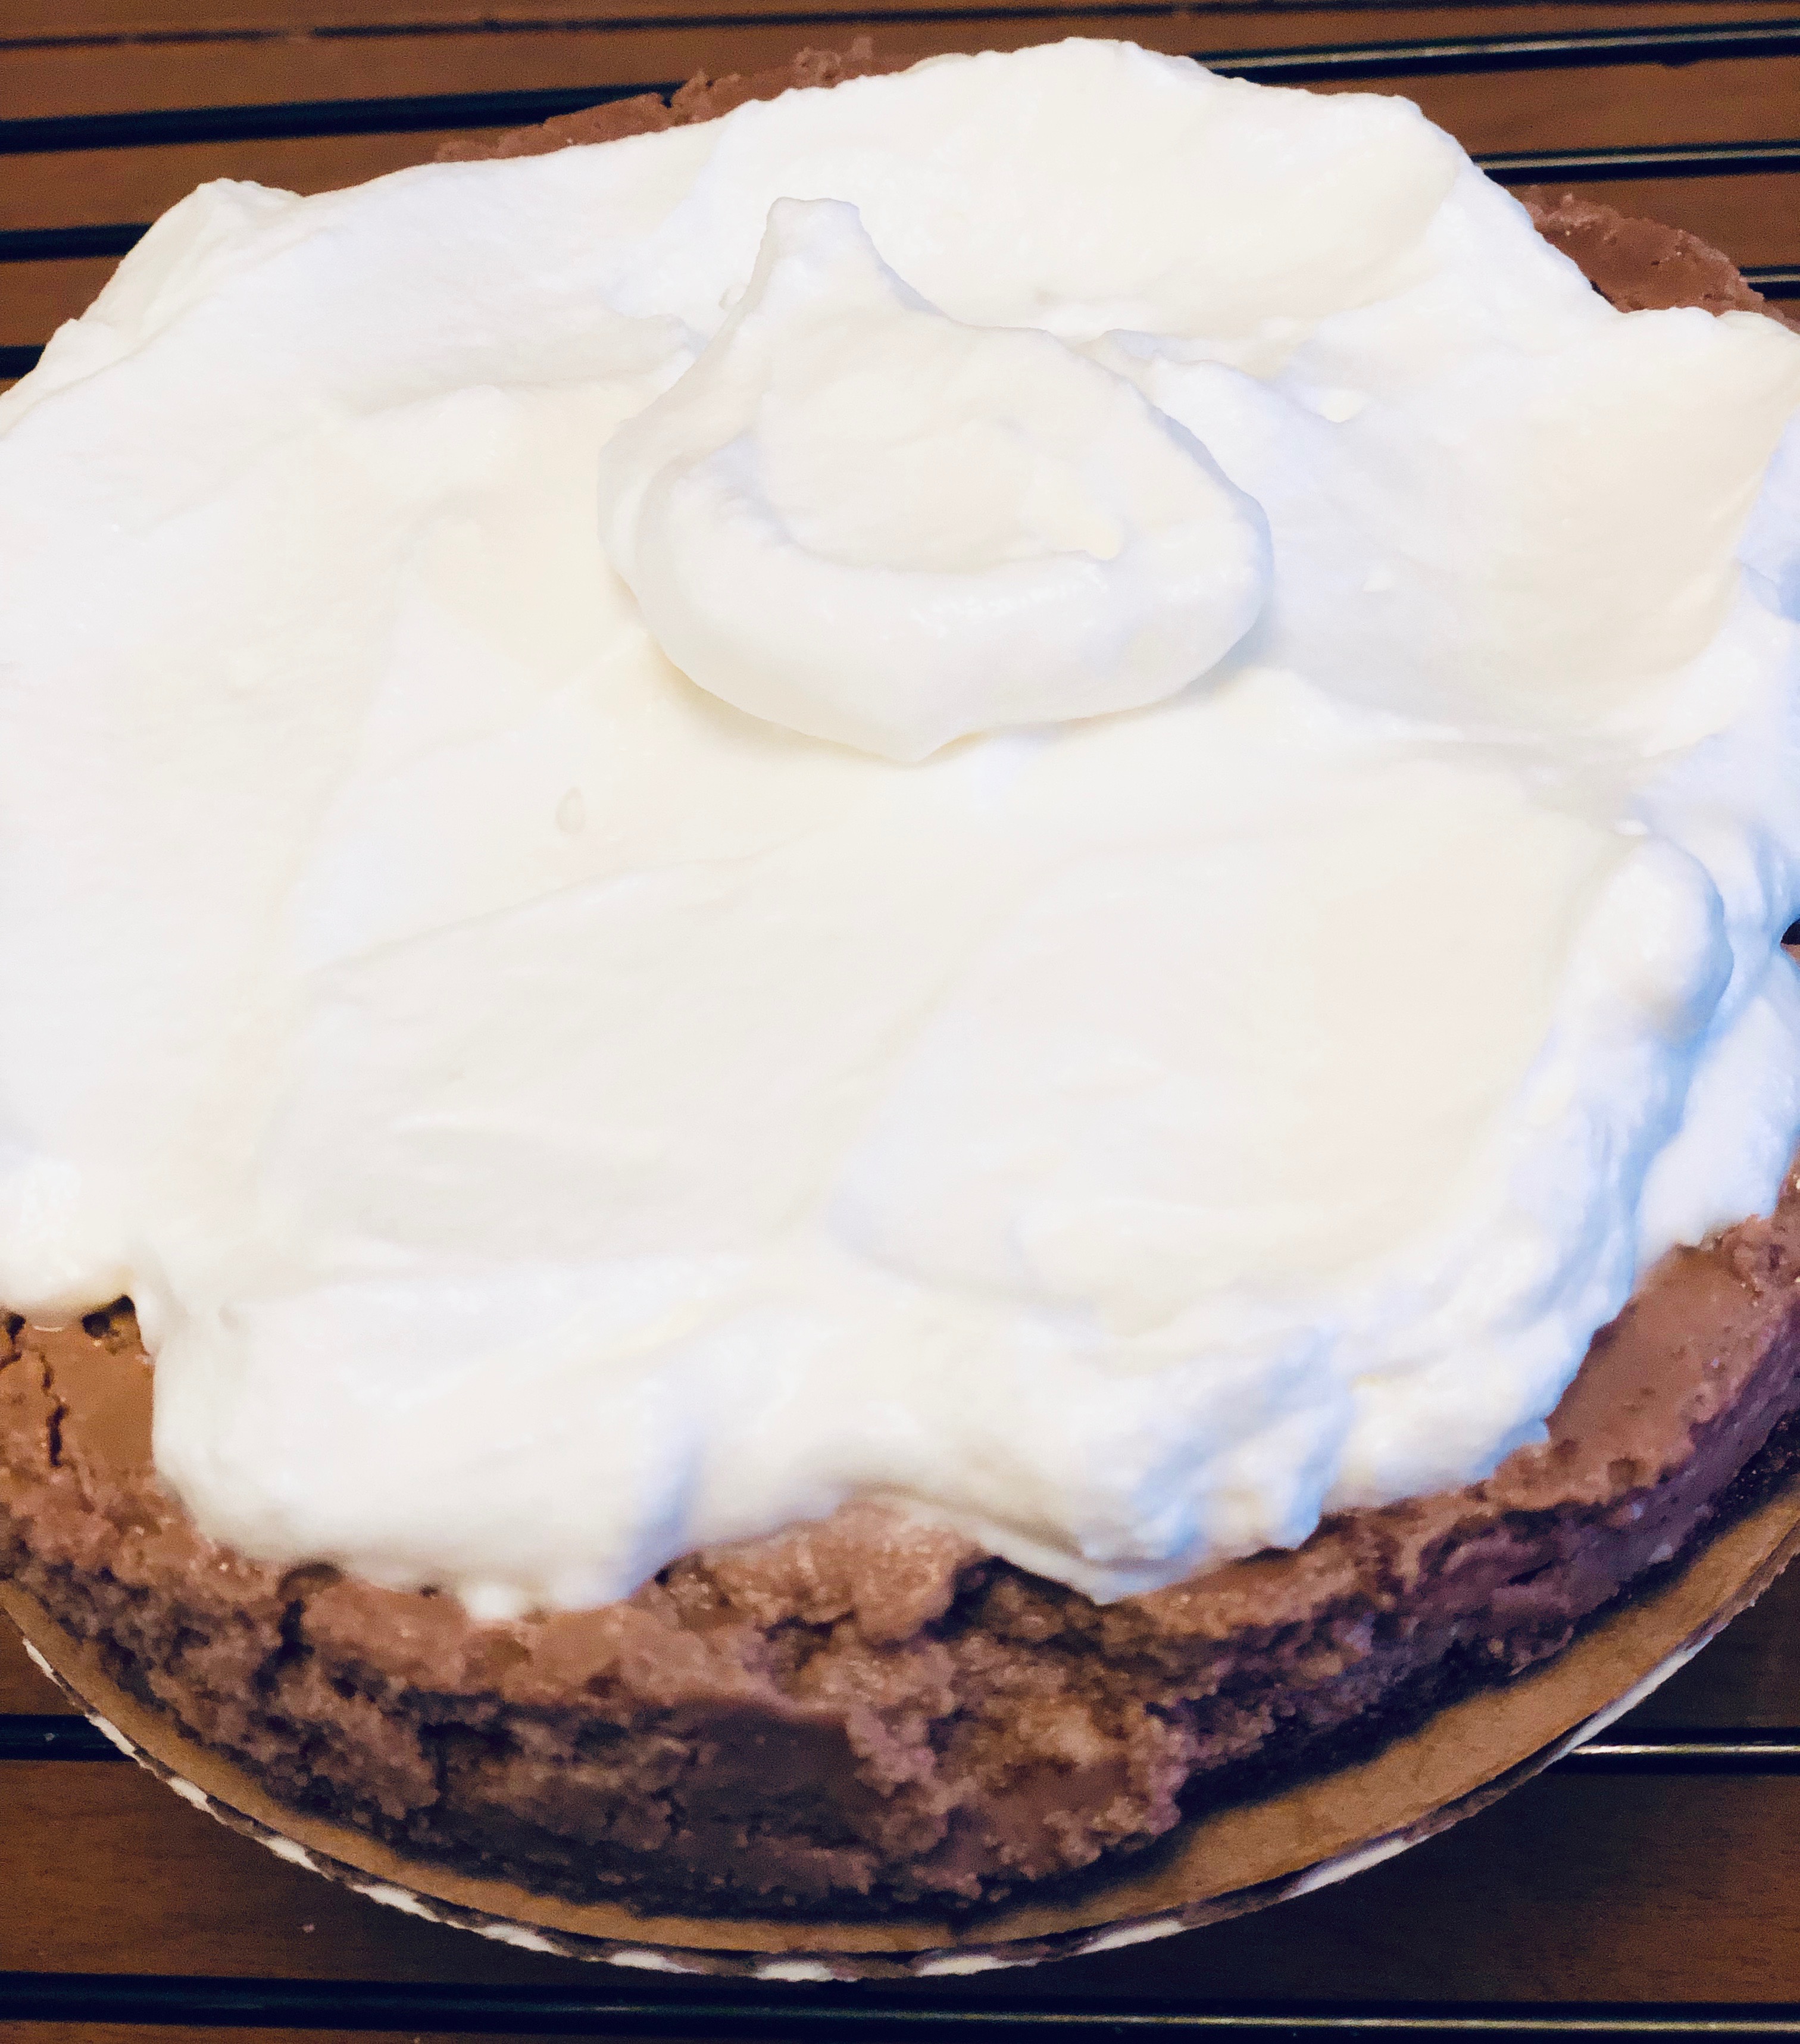
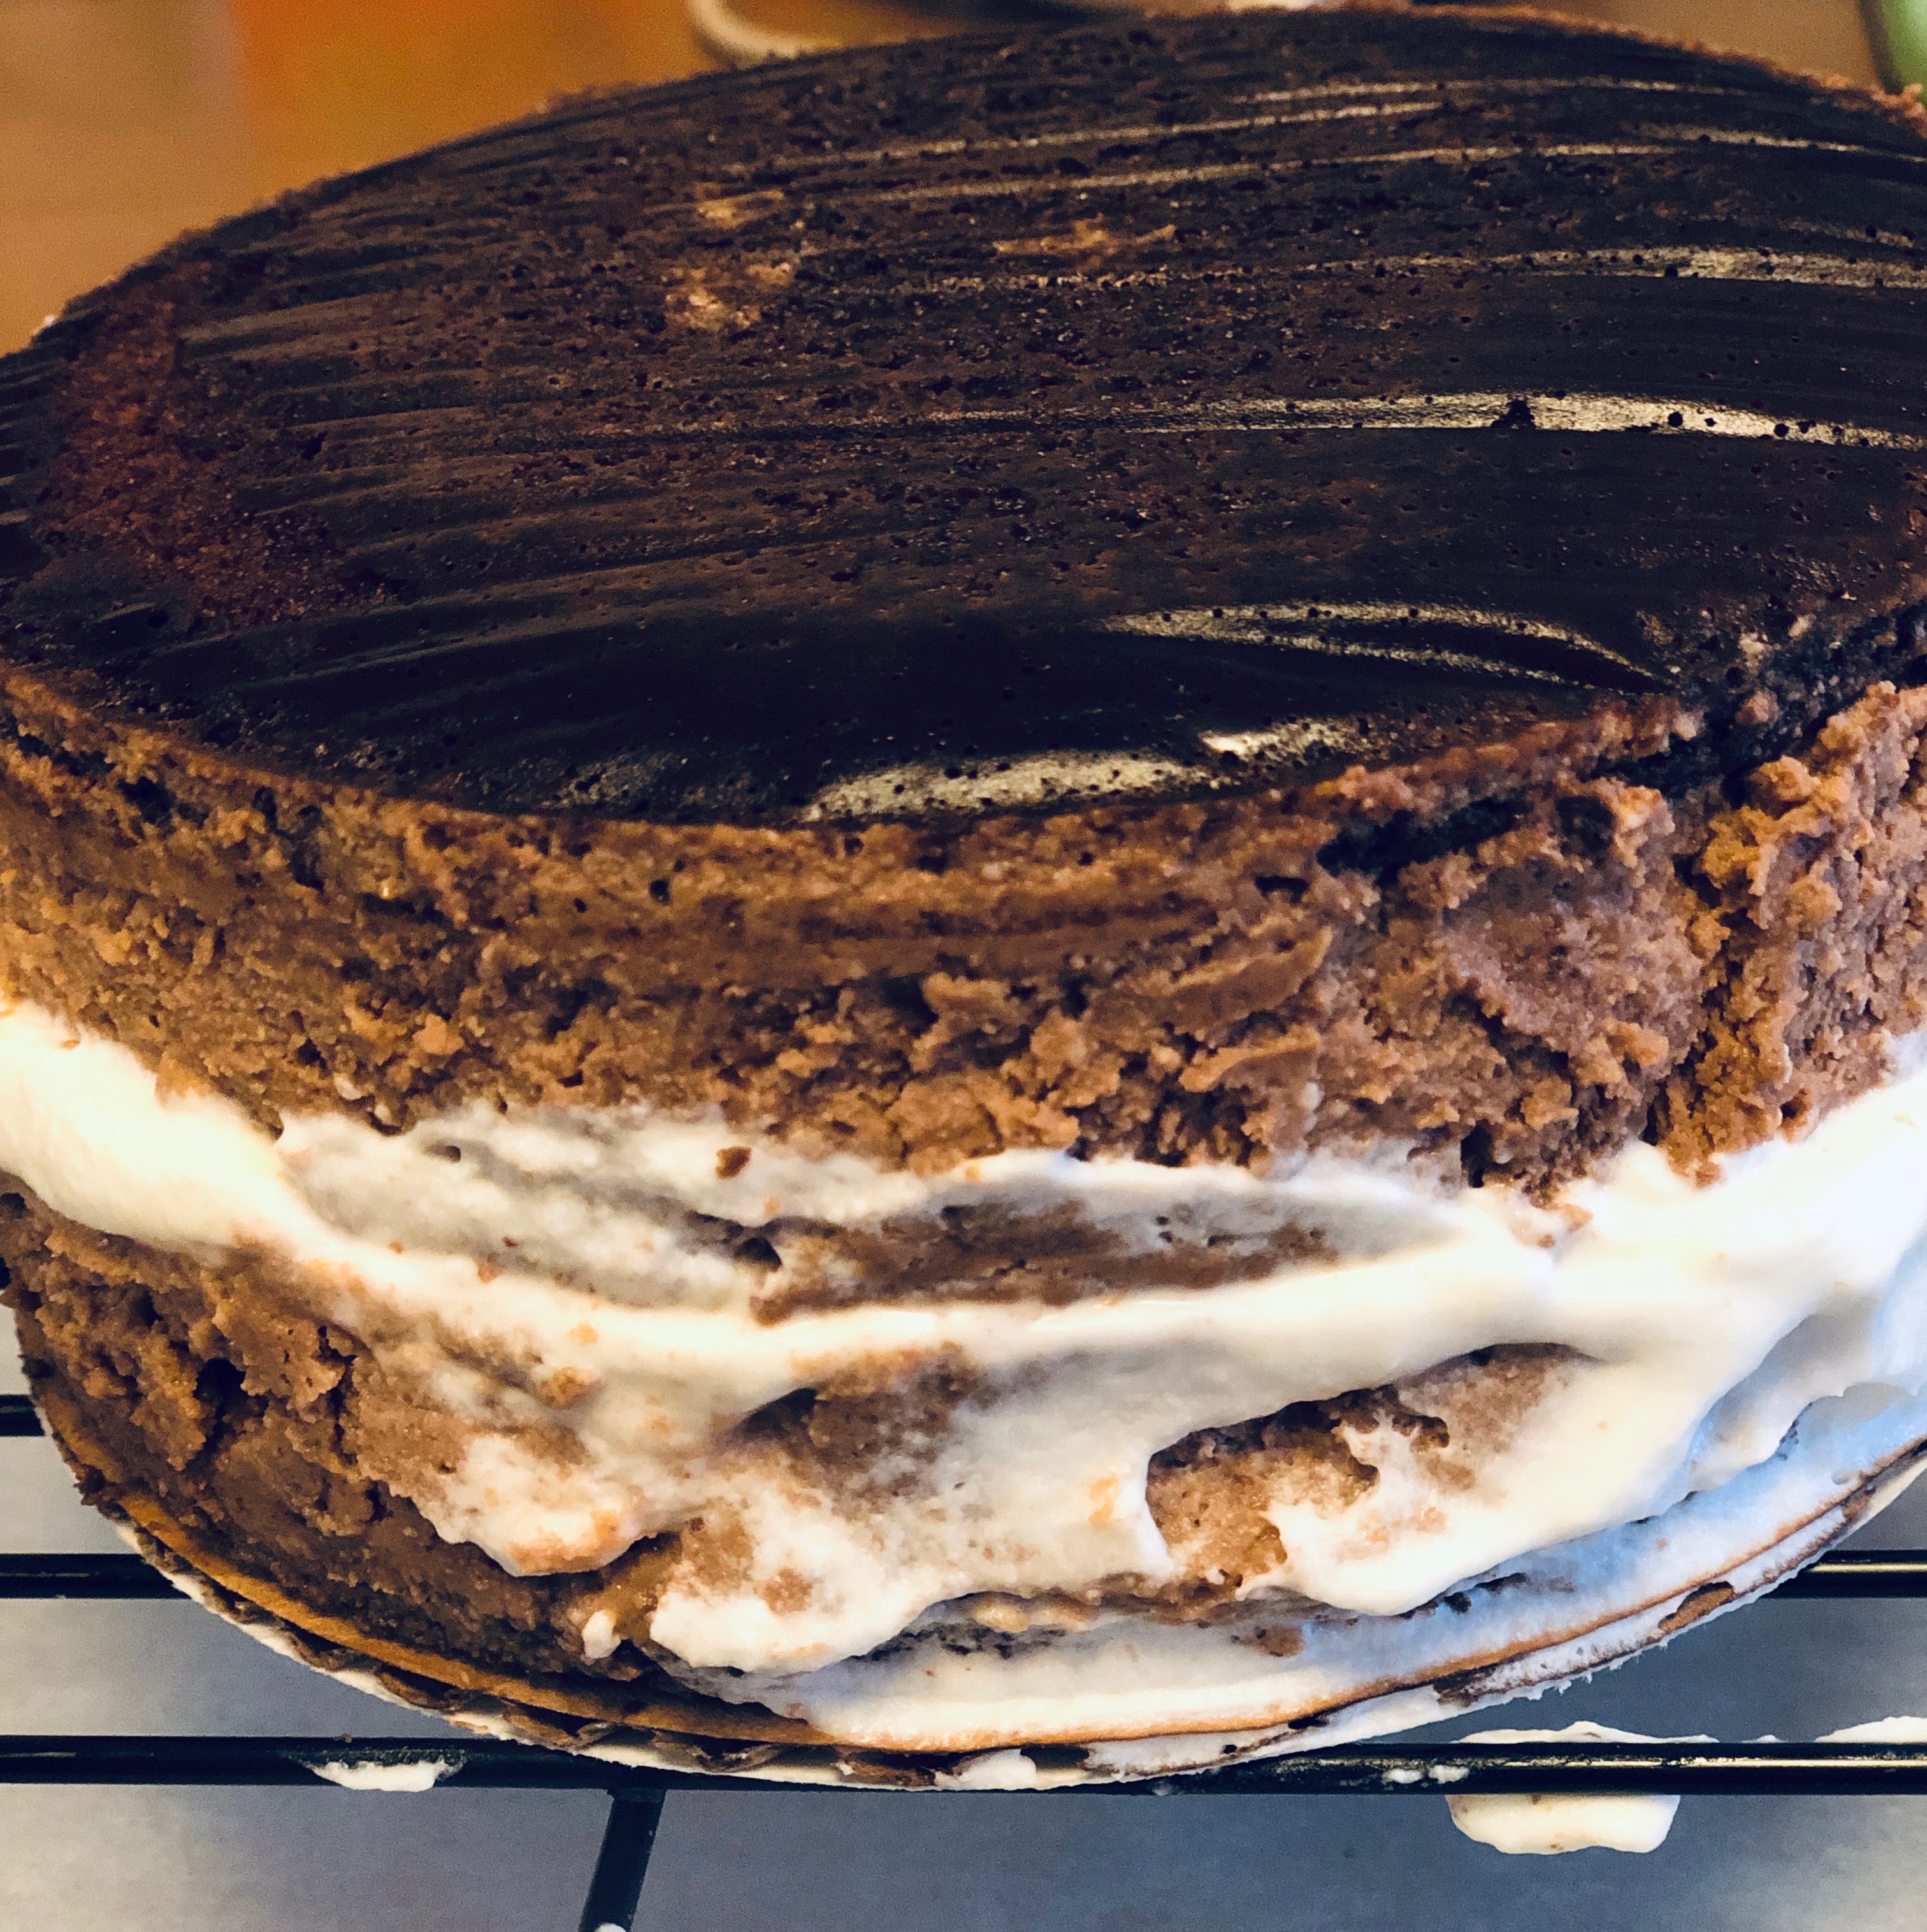
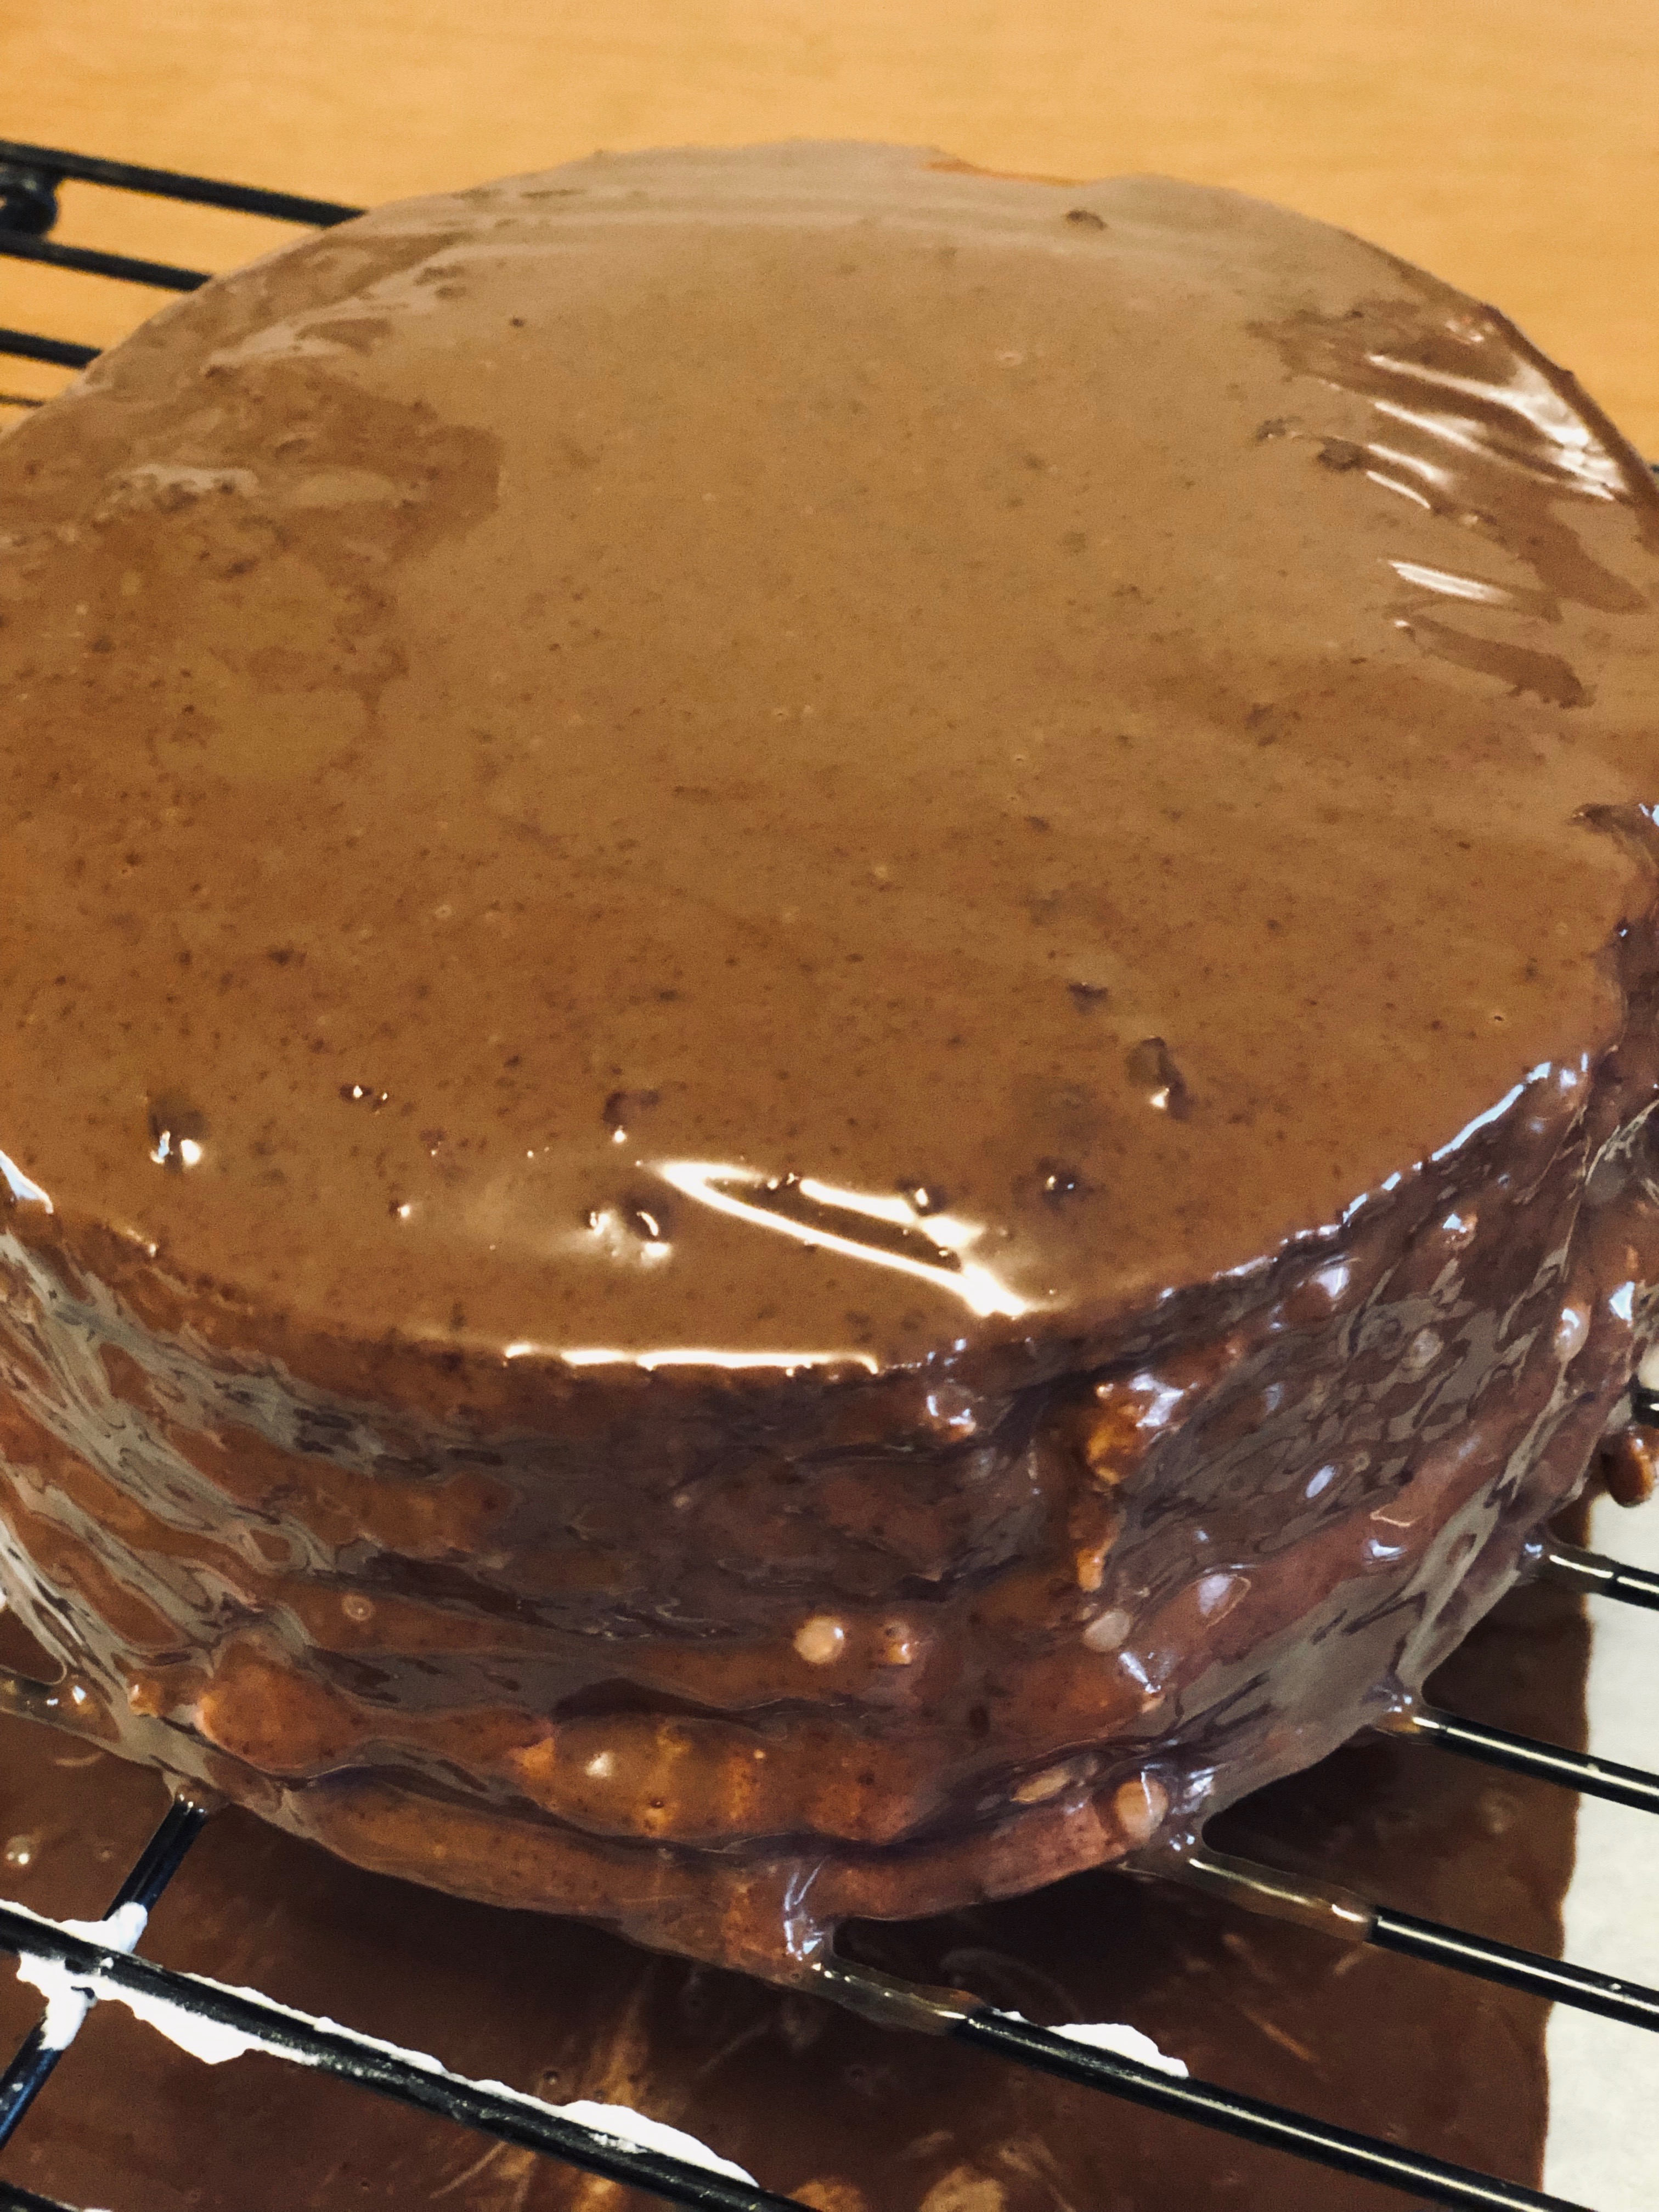
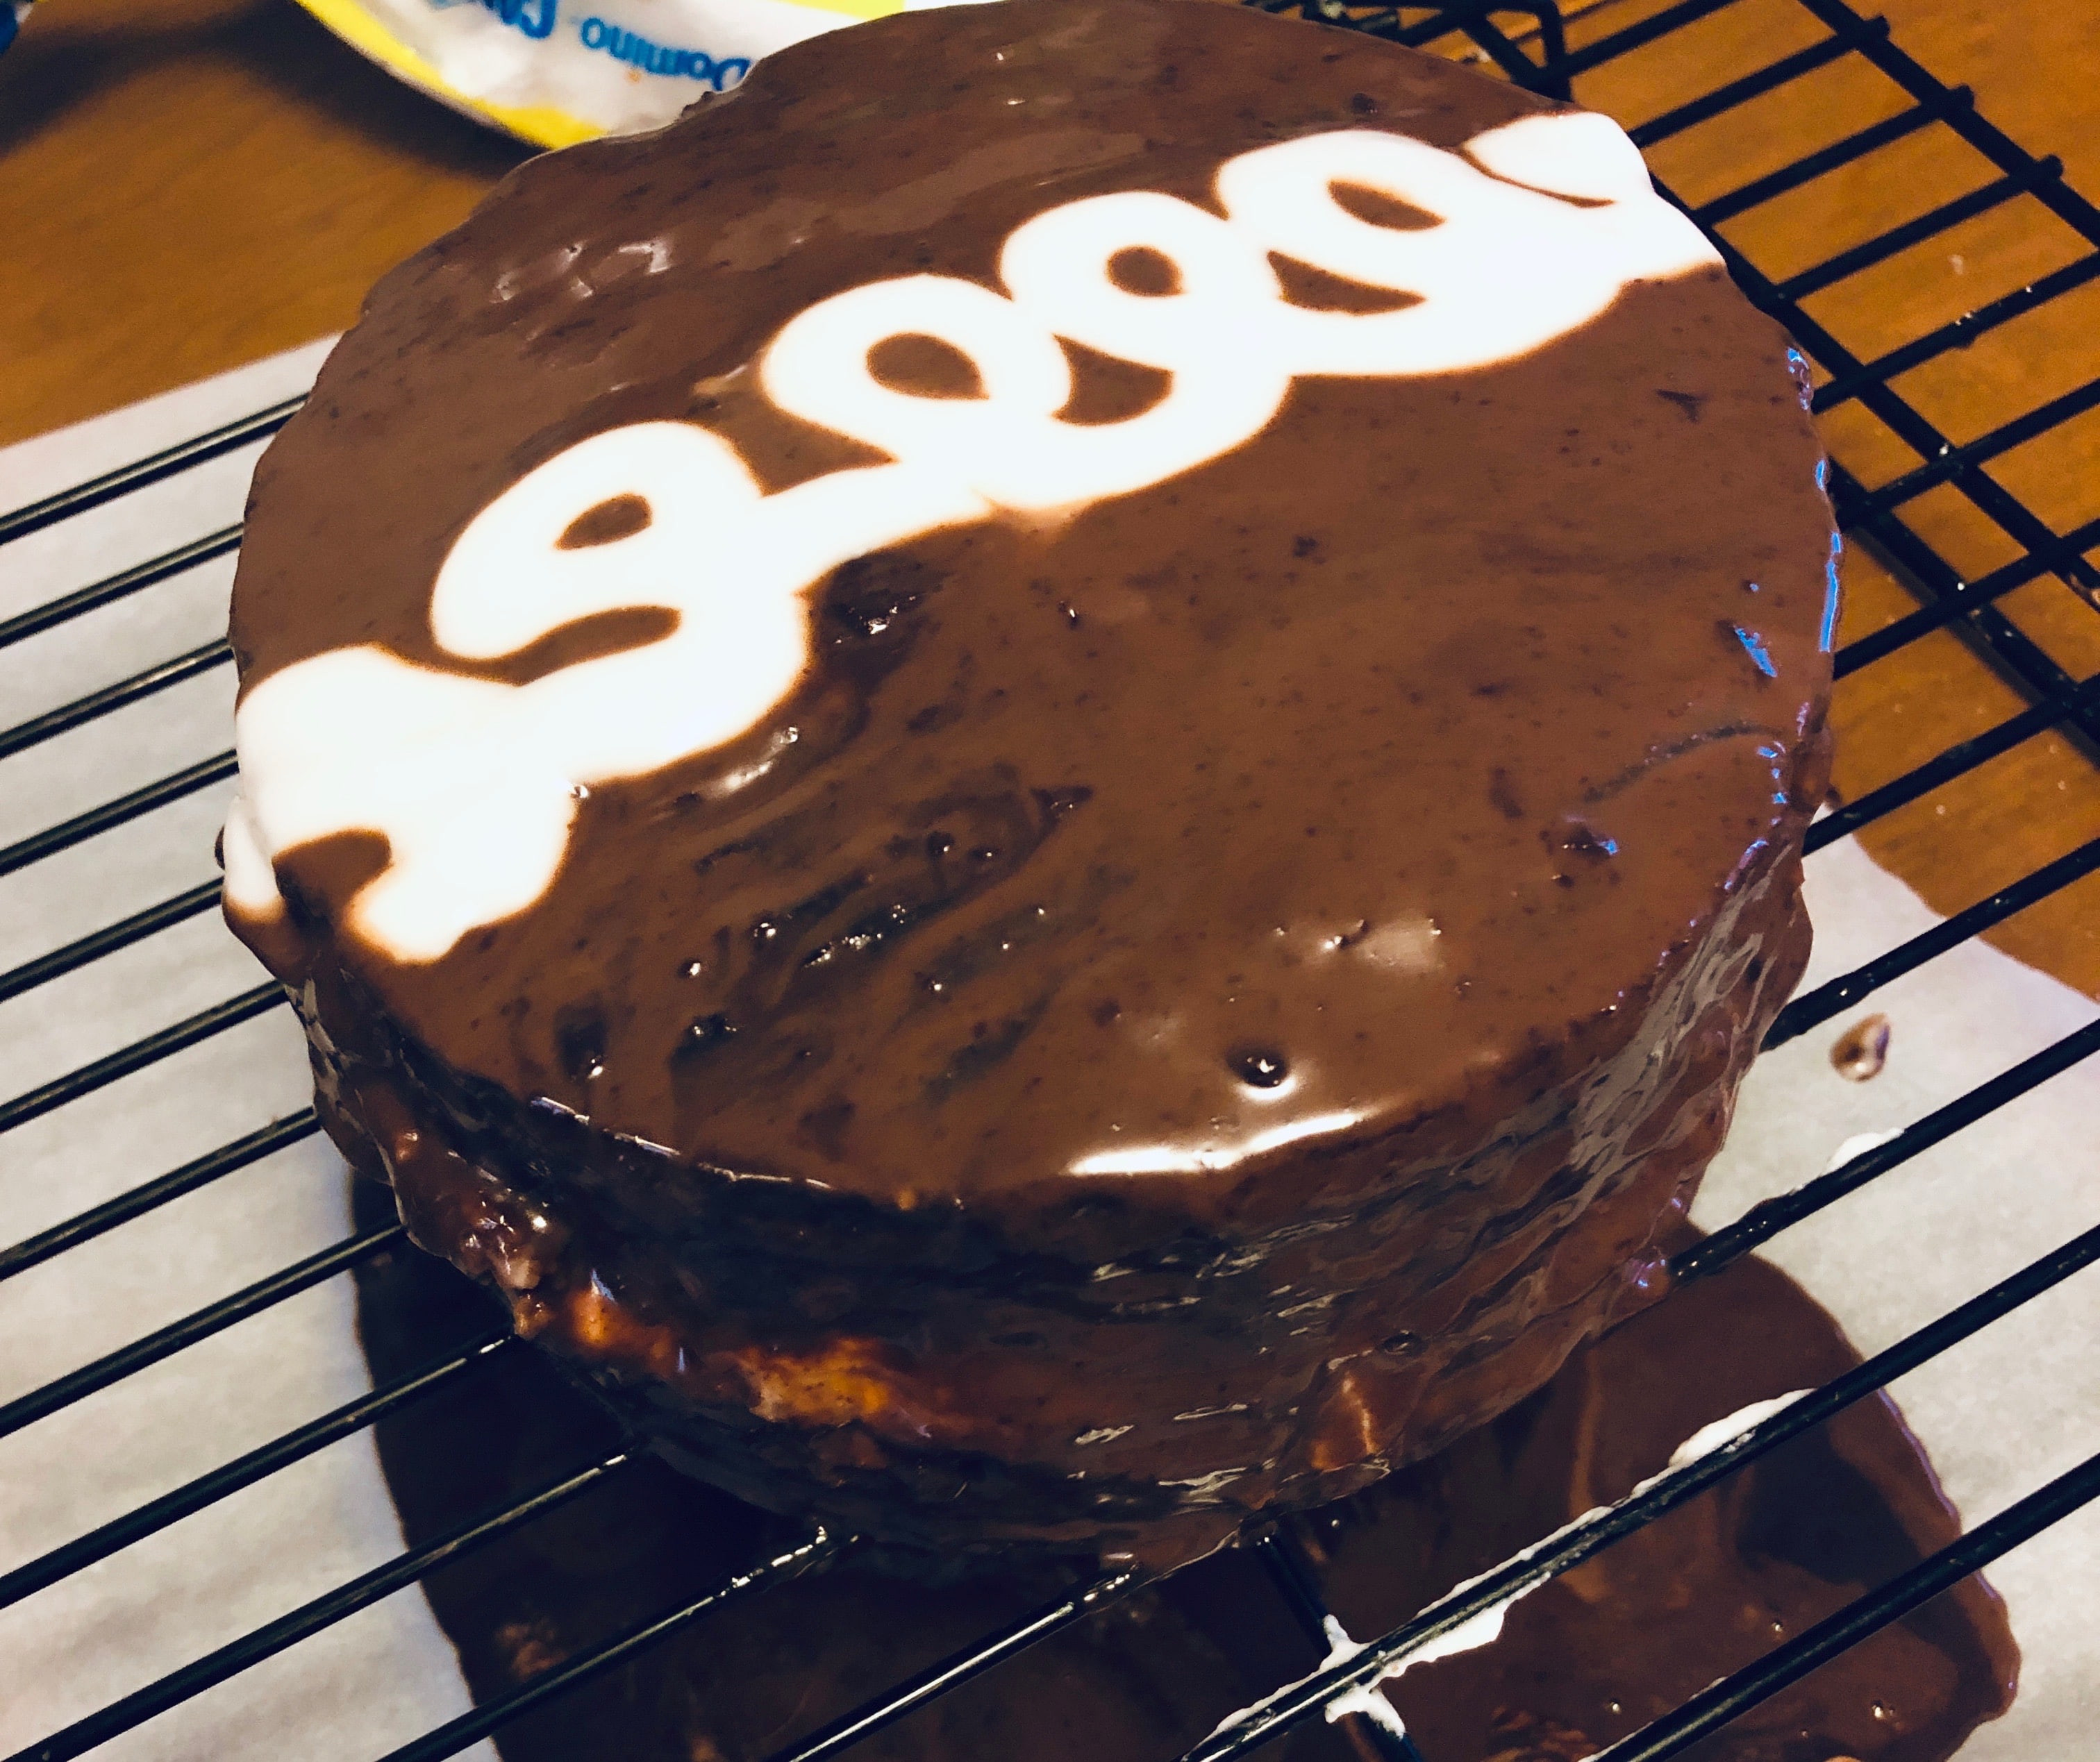
This is the perfect cheesecake version of a hostess cupcake. Kind of a production but of so worth it. This cake has all the textures you could want. It’s fluffy from the cake, creamy from the cheesecake layer, and a little bit crunchy/chewy from the ganache and icing.. To quote Guy Fieri it’s just “dynamite”! (I know I’m a dork) If you have any ideas of what you want me to “cheesecakeify” next leave me a comment or let me know on social media. I hope to see you next week for a new recipe. All June long will be breakfast inspired cheesecakes! I’m so excited!
Tasty’s Recipe –tasty.co/recipe/chocolate-snack-cupcakes
Hostess Cupcake Cheesecake
Ingredients
For Chocolate Cake
- 1/2 Cup All - Purpose Flour
- 1/4 Cup of Cocoa Powder
- 1/4 Tsp of Baking Powder
- 1/2 Tsp of Baking Soda
- 1/6 of a Tsp of Salt
- 1/2 Cup of Granulated Sugar
- 1/6 of a Cup Warm Water
- 1/3 Cup of Buttermilk
- 1 Egg
- 1/3 Tsp of Vanilla Extract
For Cheesecake
- 1/2 Cup Semi-Sweet Chocolate Chips
- 1.5 Blocks of Cream Cheese
- 1/2 Cups of Granulated Sugar
- 1/6 of a Cup Plain Greek Yogurt
- 3 Eggs
- 1 TBSP of Vanilla Extract
Filling
- 1/2 Cup of Heavy Cream
- 1/2 Cup of Marshmallow Fluff
For Ganache
- 1 Cup Heavy Cream
- 2/3 of Semi Sweet Chocolate Chips
Icing
- 1/2 TBSP of Milk
- 1/2 Cup of Powdered Sugar
Instructions
For Chocolate Cake
- Preheat the oven to 350 degrees and prepare 2 6 inch springform pans just as you would to bake a cheesecake.
- In a medium sized bowl, sift together the dry ingredients. (flour, cocoa powder, baking soda, baking powder and salt)
- In the same bowl add in the wet ingredients. Stir until combined.
- Divide evenly between the 2 springform pan or until a tooth pick inserted in the center comes out clean.
For the Cheesecake
- Place the cream cheese in the bowl of your stand mixer fitted with a paddle attachment or regular bowl with a hand mixer. Beat on medium speed until the cream cheese is completely smooth. Scrape down the bottom and the sides of the bowl and mix one more time until smooth.
- Add in the melted chocolate and beat on medium speed until incorporated. Scrape down the bottom and the sides of the bowl and beat once more until smooth.
- Repeat that step with the sugar and then the plain greek yogurt. Make sure everything is completely smooth before adding the eggs.
- Add in the eggs one at a time, beating on low speed until incorporated.
- Divide batter evenly between the 2 springform pans. Bake for about 35 minutes or until the edges are set but the middle jiggles just slightly.
- Shut off the heat and crack the oven door. Leave the cheesecakes in there for an additional hour.
- Put the cheesecakes in the fridge overnight.
For Filling
- Add the heavy cream to a medium sized bowl.
- Whip until you develop soft peaks.
- Add in marshmallow fluff.
- Whip until stiff peaks form.
For Ganache
- Heat up the cream over a double boiler until simmering.
- Shut off the heat and add in the chocolate chips. Let the sit for 2 minutes.
- Stir the ganache to combine.
For Icing
- Add the powdered sugar to a small bowl.
- Add the milk and stir this mixture until combined
- You are looking for a thick but pipe-able consistency. Add milk if it's too thick and confectioner sugar if it's too thin.
For Decoration
- Take out one of the cakes from the refrigerator and un-mold.
- Spread the filling into the top of the cake.
- Take out the second cake from the refrigerator and un-mold it.
- Place it cheesecake side down into of the other cake.
- Place the whole cake on top of a wire rack with a parchment paper lined cookie sheet under it to catch the excess ganache.
- Pour the ganache on top of the cake, using an offset spatula to coax it over the sides. Let set for 10 minutes to harden.
- Put the Icing in a piping bag and pipe a big line of cursive e shapes across the top.
- Eat immediately or store in the fridge for up to a week.
You May Also Like
If you have any questions or comments please don’t hesitate to leave a comment down below, message me on instagram, facebook or leave me an email.
Sounds so yummy!
definitely a worth while process!
You’re so creative! Great idea to “cheesecakeify” the recipe, it looks so creamy.
Thanks, I love to change things up and make them not what they originally were.
The chocolate cake looks so moist and delicious!
the key is definitely buttermilk. I was nervous because chocolate cake tends to be dry and I’m not as good at making cakey type things like traditional cakes and cupcakes but it came out so moist!
I wish I lived near you… I’d be over for dessert every chance I got!
well I guess we have to meet some time! 🙂
You always have the most interesting recipes for cheesecake! Thanks for sharing this, it looks out of this world!
thank you! I love thinking this stuff up. Totally my thing. I may not have the amount of artistic skill that I would like but I have a very creative mind.
OMG so decadent and delicious looking. Girl, how do you make so many delicious cheesecakes? I love them but i pace myself out, otherwise i would weigh a ton because i can’t limit myself to just one slice:)
I hear ya. This 1 cheesecake a week thing is killing my waste line. I gotta start giving them away.
I love how many different ways you create cheesecake! This one looks so yummy and brings back childhood memories of eating Hostess Cakes with my dad. I’m so glad we don’t live near each other – I’d eat WAY too much dessert!!!
Aww thank you. Yeah I hear ya. I’m eating at least 2 pieces a week now and its not good so my waist line lol
The chocolate cheesecake looks so moist and delicious. My kids love anything with chocolate and definitely they are going to love this cake if I make.
it cake out super moist. Buttermilk helps so much. Your kids could definitely help with this recipe. It’s very kid friendly.