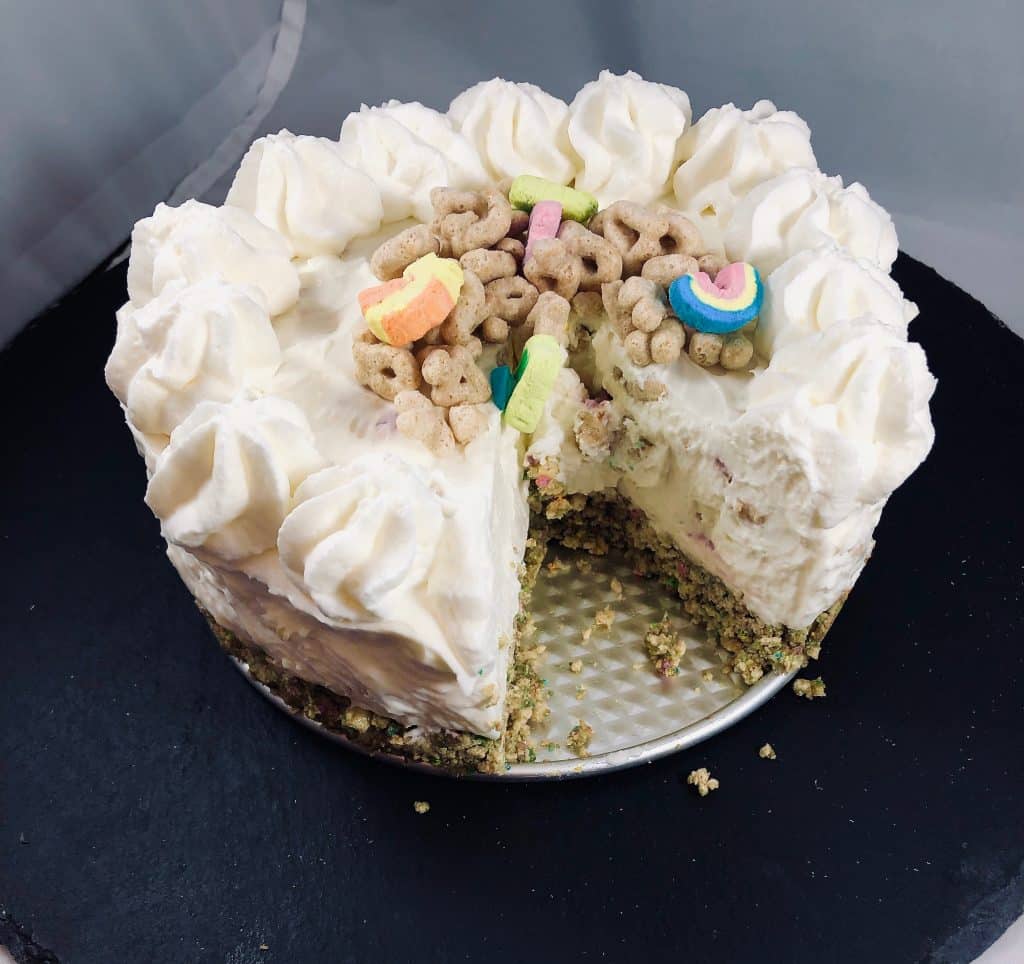
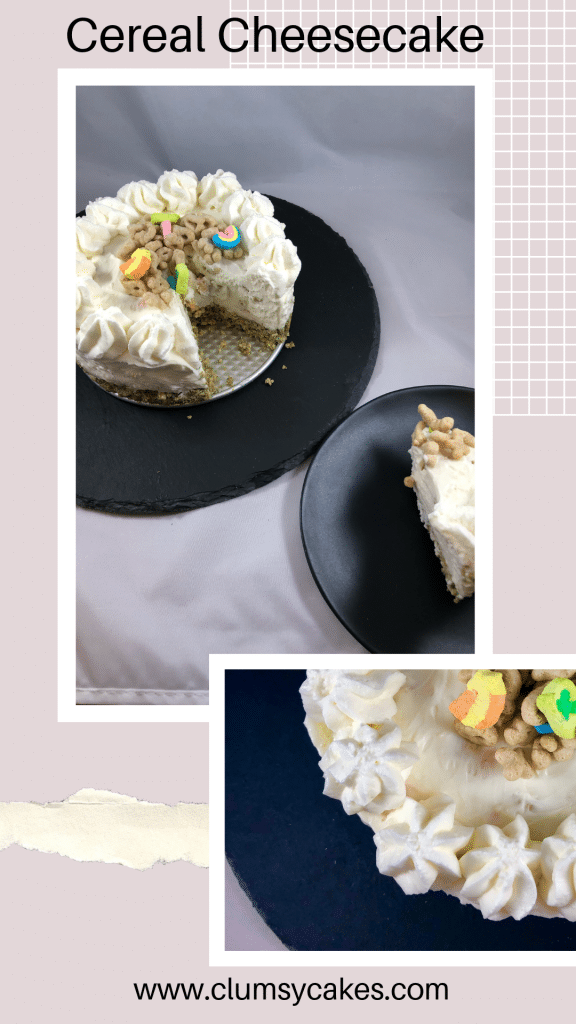
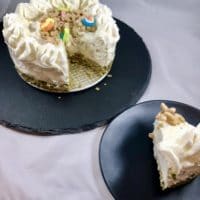
Hi Everyone! This whole month long I am bringing you guys breakfast inspired cheesecake recipes and I can’t wait to show you what I came up with this week. Although, you can probably tell from the title haha. Lucky Charms Cereal Cheesecake!
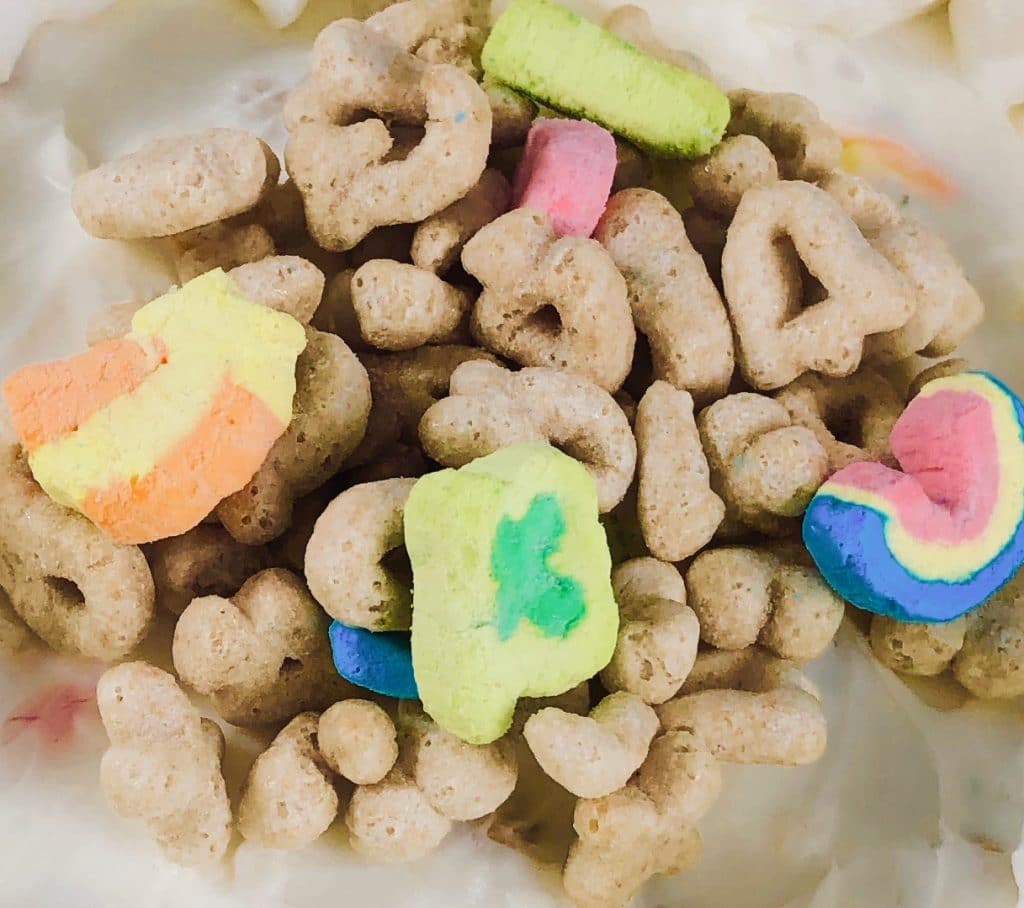
I have been thinking about this recipe for a while and was just waiting for the right moment. One of the most iconic breakfast choices in my opinion is cereal, so I knew I had to integrate it into a cheesecake. This cheesecake would be great using any cereal but I decided to use Lucky Charms. We all love lucky Charms! And I’m not going to lie, being able to call it “magically delicious” was a big pro. I’m such a dork. 😛
The only thing I don’t like about a bowl of cereal is when it gets soggy. So that is one thing I wanted to make sure didn’t happen in this cake. That is why it is no bake. Not baking this cake and just folding the cereal in, ensured that the cereal stayed as crunchy as possible and is a fun surprise to bite into amongst the smooth, creamy cheesecake.
I hope you all are just as excited as I am about this month I can’t wait to bring it to you! Make this cheesecake this weekend for a lazy Sunday breakfast. You won’t be Sorry! I’ll see you all next week with another breakfast insipired, cheesecake recipe! Bye Everyone!
Cereal Cheesecake
A creamy, smooth no bake cheesecake packed with sweet and crunchy, lucky charms flavor. This cake is perfect for dessert or even a sweet breakfast.
Ingredients
For Crust
- 2 Cups of Cereal (I used Luck Charms)
- 4 TBSP of Unsalted Butter
For Stabilized Whipped Cream
- 1/2 cup of Granulated Sugar
- 1/2 Pint of Heavy Cream
- 1/2 Packet of Unflavored Gelatin
- 1/2 TBSP of Boiling Water
- 1 TBSP of Cold Water
- 1 Teaspoon of Vanilla Extract
For Cheesecake
- 1.5 Blocks of Cream Cheese
- 1/2 Cup of Granulated Sugar
- 1/4 Cup of Plain Greek Yogurt
- 1/2 TBSP of Vanilla Extract
- 1/2 Pint of Heavy Cream
- 1/2 Cup of Cereal
- 1/4 Cup of Cereal (For Top)
Components
Instructions
For Crust
- Place the cereal in a plastic bag or a food processor. Pulse or crush with a rolling pin until you get coarse crumbs.
- Add in the melted butter and pulse in your food processor or massage it around in the plastic bag until incorporated.
- Press the mixture into the pan and stick it into the freezer until the cheesecake layer is ready.
For Stabilized Whipped Cream
- Place the whole pint of heavy cream in the bowl of your stand mixer fitted with a whisk attachment or regular bowl with a hand mixer. Beat on medium speed until you develop soft peaks.
- Divide the mixture it half. Place half in a separate bowl and place it in the fridge.
- Beat the remaining half until you develop stiff peaks, put it in a separate bowl and into the fridge.
- Take out the other half from the fridge and put it back in the bowl. Add the sugar and beat until you develop stiff peaks.
- While that Is mixing, mix the gelatin into the cold water and let that absorb for 5 minutes. Add in the boiling water to dissolve the gelatin.
- Mix in the geliton solution until incorporated.
For Cheesecake
- Place the softened cream cheese in the bowl of your stand mixer fitted with a paddle attachment or regular bowl with a hand mixer. Beat until smooth. Scrape down the bottom and the sides of the bowl ant beat once more until smooth.
- Add the sugar and the vanilla extract and beat until incorporated and smooth. Scrape down the bottom and the sides of the bowl and beat again until smooth.
- Add in the plain greek yogurt and beat until incorporated. Scrape down the bottom and the sides of the bowl and beat until smooth.
- Add in the reserved whipped cream and fold in by hand. Fold by scooping the batter up from the middle and folding it over itself. Keep turning the bowl in between each fold. Keep repeating this until you see no more streaks of whipped cream and it's all one batter. Add in the Lucky Charms and fold until you they are evenly dispersed in the batter.
- Add the mixture to the prepared crust. Level off the mixture and freeze for 2 hours.
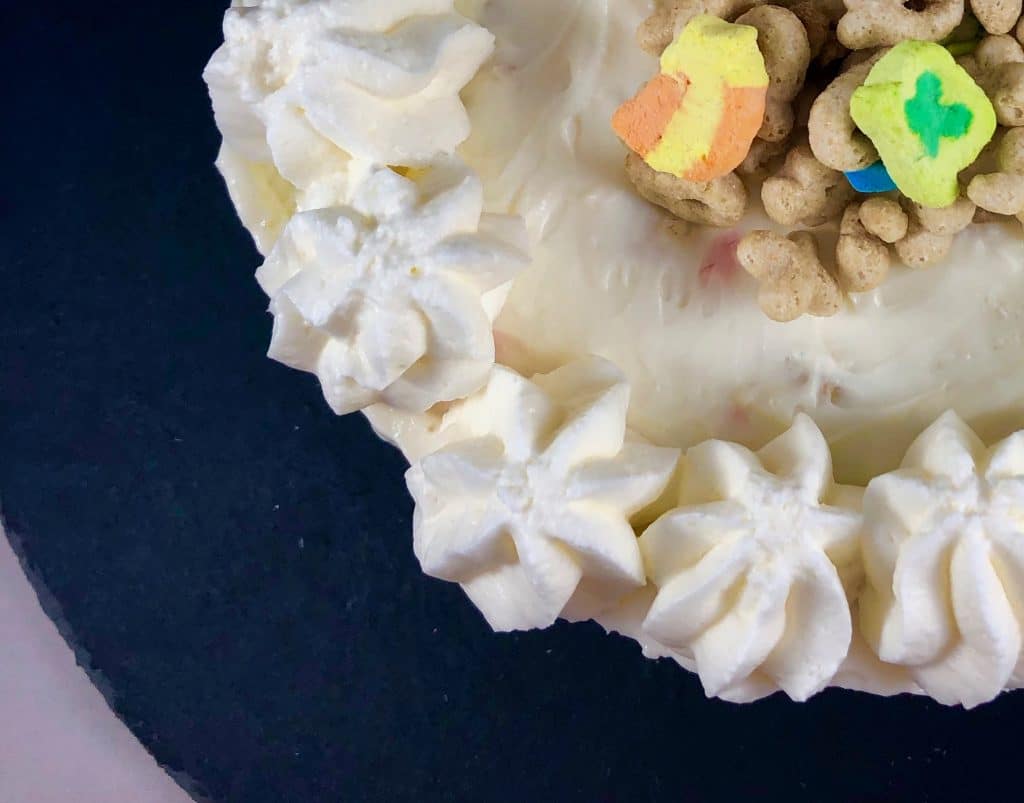
- Add the stabilized whipped cream to a piping bag with a star tip. Take the cake out of the freezer and remove the sides of the pan. Pipe stars along the edge of the cake. Pile the luck charms in the center.
- Enjoy immediately or and place leftovers in the fridge for up to one week.
You May Also Like
Mini Reese’s Peanut Butter Cup Cheesecakes
If you have any questions or comments please don’t hesitate to leave a comment down below, message me on instagram, facebook or leave me an email. Also show me your recreations of this cake if you make it!
Facebook –facebook.com/Clumsy-Cakes-2058041137644585
Instagram-instagram.com/clumsy-cakes
pinterest –pinterest.com/clumsycakes
email – [email protected]
Omg cheesecake for breakfast?!! Sounds crazy good! I would love to make this sometime and with lucky charms!!
I would definitely recommend it. So good! And so versatile. You could use any cereal.
What a cute idea! Love it!
thank you!