So, picture this? You are making a cake for a party and you want something light and airy for the top for decoration. Whipped cream is your best option. The downfall of whipped cream however, is it melts in minutes and looks terrible. What do you do? Stabilize it of course! Just the simple addition of some unflavored gelatin and your whipped cream will hold up for your entire party and even longer on any left overs. (if you have them)
So, before we start making our stabilized whipped cream we need to get our stabilizer ready. That stabilizer of course is some unflavored gelatin. This is the brand I used but you just want to make sure it’s unflavored gelatin.
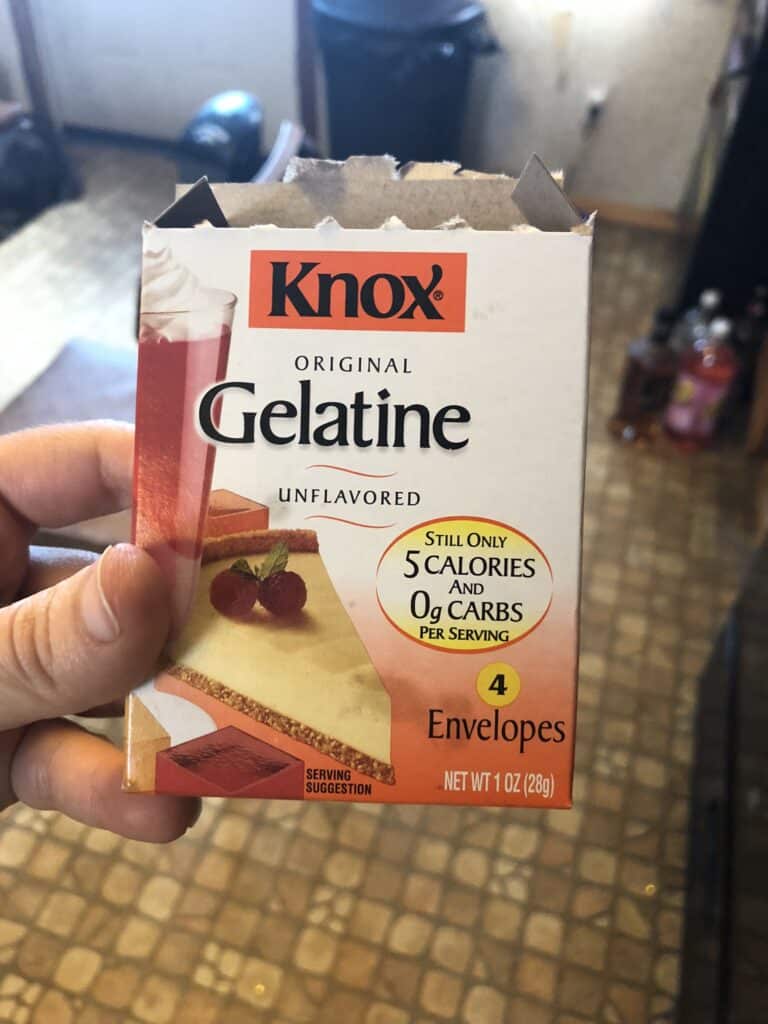
Place that gelatin powder into a small bowl and add 2 tablespoons of water. Stir the gelatin in so all the granules are submerged in the water. This is called blooming the gelatin. Let this mixture sit for 5 minutes to absorb.
Next, place the heavy cream in the bowl of a stand mixer fitted with a whisk attachment or a regular mixing bowl and a hand beater. Beat this on high speed until it starts to gain volume. This should take about 5 minutes. Then, add the sugar.
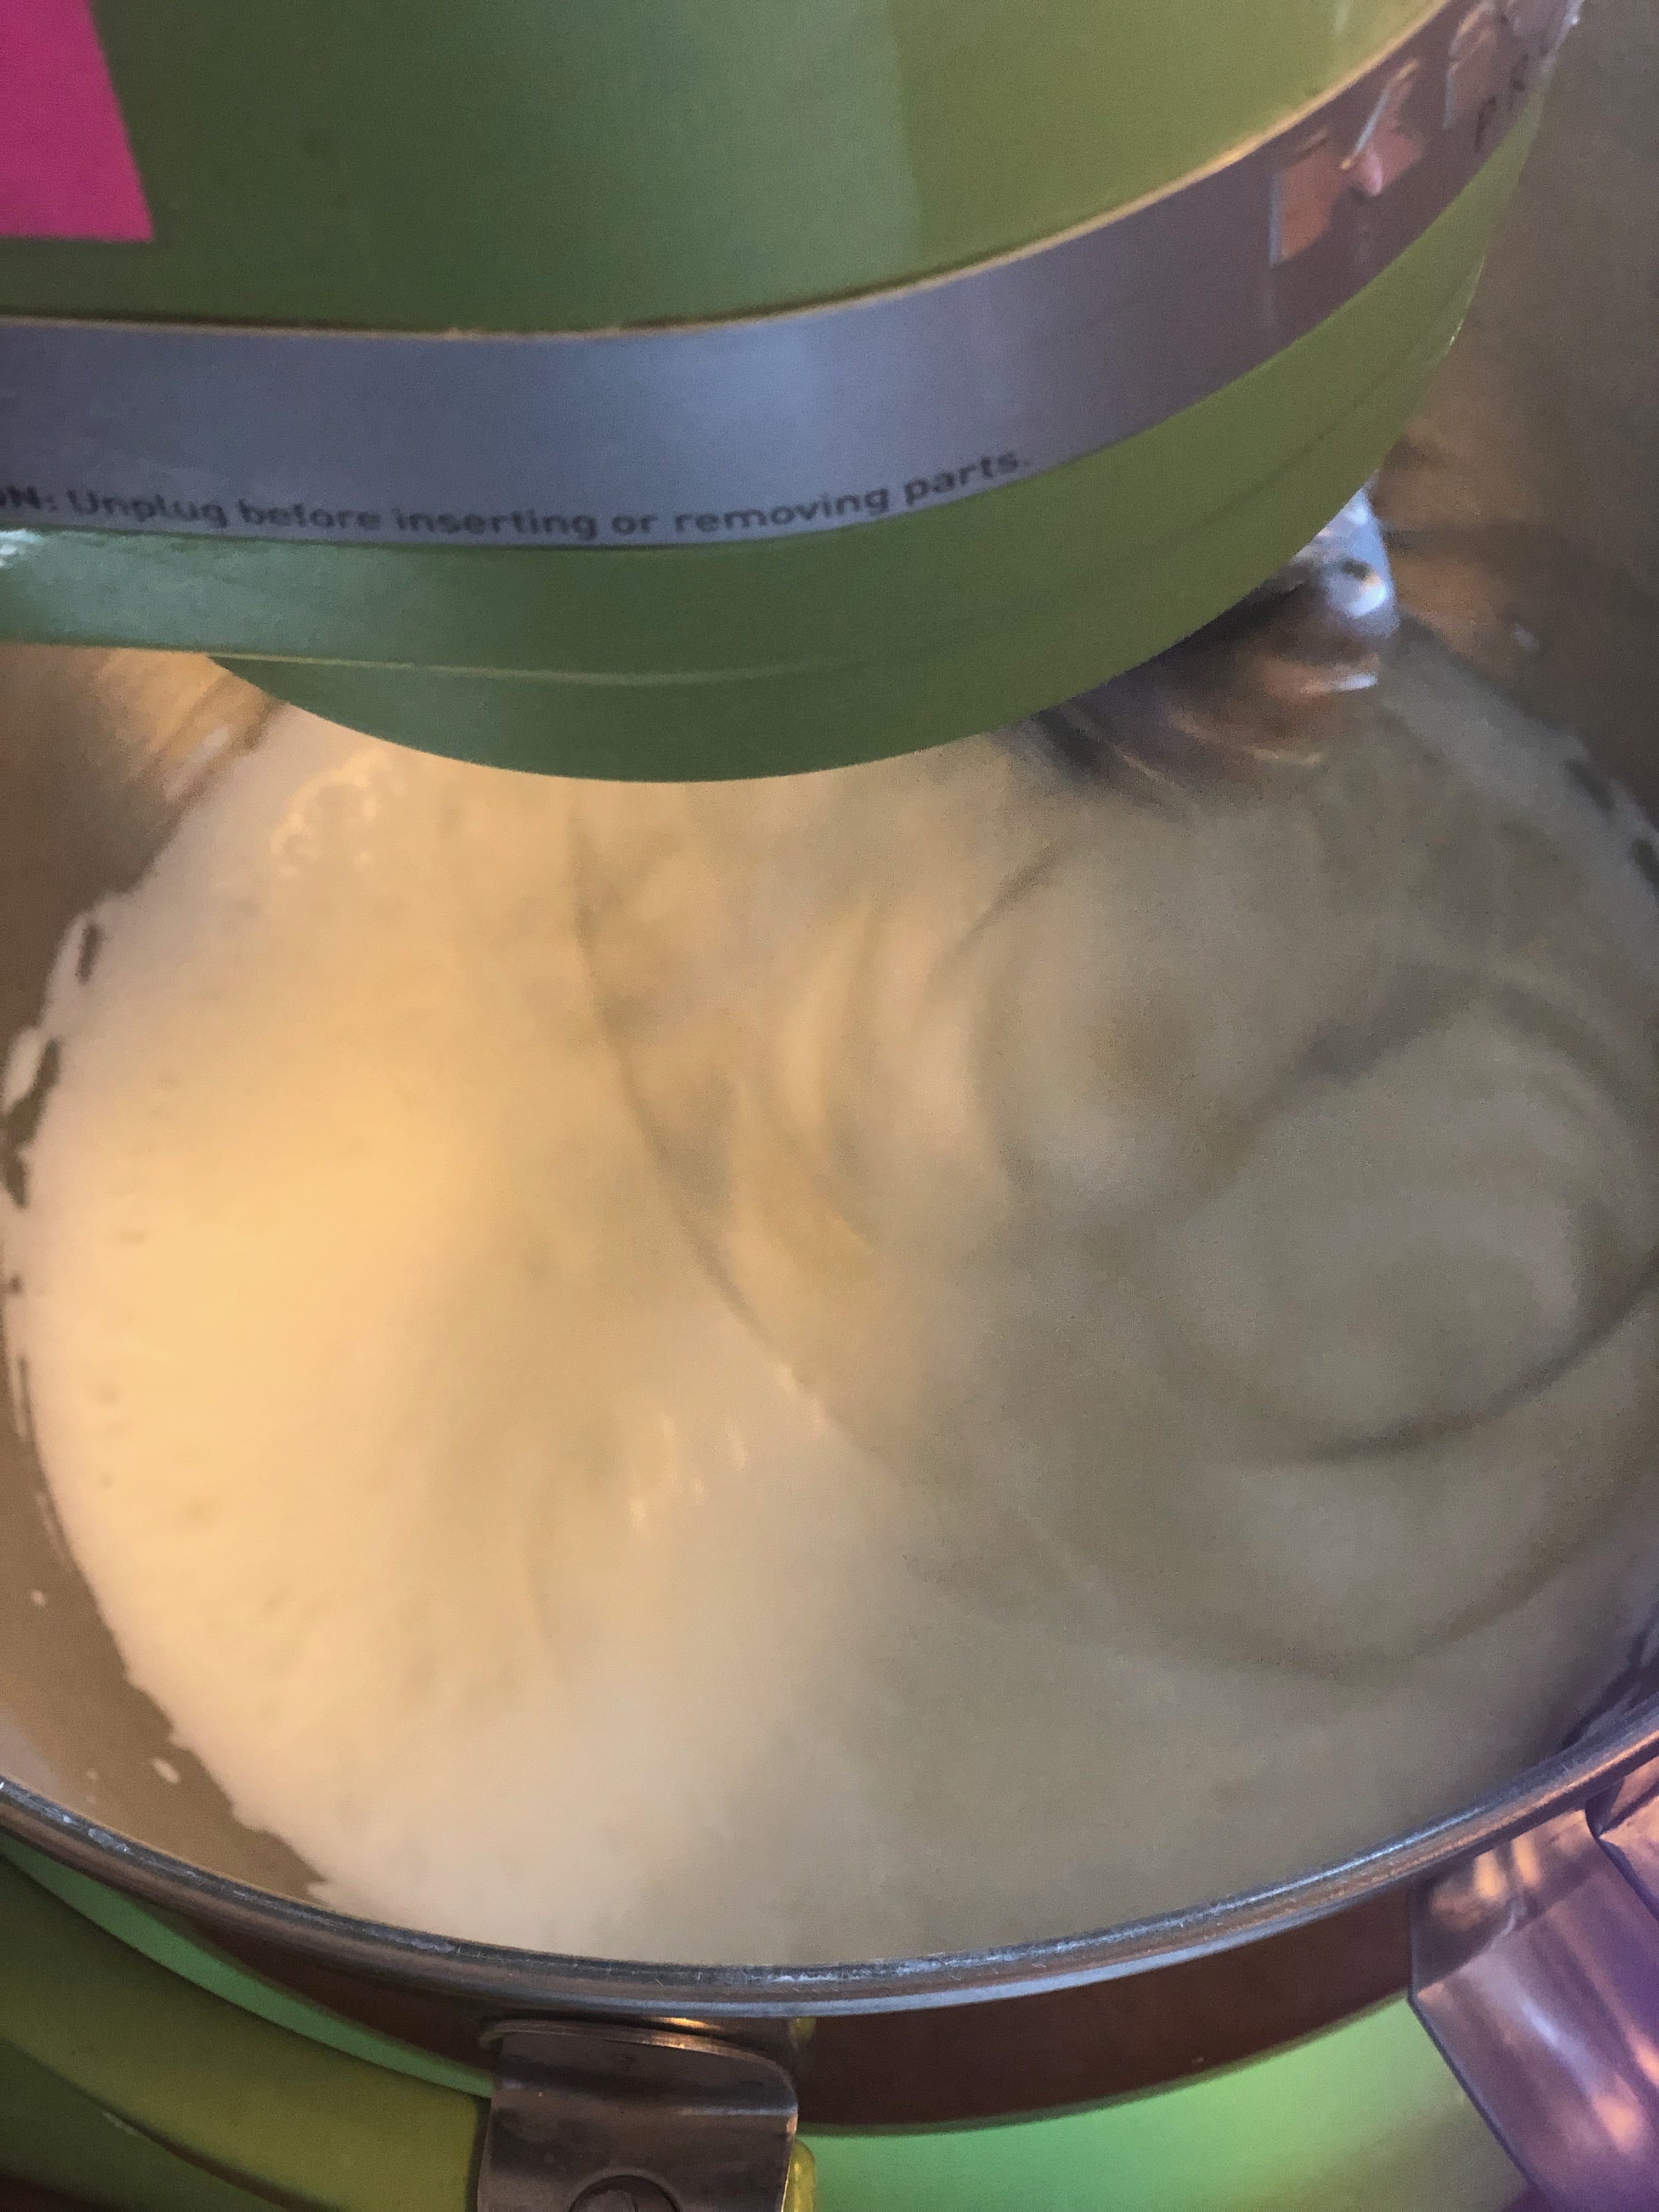
Beat this until you reach the soft peak stage. That’s gonna take another 2 or 3 minutes. What you are looking for is for peaks to start to form but when you stick the beater into the cream the peak falls off the beater and doesn’t stand up stiff.
At this point your gelatin should be bloomed. It should look kinda like slush but stick together all on one mass.. Add 1 tablespoon of water to the bloomed gelatin and stir to dissolve. If some of it won’t dissolve just discard those pieces. Oh, and don’t smell the gelatin, It doesn’t smell the best and it will just make you want to cry and question all your life decisions but I promise you won’t smell it or taste it when it’s in the whipped cream.
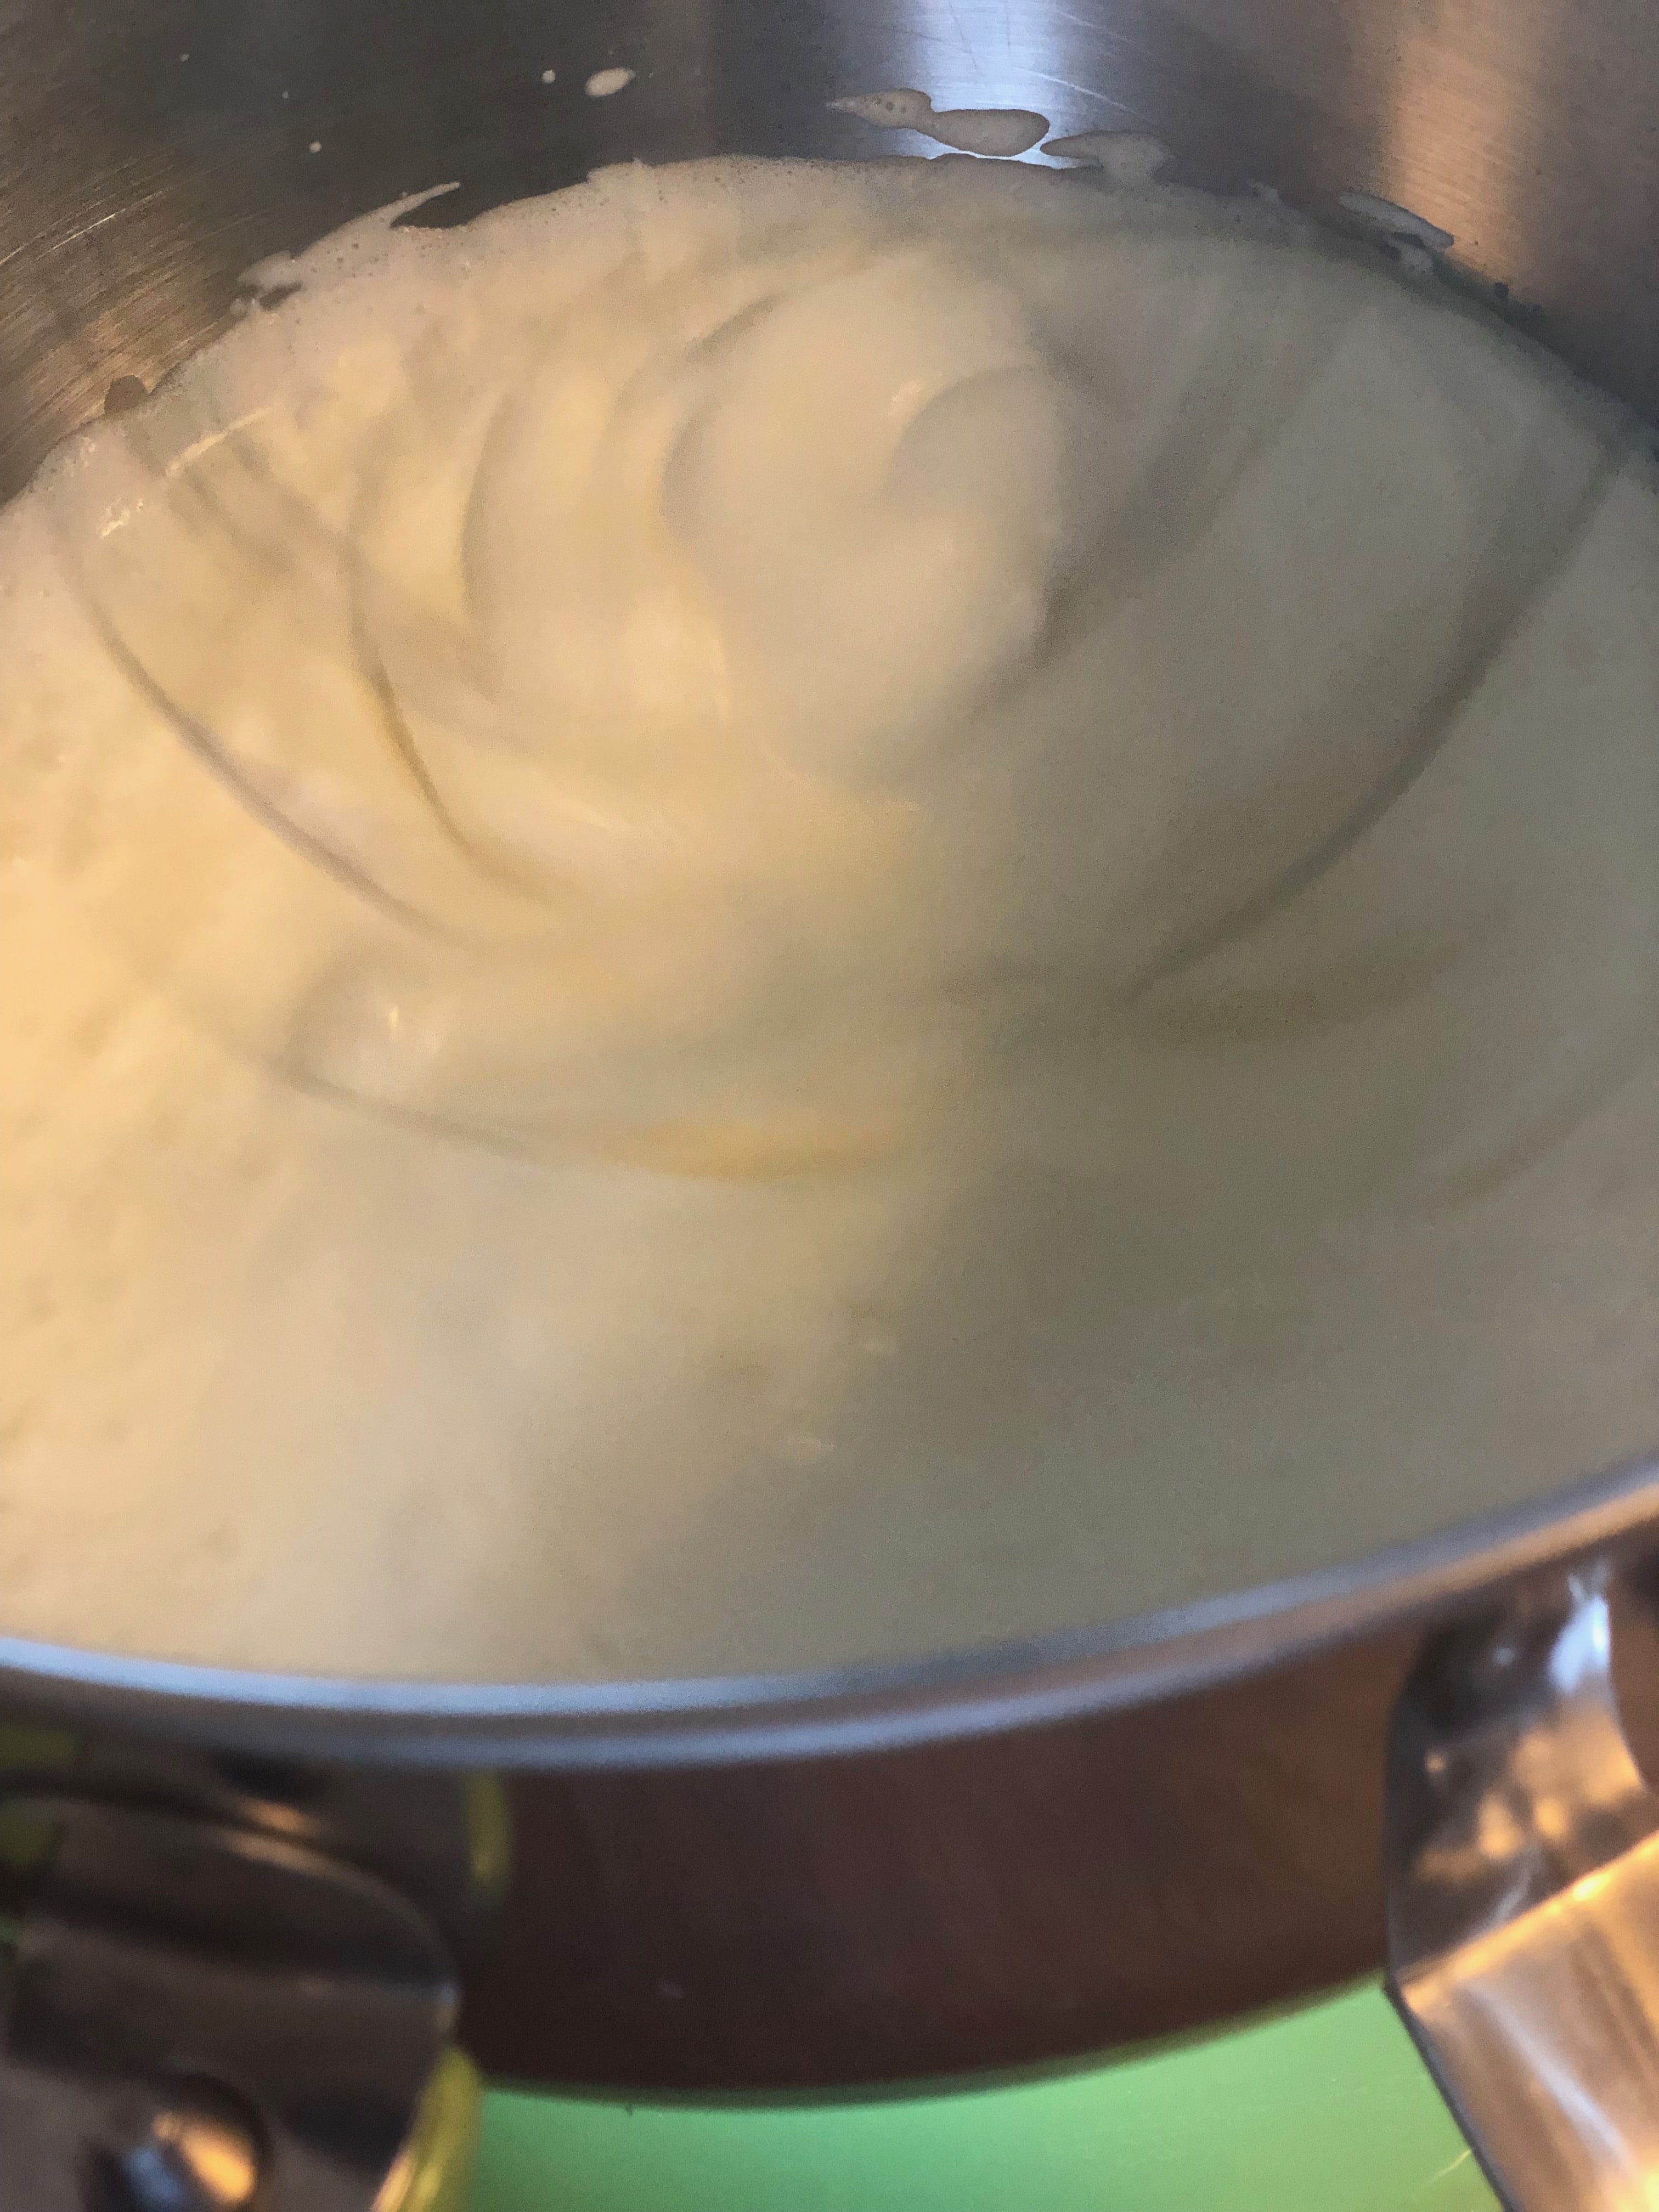
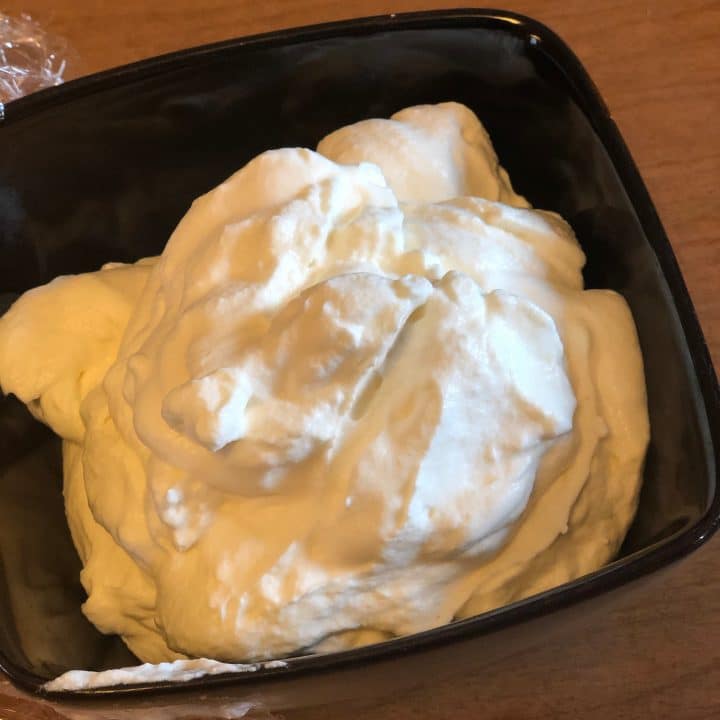
‘ While mixing, add the gelatin mixture to the whipped cream. Now it’s going to stiffen up fast so keep your eye on it so you don’t make butter. What you are looking for is the stiff peak stage. You can test for this by sticking your beater in the bowl and the whipped cream will stick to the whisk in a peak that will stand straight up on the beater and not fall.
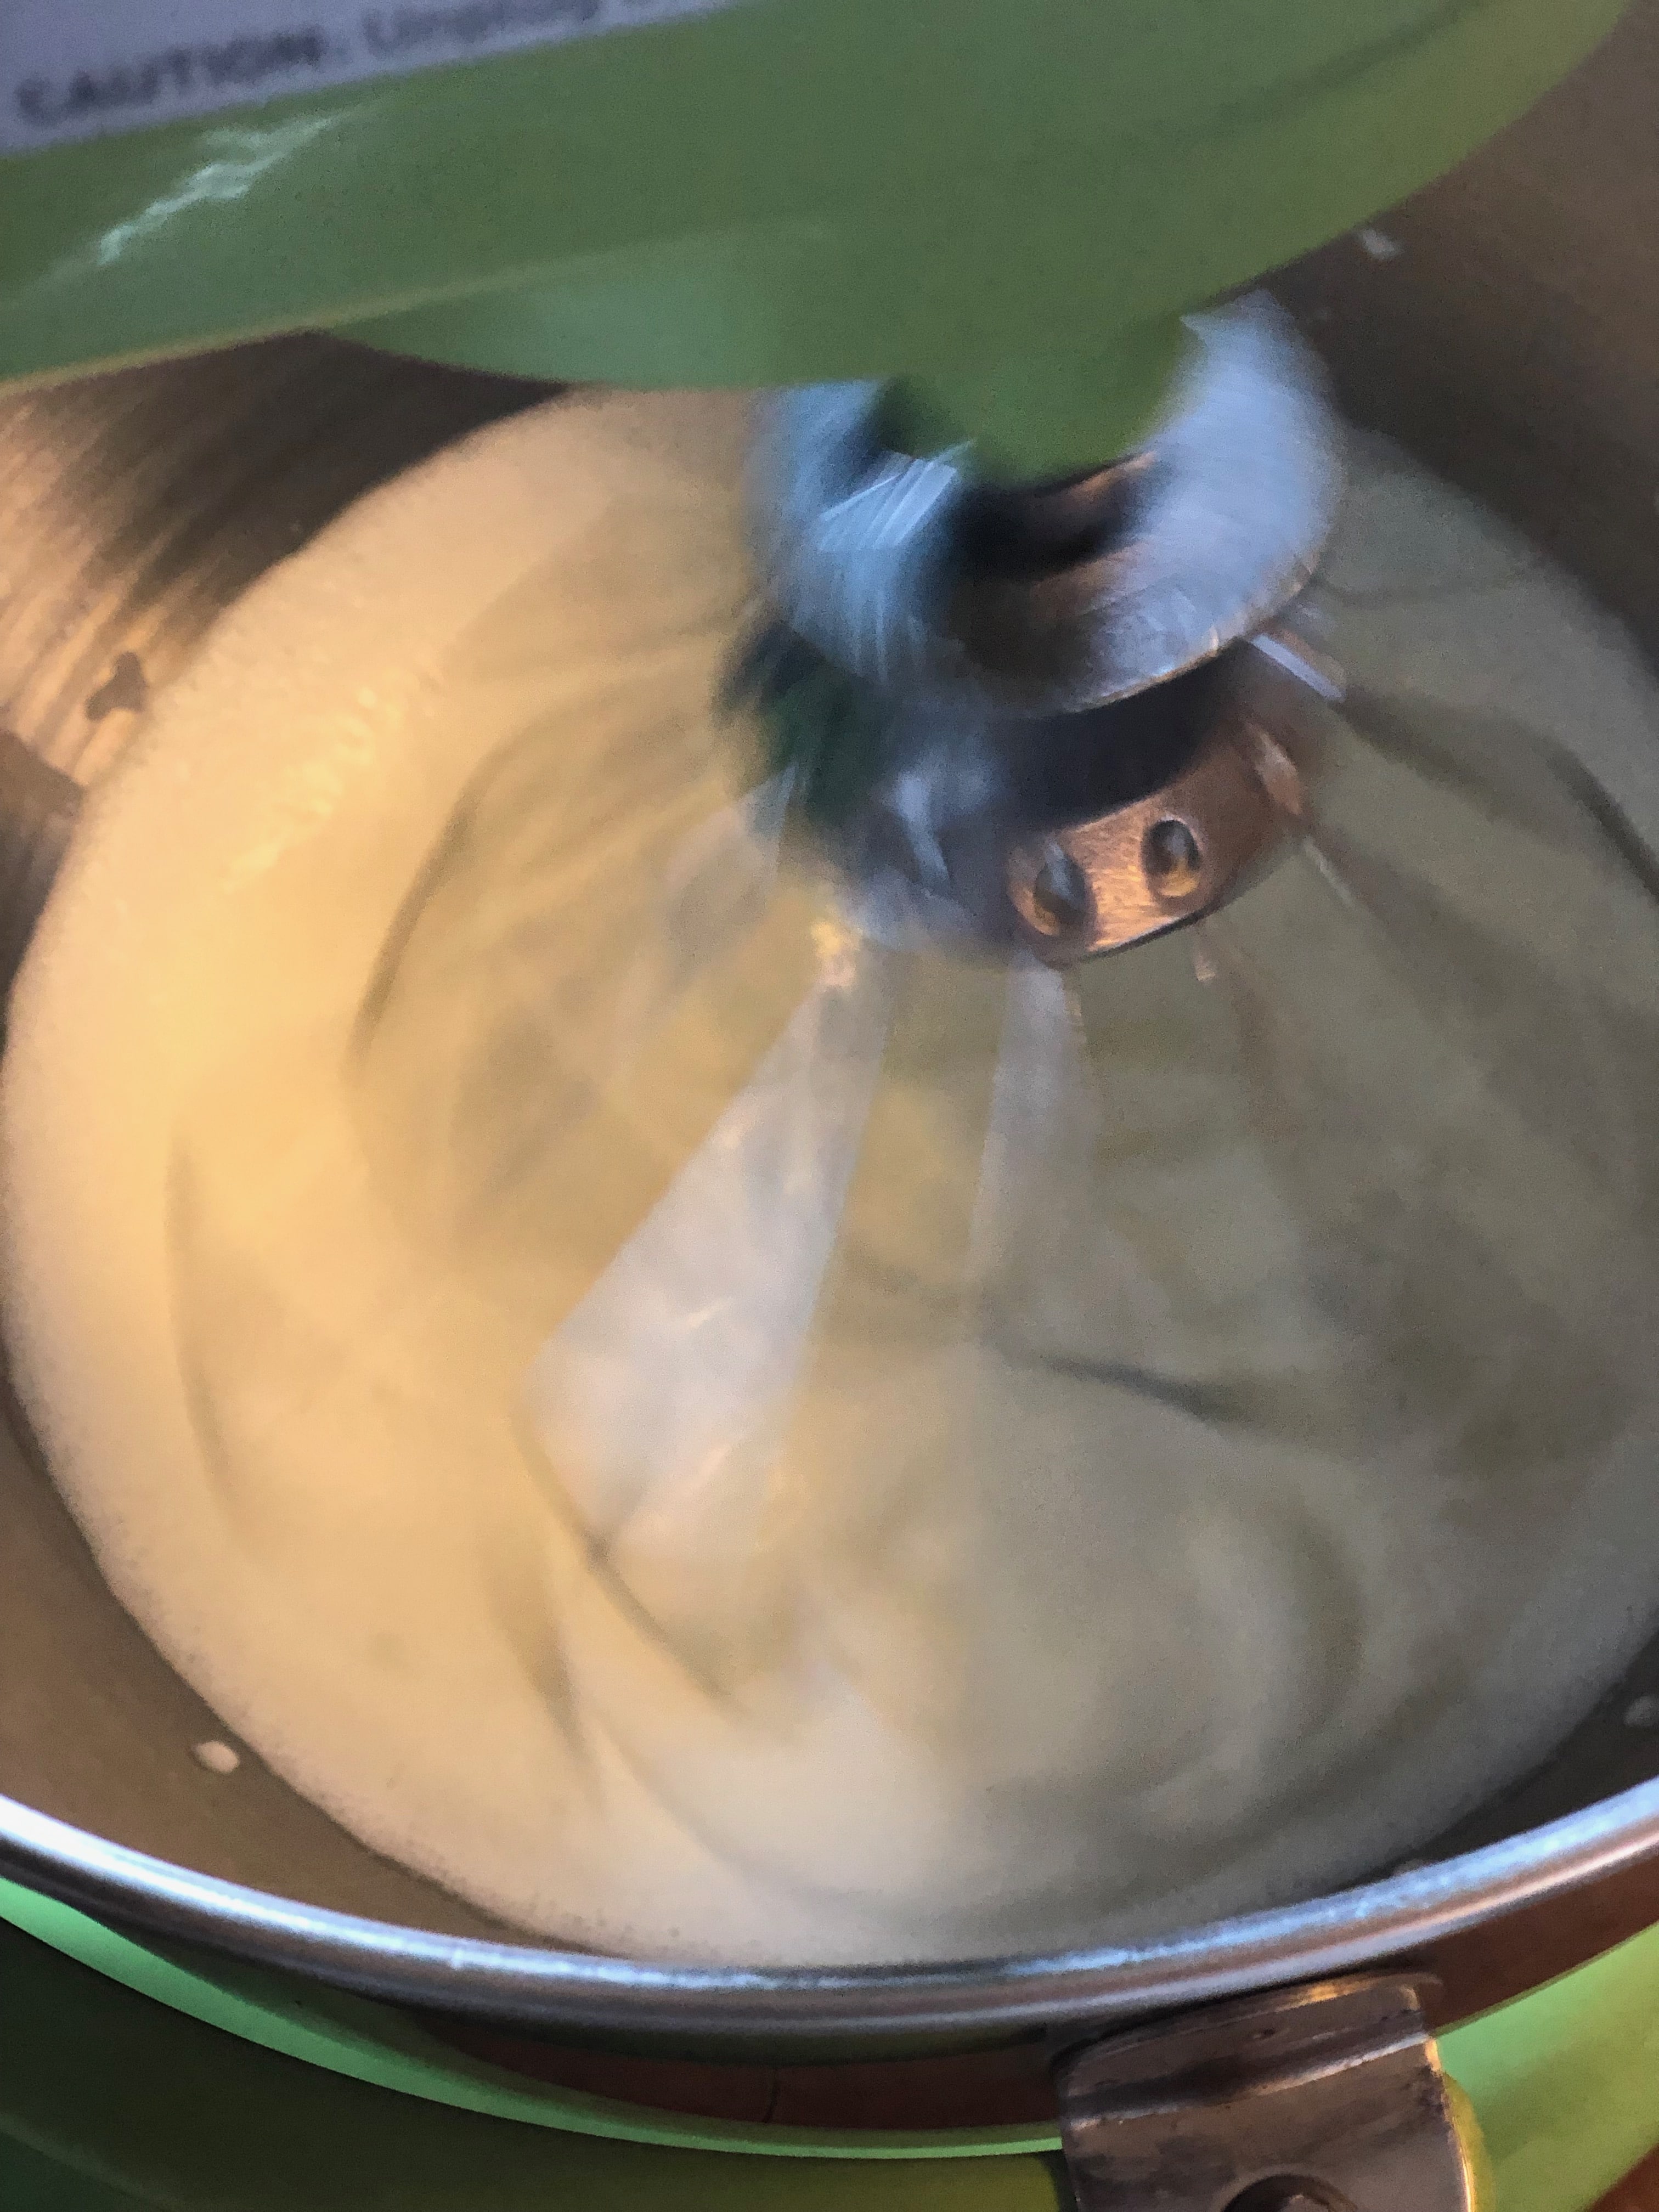
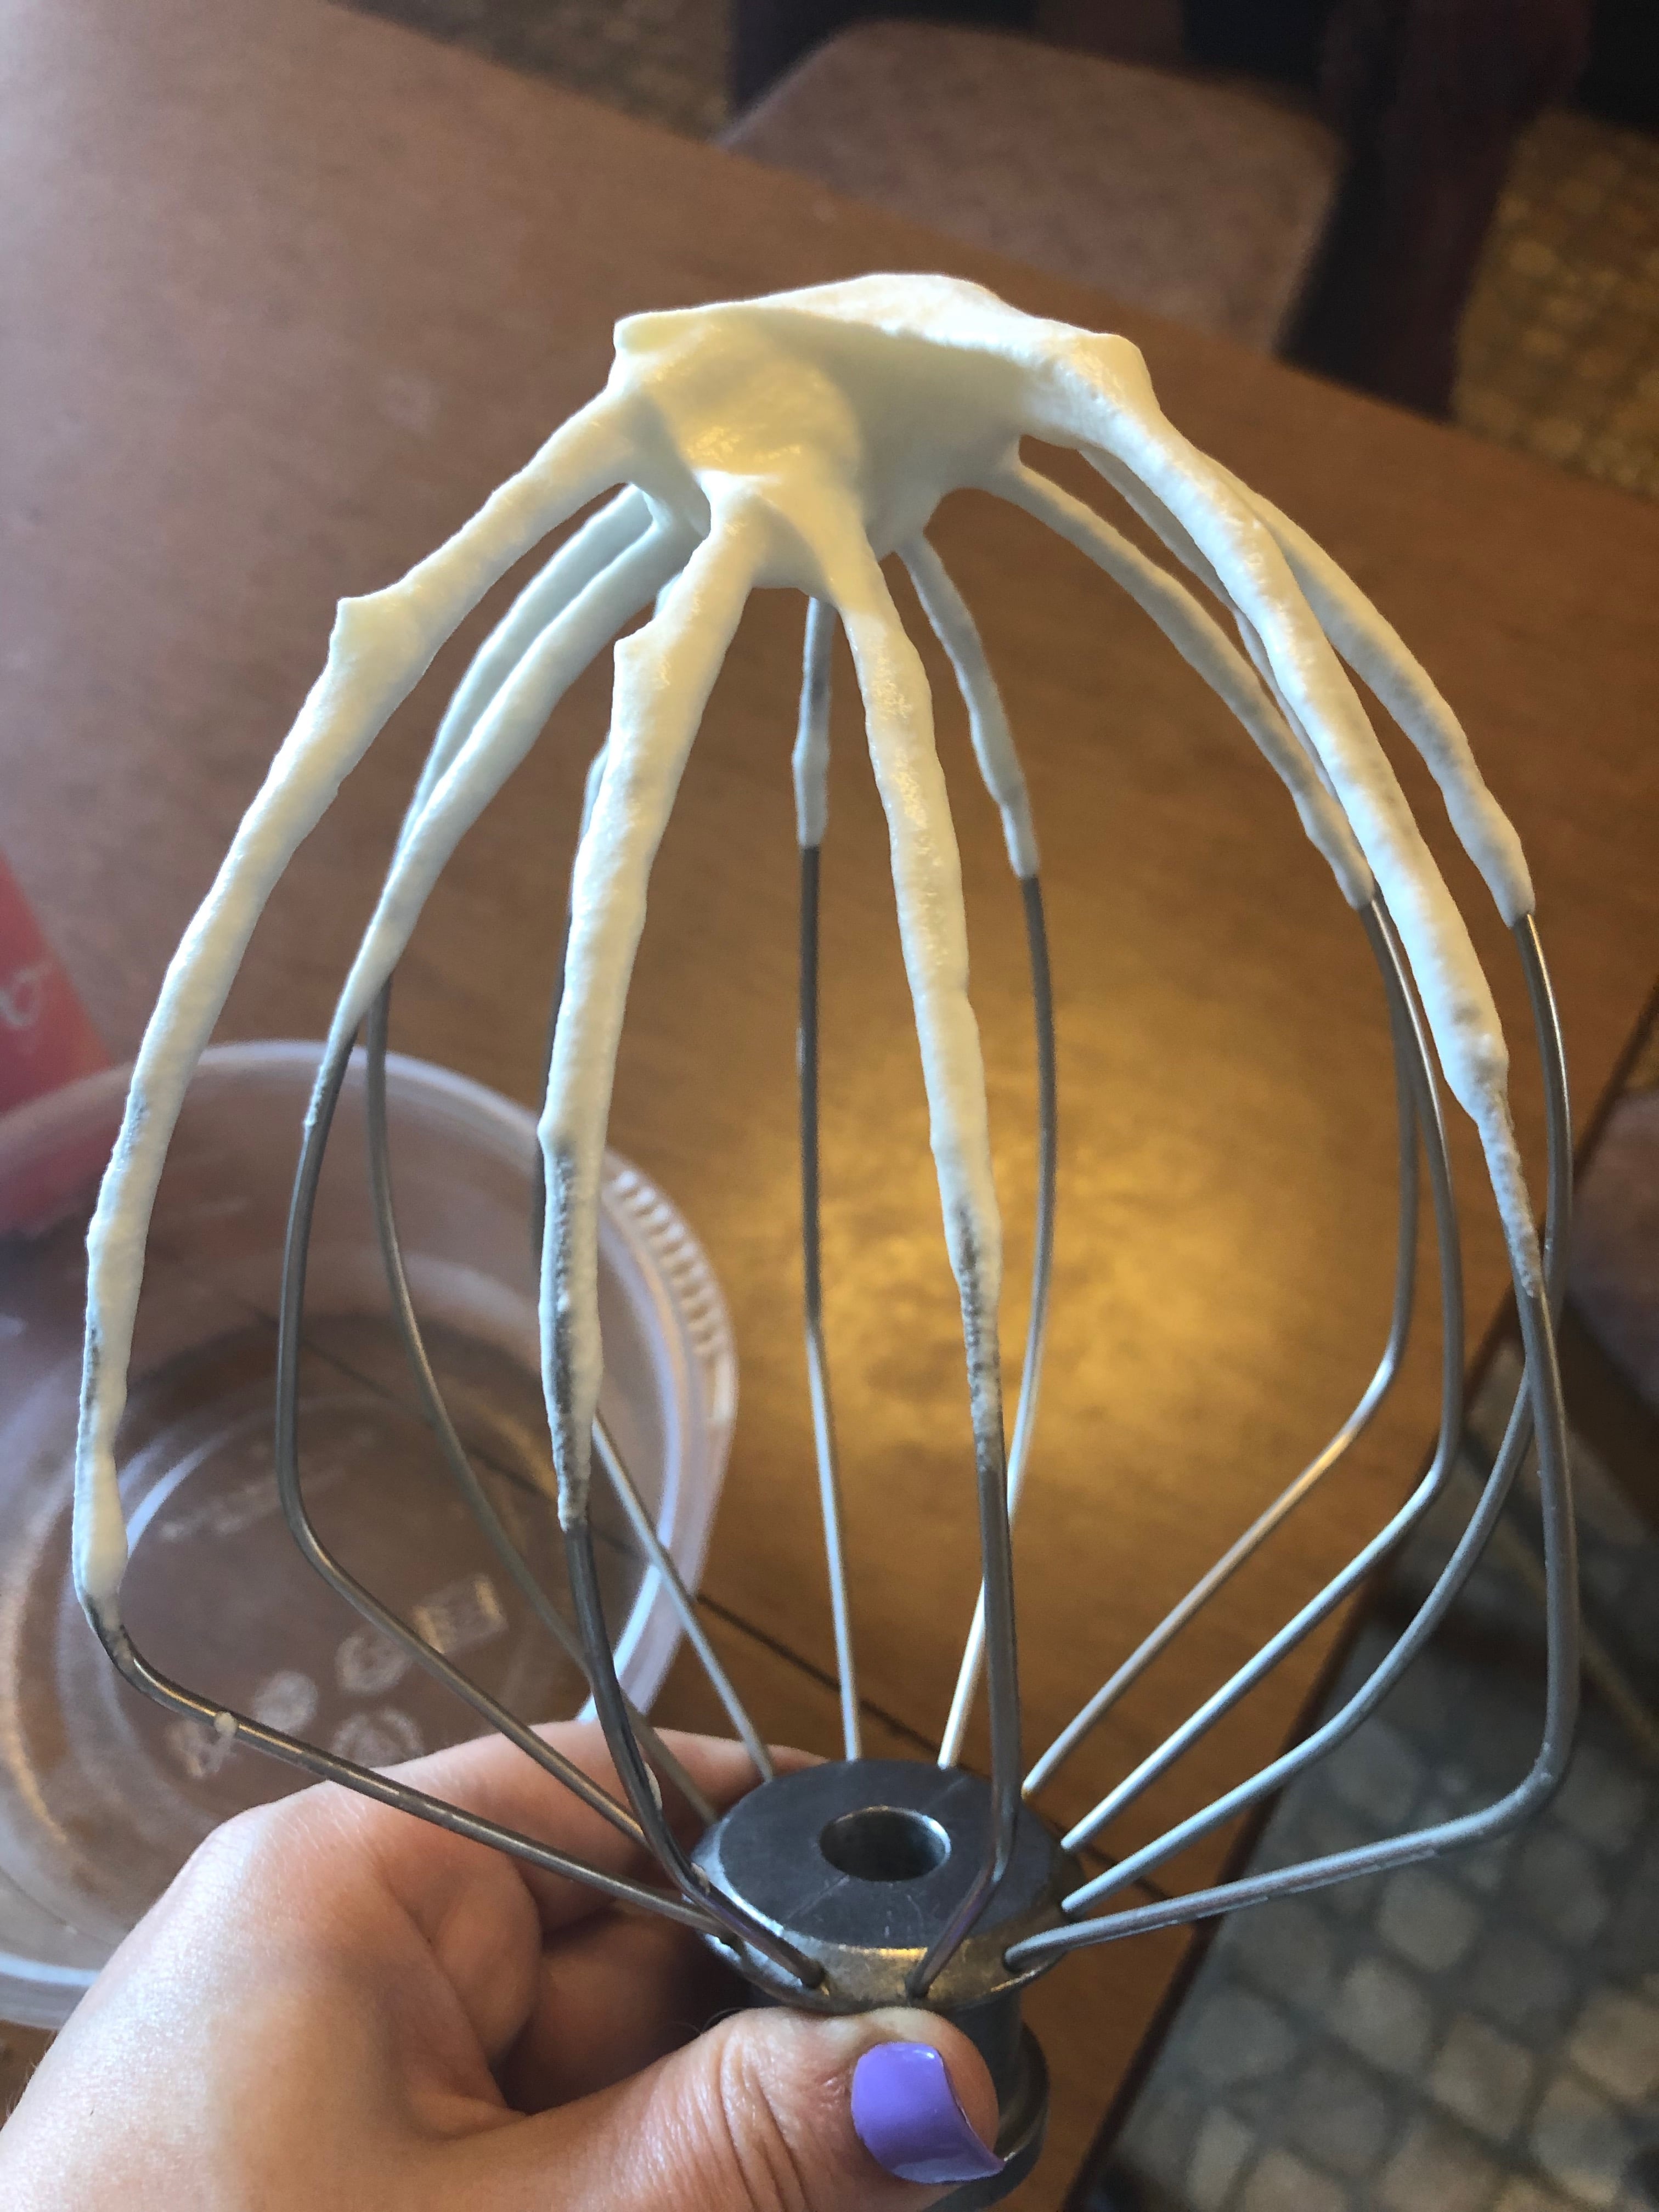
You can take it too far so easily. Just a minute further. This will look almost curdled and not as much of a peak. They do look kind of similar so be extra careful. Stop the mixer frequently to check if you have to.
This whipped cream can be used as a tupping for any dessert under the sun. Not just cheesecakes. And can be stable at you party all day. I hope you make this recipe. If you do let me know what you think.
Stabilized Whipped Cream
Fluffy, white whipped cream. Perfect to sweeten up any dessert.
Ingredients
- 1 Pint of Heavy Cream
- 1/2 Cup Granulated Sugar
- 1/2 of packet of Unflavored Gelatin (1 tsp)
- 2 Tbsp Cold Water
- 1 Tbsp of Boiling Water
Instructions
1.Bloom the geliton in cold water. Set aside to absorb for 5 minutes.
2. In the bowl of your stand mixer fitted with the whisk attachment or a hand beater, beat the heavy cream on high speed until it starts to get some volume. About 5 minutes.
3. Add the sugar in while mixing.
4. Continue whisking on high speed until it reached the soft peak stage. This is when the cream starts to gain peaks but the just fall back into the bowl when you stick the whisk in. About another 2-3 minutes.
5. Add the boiling water to the gelatin and stir until it dissolves. If there are a couple chunks that just won't deserve just remove them.
6. Add the gelatin mixture to the whipped cream while continuing to whisk.
7. Continue beating on medium speed until you reach the stiff peak stage. You want the whipped cream to stick to the beater in a glossy peak formation and stand up stiff on the beater and not collapse back down. But watch it carefully. you don't want to over whip it and make butter.
If you have any questions or comments please don’t hesitate to leave a comment down below, message me on instagram, facebookor leave me an email.
Facebook –facebook.com/Clumsy-Cakes-2058041137644585
Instagram-instagram.com/clumsy-cakes
pinterest –pinterest.com/clumsycakes
email – [email protected]
You May Also Like
So smart! Do you know if this works with non-dairy whip like coconut whipped cream?
I honestly haven’t tried it but I know other people have and it works fine. You could also use agar agar in place of the gelatin if you like. I don’t know if that interests you also.
Wow! Awesome, I’m always looking for tips to improve my baking as I’m new to it, this is really heklful! ????
I’m so glad I could help. And I am always here if you have any questions.
Wow! Cool tip! I never knew how people accomplished that, and I love learning new cooking tips! Thanks for sharing!
You’re very welcome
Yummy! I love this idea for a less sweet topping instead of thick, heavy buttercream. Can’t wait to try it out!
Awesome! Have fun and let me know what you think!
Oh!! I love this idea a lot! I love homemade whipped cream in my morning coffee and nw I know ho to mix up a larger batch to save. Thanks!
you are so welcome. Just make sure you wrap it up really good or it will kind of solidify in a weird way.
I didn’t realize you can do this! I’m excited to try it on an easter treat this weekend.
awesome! I hope you have a great weekend!
Yes, in the Florida heat, everything melts. This is a great tip for a lighter topping for cupcakes and cakes. And I bet it looks so pretty.
And it will stay pretty for a while!