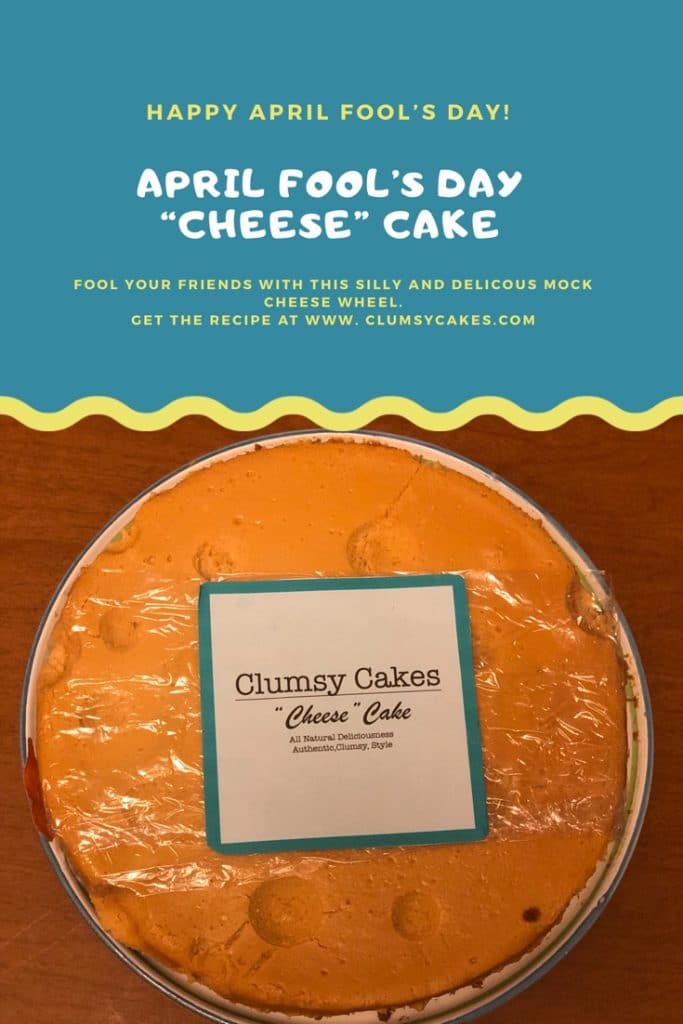
Happy April Fool’s Day! Well not quite yet but let’s make a fun cheesecake to get ready for it. This really is gonna be a fun one! Something I have always loved seeing people do is make food look like other food. I just think it’s the coolest thing and perfect to trick your friends on April Fools Day. So, that’s exactly what we are gonna do. We are going to make a cheesecake look like a cheese wheel. So it’s an April fool’s Day “Cheese” cake. Get it?
So, before we actually make the “cheese” cake we have to make our cheese wheel label. I made this label just on my computer. I just found a picture of a real label on a cheese wheel and put some of what they put but with a my own spin. For example, for the brand name I just put “Clumsy Cakes” and the sample label I found said ” All Natural Cheese” and mine says “All Natural Deliciousness”. I really had fun making it my own and making it look like a cheese wheel label but not. Just have fun and don’t take it too seriously. April fool’s day is meant to be fun and silly…
April Fool’s Day “Cheese” Cake: The Process
So, the plan for this “cheese” cake is to make some plain vanilla cheesecake batter and mix in some homemade caramel, or of course store bought. I can not stress how important it is to let your cream cheese soften. I was impatient in making this and had to fight with my cream cheese for about 15 minutes to get it smooth. and if its not at room temperature also you get more or a chance of scraping up a chunk of cream cheese from the bottom that you didn’t even know was there. But, if you are in a hurry for instance, and don’t have time to wait, all is not lost. It will be ok. I have been there. Just beat it for longer. You will see some little chunks of cream cheese for a while but they will come out. with continuous mixing. Just make sure not to mix too much once your eggs go in. Just until incorperated. So let’s get to the recipe.
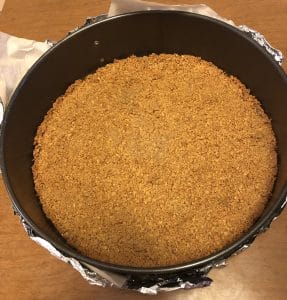
First thing you are going to do is prep your pan, preheat the oven to 350 degrees and prepare and bake your crust..
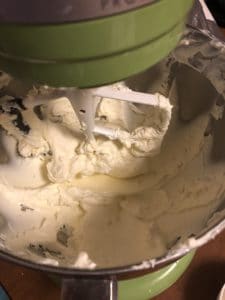
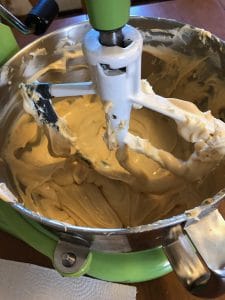
After that is all done and our prepared crust is in the freezer, we are going to start our cheesecake. So, start by putting the softened cream cheese in the bowl of your stand mixer fitted with the paddle attachment or a regular bowl with a hand mixer. Beat that on medium speed until completely smooth…
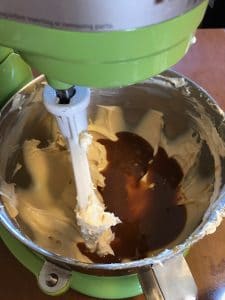
Next, you are going to add the caramel. I made one batch of my caramel sauce because I thought that was all I would need. I tasted it, turns out it needed more.. Store bought caramel saves the day again.
So, I added that and beat until fully incorporated, scraped down the bowl and beat once more until smooth.
Next, I added the sugar. I only added a 1/2 of a cup as opposed to the normal 1 cup. This is because we added caramel which is very sweet to I just added enough to sweeten the cheesecake perfectly.. I also added vanilla extract at this point and mixed until smooth. I then scraped down the bowl and mixed again until smooth.
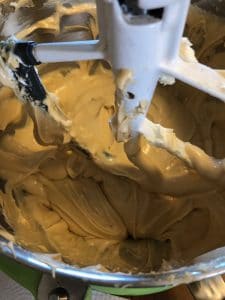
You might notice little specks of cream cheese in the mix still.. That is because I didn’t wait for the cream cheese to soften fully. Don’t be m, .guys! Soften your cream cheese. I’m bad and I’ll never do it again, I promise. It does melt so you won’t bite into a chunk of cream cheese but it won’t be as creamy as it could be.
Next, I added the plain greek yogurt and mixed until incorporated. This is your last chance to get the batter as smooth as you can so scrape down the bottom and the sides of the bowl really well and beat until its really really smooth.
Reduce the speed to low and add the eggs one at a time and mix in between each addition to incorporate.

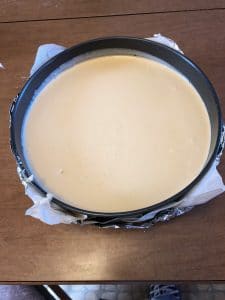
Pour the batter into the prepared crust and tap the pan on the the work surface a few times. to get out any air bubbles. When they rise to the surface you can use a toothpick to pop the bubbles.
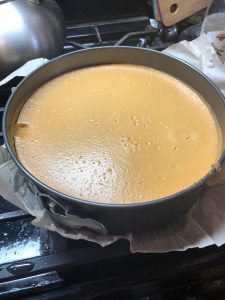
Bake in a waterbath for 45 minutes to an hour or until set around the edges but jiggly in the center .Keep in mind that we added a lot of caramel so the cheesecake will be thicker it may take a little longer to bake. Just keep an eye on it.
And of course, no clumsy cakes cheesecake is complete without me sticking my finger in it. Don’t worry we’ll fix it. Once baked, shut off the oven and crack the oven door. Leave the cake in the oven for an additional hour to cool. Once cooled, cover the cake with clear plastic wrap and place it on the fridge overnight.
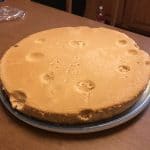
Now we can actually start to make this cheesecake look like a wheel of cheese for April Fool’s Day! In the morning, take the cheesecake out and un-mold it onto a 9 inch cake board.
Lay a piece of parchment paper over the top of the cake and draped over the sides.. With your fingers, gently push on the corners to round them out.
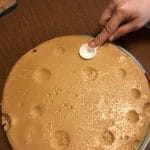
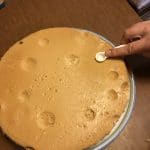
Using several different sized measuring spoons and a picture of an actual cheese wheel for reference indent the cake to create crators in different spots to resemble cheese.
Previous
Next
Cut a long sheet of clear plastic wrap in half or fold it in half so its not so big. Wrap that piece around the top of the cake securing under the cake.


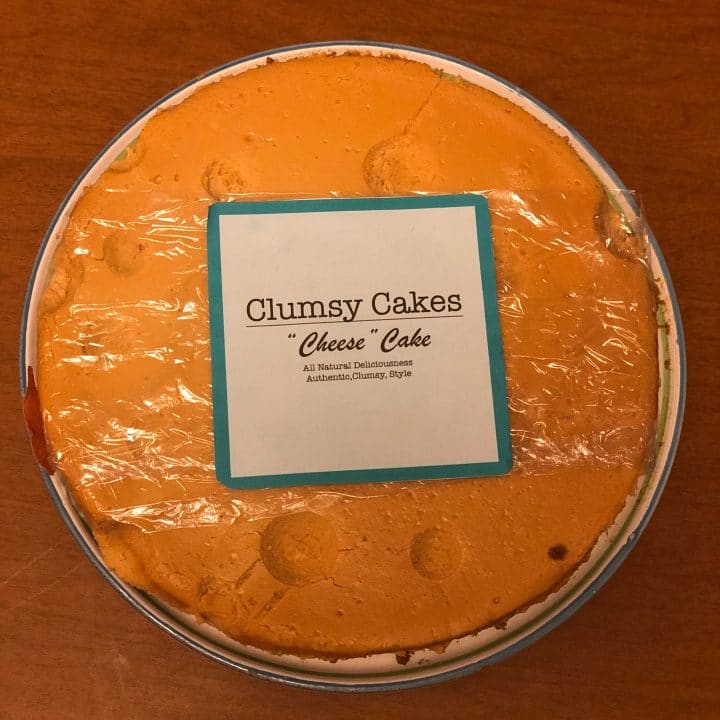
Peel off the back of the homemade cheese wheel label and stick to the center of the cake on the clear plastic wrap.


So there you go guys. Make this cake to trick your friends or make them laugh.. To be a little more convincing peel off a real cheese wheel label and stick that to the clear plastic wrap. Any way you do it just have fun with it. Happy April Fool’s! :

April Fools Day "Cheese" Cake
Ingredients
For Crust
- 1 Pack of Graham Crackers
- 4 Tbsp of Unsalted Butter
- 2 Tbsp of Granulated Sugar (optional)
For Cheesecake
- 3 blocks of Cream Cheese
- 1 Cup of Granulated Sugar
- 1 Tbsp of Vanilla Extract
- 1/2 cup of Plain Greek Yogurt
- 5 Eggs
For Caramel
- 1 Cup of Granulated Sugar
- 4 TBSP of Water
- 1/4 Tsp of Salt
- 1/2 Cup of Heavy Cream
- 4 TBSP of Unsalted Butter
- 1/2 of a Lemon
Components
Instructions
For Crust
1. Crush the graham crackers either by putting them in a food processor or putting them in a zip lock freezer bag and crushing them with a rolling pin.
2. Add the butter little by little until the texture of the mixture resemble wet sand. You
may not need the full stick of butter.
3. Add the sugar to taste if your graham crackers are not already sweet enough.
4. Press the crust mixture into the pan making sure that the mixture is in an even layer and reaches the edges of the pan.
5. Preheat the oven to 350 degrees and bake for 10 minutes or until golden brown.
6. Set the crust aside to cool and then stick it in the freezer for an hour.
For Caramel
1. Wipe down the inside of a medium sized heavy bottom saucepan with lemon juice to prevent crystallization.
2. wet method- Put sugar and enough water to cover the surface of the sugar in the pot. Swirl the pot to distribute the water. Cook covered on medium high for 3-4 minutes or until the mixture is clear. Continue cooking for a few additional minutes until it turns a medium golden color. Shut off.
dry method- Put the sugar in the pot. Cook on medium high heat until the sugar melts. Cook until boiling. shut off.
3. Pour in the heavy cream and stir to stop from bubbling.
4. Add the butter stir that in.
5. Add the salt and transfer to a heat proof container. Stir in the fridge for up to
two weeks.
For Cheesecake
- Prepare the pan, prepare the Graham Cracker Crust and preheat the oven to 350 degrees.
- Place the softened cream cheese in the bowl of a stand mixer fitted with a paddle attachment or a large bowl with a hand mixer. Beat on medium speed for about 5-10 minutes or until the cream cheese is completely smooth. Scrape down the sides and the bottom of the bowl and beat one more time until smooth with no lumps.
- Add the caramel (reserve a very little bit to secure the cake board to the cake later) and beat until incorporated. Scrape down the sides and the bottom of the bowl. Beat once more until smooth.
- Add the sugar and vanilla extract. Beat until Incorporated. Scrape down the sides and the bottom of the bowl and beat again until smooth.
- Add the plain greek yogurt and beat until incorporated. Scrape down the sides and the bottom of the bowl and beat again until smooth.
- Reduce the speed to low. Add the eggs one at a time, beating in each between each addition until incorporated.
- Pour the batter into the prepared crust and tap the pan on your work surface a few times to get out any air bubbles.
- Bake in a water bath for 45 minutes to an hour until the sides of the cheesecake are set but the middle jiggles slightly.
- Once done, shut off the oven and let the cheesecake sit in the oven with the door cracked to cool for an additional hour. Then take it out, cover with plastic wrap and put in the fridge overnight.
For Decoration
- Unmold the cheesecake, smear a bit of caramel on the cake board and secure the cheesecake onto the cake board.
- Place a piece of parchment paper over the cheesecake so it’s on the top but still hanging over the edge.
- Using your fingers smooth out the edges of the cheesecake so its a little more rounded.
- Using your measuring spoons in various sizes, carefully make indentations in the cake to resemble the craters of a cheese wheel. Use an image to help you.
- Place the strip of clear plastic wrap that has been folded in half) carefully across the top of the cake. Secure the ends at the bottom.of the cake.
- Peel off the back side of your cut out cheese wheel label on the adhesive print paper and stick it to the plastic wrap in the middle of the top of the cake.
- Store any left overs covered with clear plastic wrap or in a container with a lid for up to two weeks.
Yummy yummy. I love cheesecake and your instructions and pictures look absolutely delicious. My daughter has been asking for us to do some baking together and she has spring break next week. I will have to try out this recipe. Thank you for posting. Raheela.
You’re so welcome. Let me know if you have any question. And send me a picture if you don’t mind. I would love to see. 🙂
this cheesecake looks SO yummy!!
It’s so good. You have to try it!
This looks so fun and I love your photos here!!
thank you! this was such a fun one to make.