Disclaimer: This post contains affiliate links. This means that I will receive a small commission from any purchase made from this post at no additional cost to you.
Strap in guys. This is gonna be a long one! This process is not for the faint of heart. But it is so worth it in my opinion.
If you are someone that appreciates the process of turning something into something else. Especially, when it looks like that transformation is impossible, this recipe is for you.
I am going to show you step by step how to make chocolate from scratch from a fresh cacao pod.
This post is going to be also kind of a “cake fails” as well. This is a series that I do on my blog where I talk about where I went wrong in a recipe and what I will be doing next time or what I did to fix it.
I will warn you, this is very much a “trust the process” type recipe. So bare that in mind.
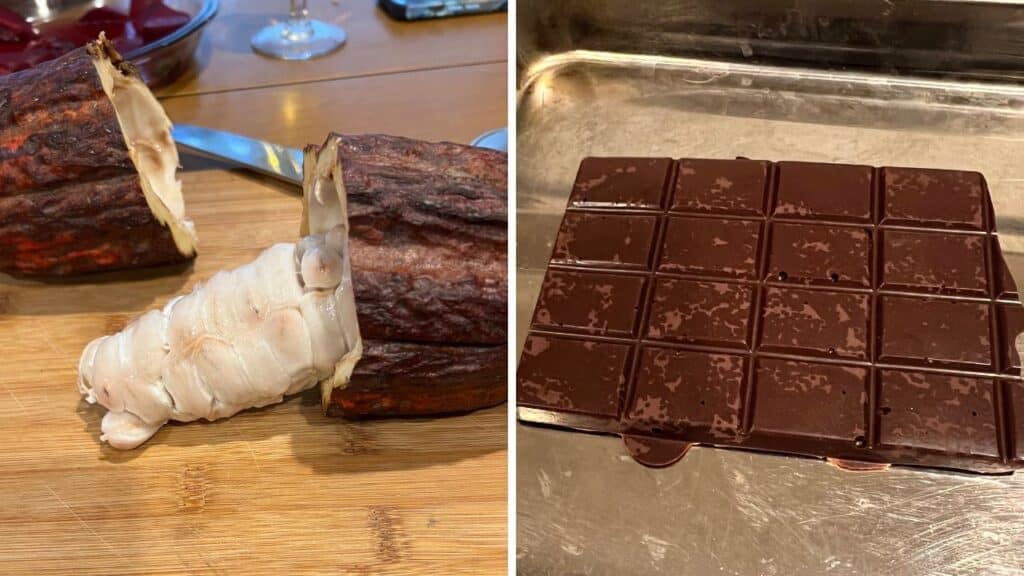
Table Of Contents
- The Fresh Cacao Pod
- From Pod To Cacao Bean: Step 1 – Fermentation
- Prepping The Cocoa Beans/ Cacao Nibs For Roasting: Step 2 – Drying
- Tending To The Fresh Cacao Beans: Step 3 – Roasting
- Still Tending To The Fresh Cacao Beans: Step 4 – Winnowing
- Transforming The Cacao Beans Into Chocolate: 5 -Grinding
- Final Transformation From Cacao Bean Into Chocolate: Step 6 – Conching
- How To Make Your chocolate bar: Step 7 – Tempering
- Finally There!: Step 8 – Molding
- How I Did
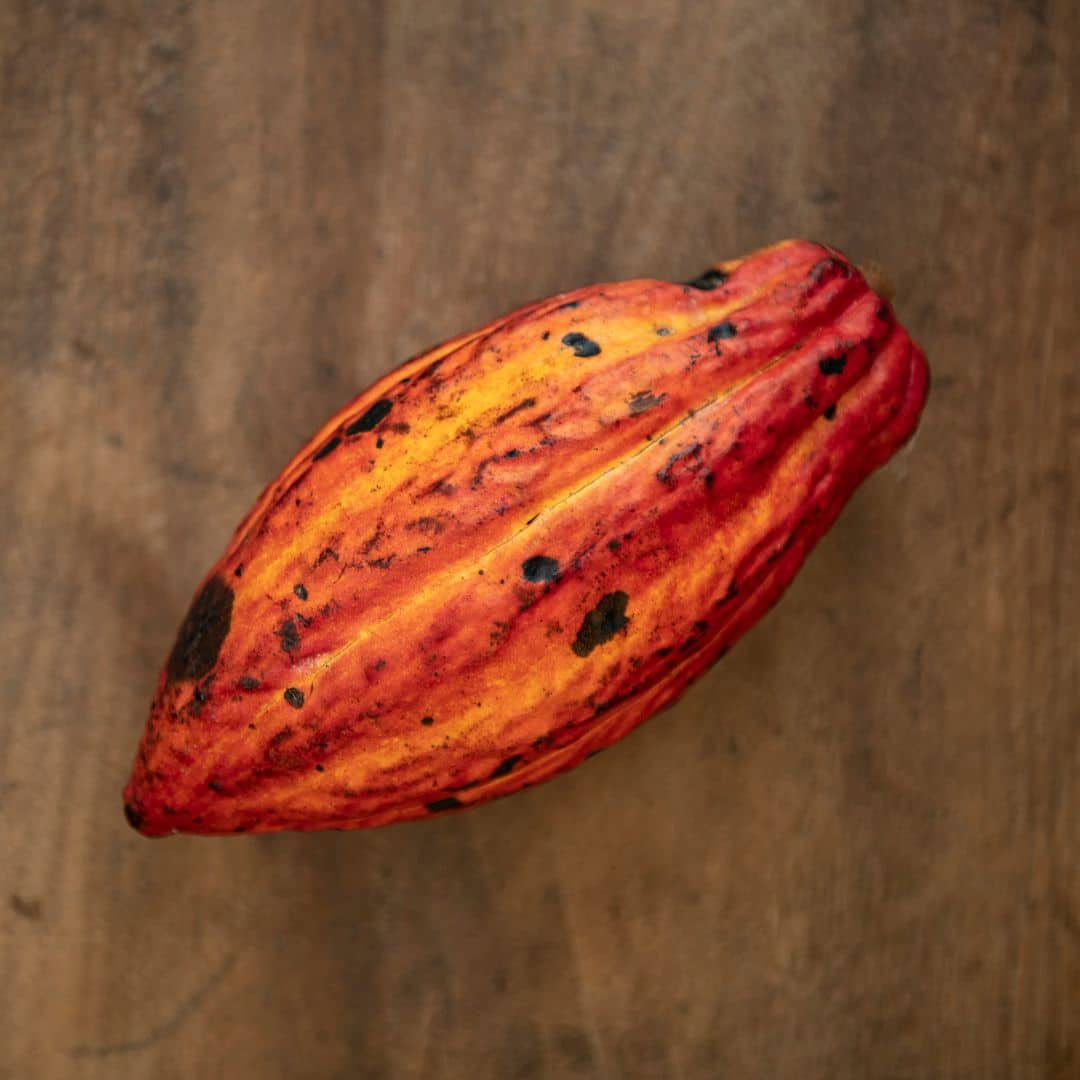
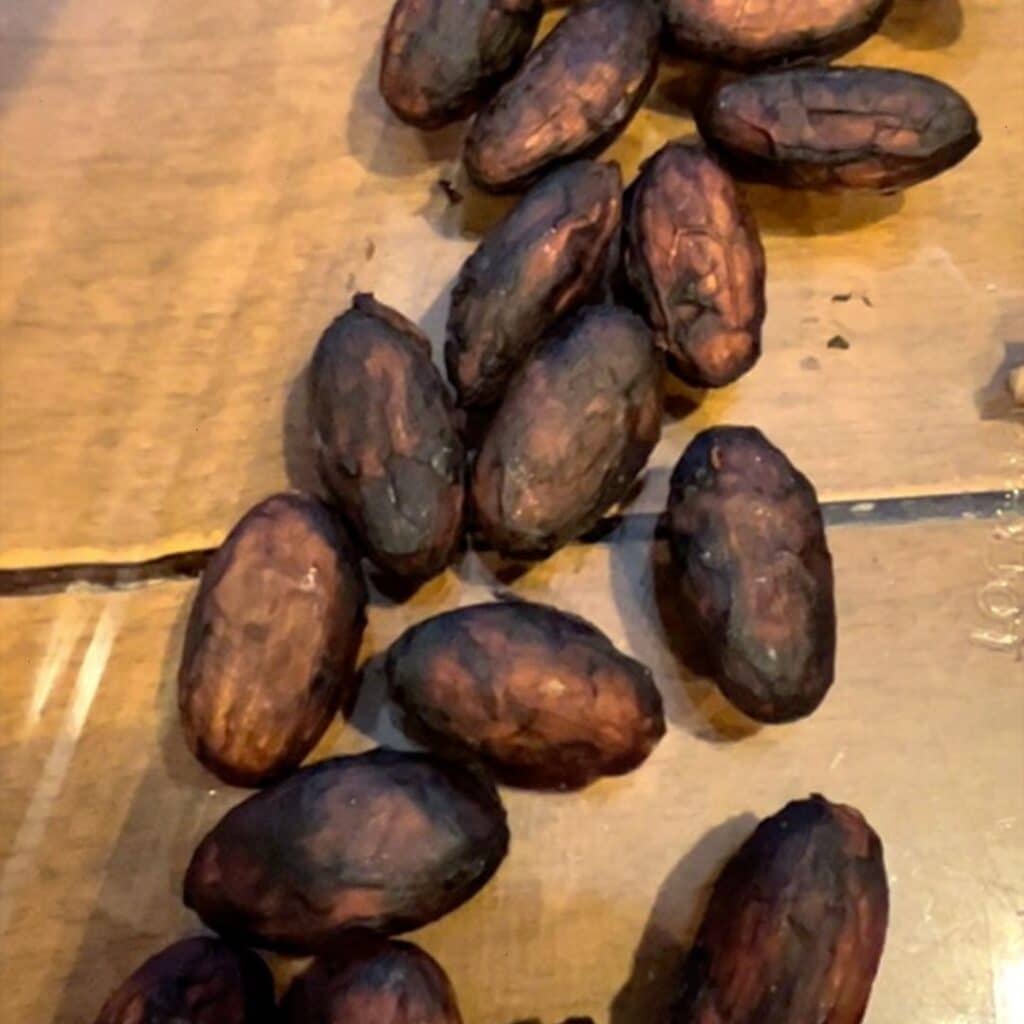
The Fresh Cacao Pod
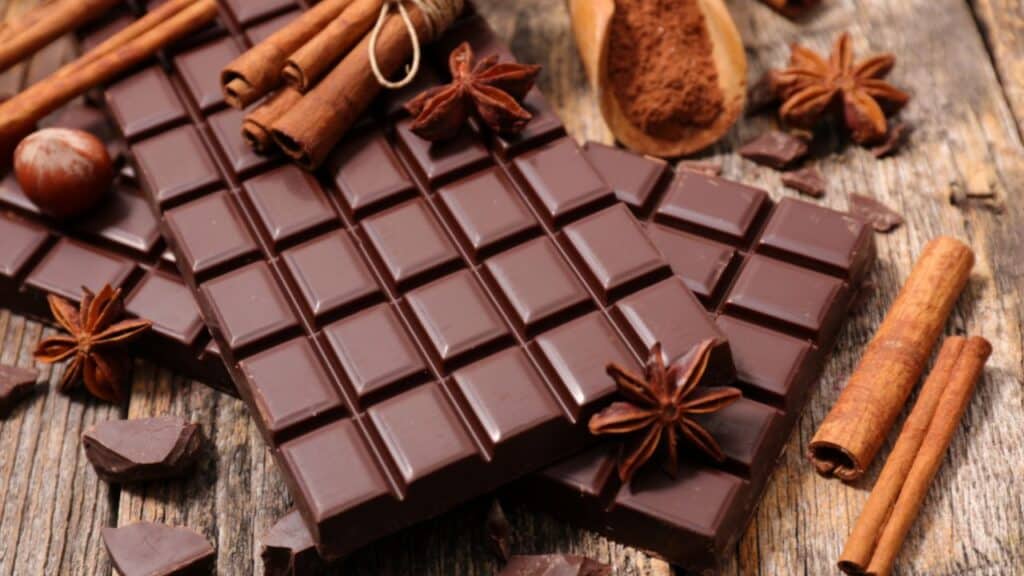
Believe it or not. This is what chocolate comes from. A fresh cacao pod. The cacao pod is the fruit of the cacao tree.
That’s right guy’s, chocolate is a fruit! Well, we have to do a lot of work to make it chocolate but at it’s very basic form, it’s a fruit.
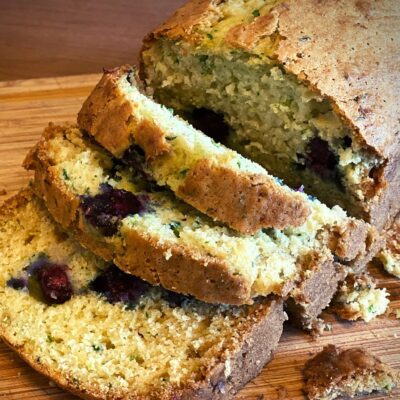
So next time your doctor asks if you are getting your fruits and vegetables in, you can say yes totally truthfully. As far as vegetables, check out this zucchini bread with 2 versions or my carrot cake roll.

Before we even begin, we have to make sure the fruit is ripe by shaking it and if you can hear the beans/ cacao seeds rattling around in there, it’s ready to begin the long journey towards its destiny of becoming chocolate.
Now, I got this online for an absurd amount of money but you can always go on amazon and buy raw cacao beans that are already fermented and dried. I wanted the full experience so I elected for this.
Like I said before, this is for the fun of the process and not just the end result. But it is easier and cheaper to get a full bar that way. One pod which is what I bought didn’t even make a full bar.
From Pod To Cacao Bean: Step 1 – Fermentation
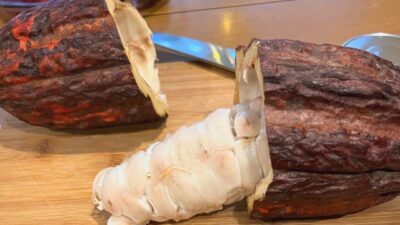
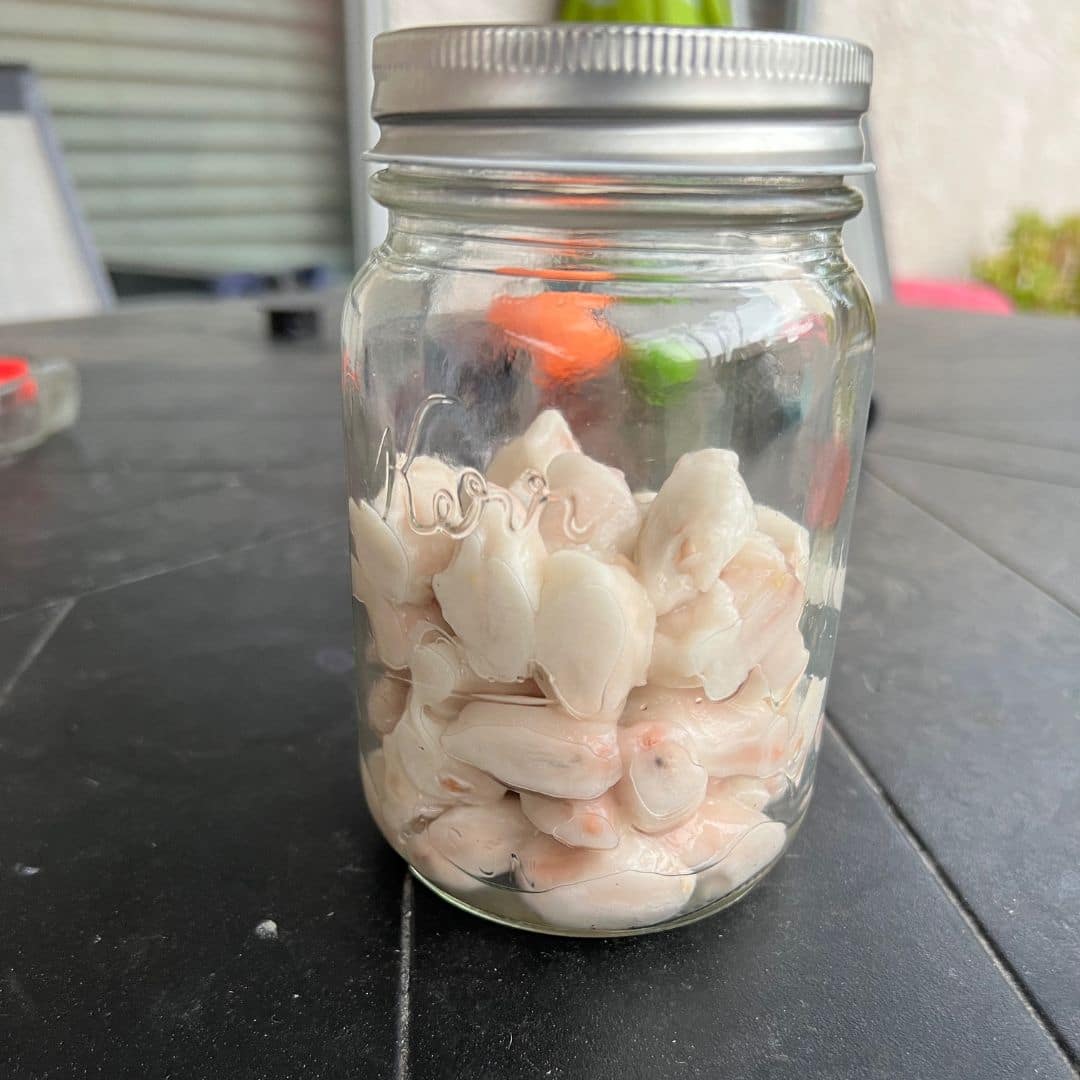
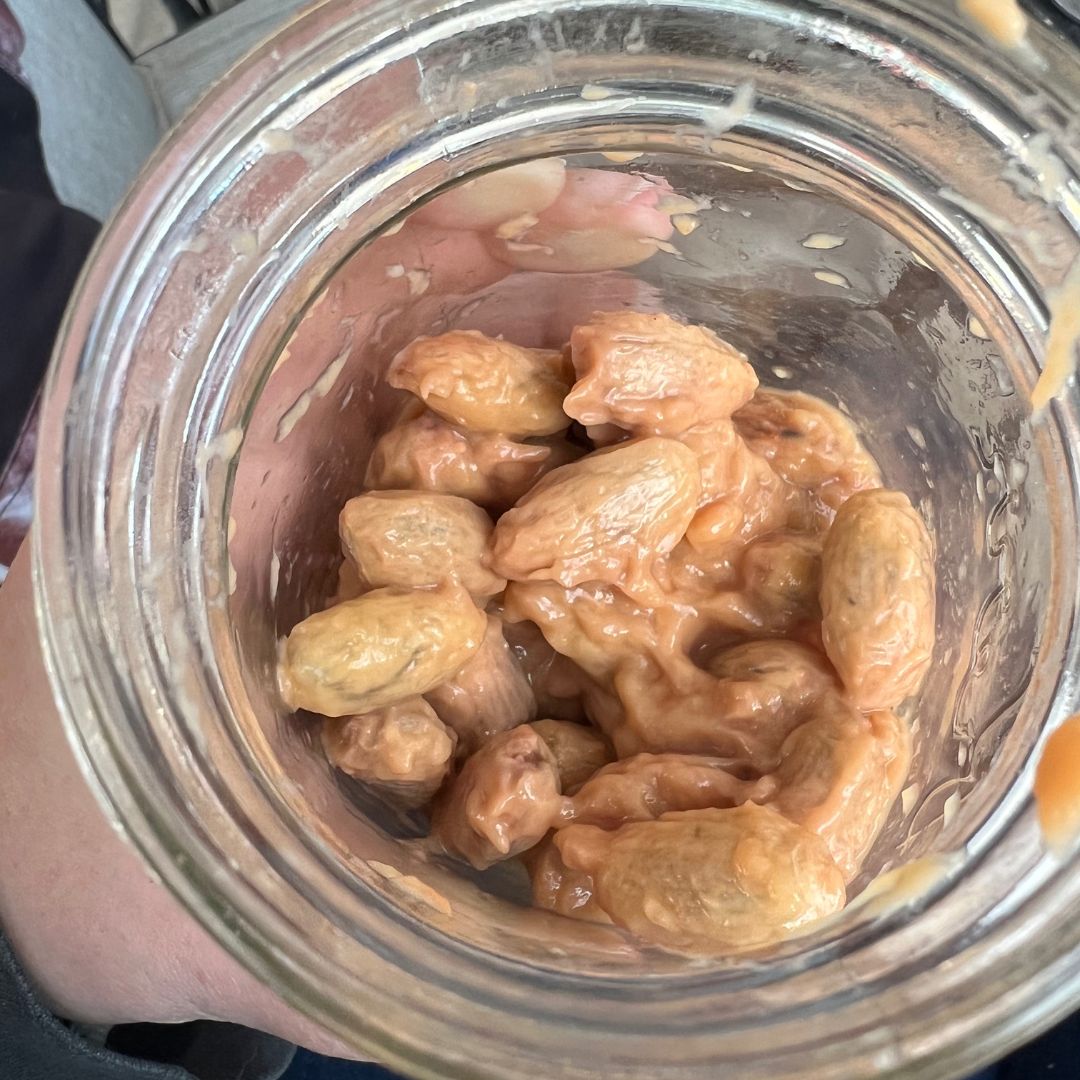
I know, I know, you are thinking “how could this nasty alien-sac looking thing possibly be turned into chocolate”? Just trust the process. First, we have to get rid of that cacao pulp off.
How do we do that? Fermentation! This fermentation process is so important to developing the final flavor of the chocolate. This can be done in a few different ways.
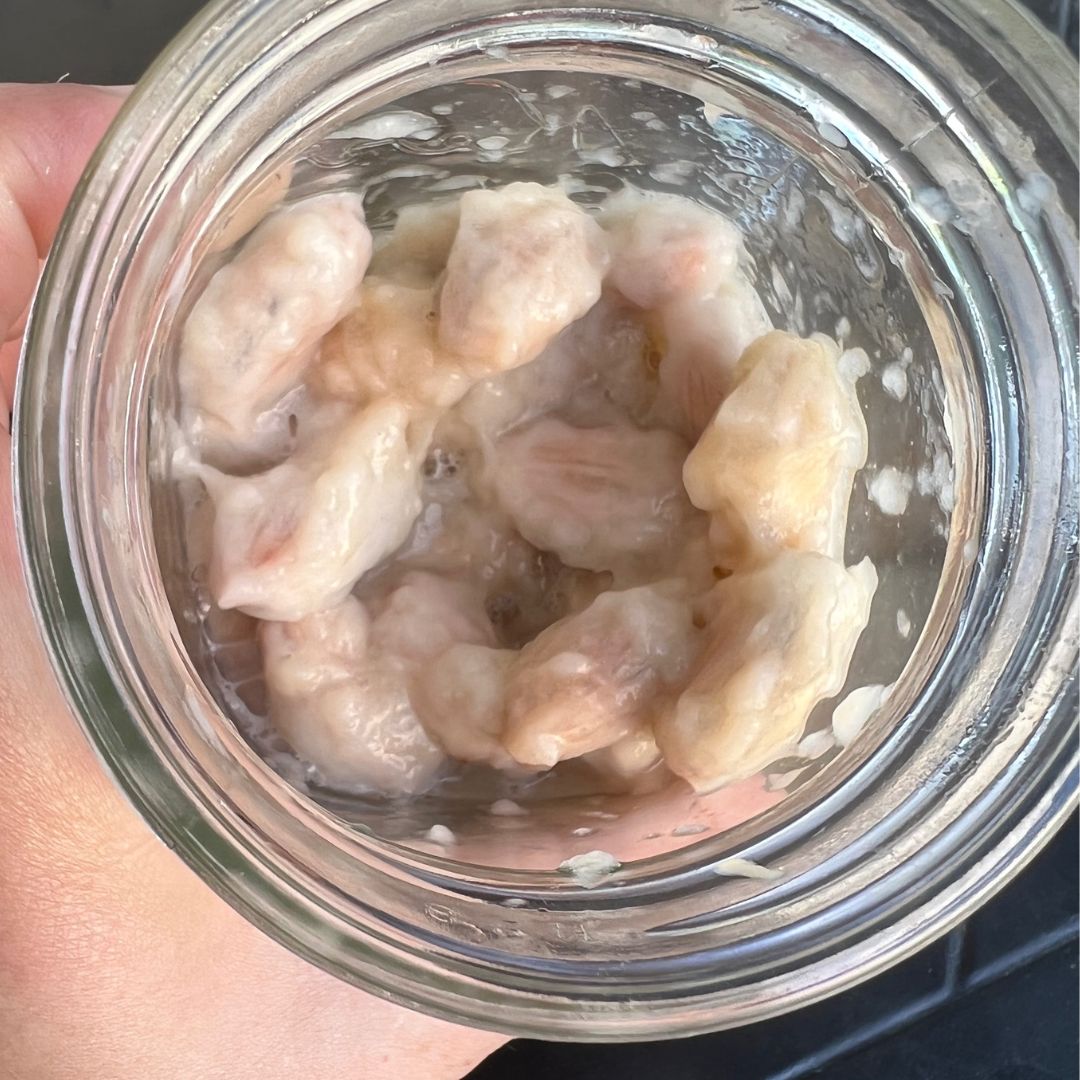
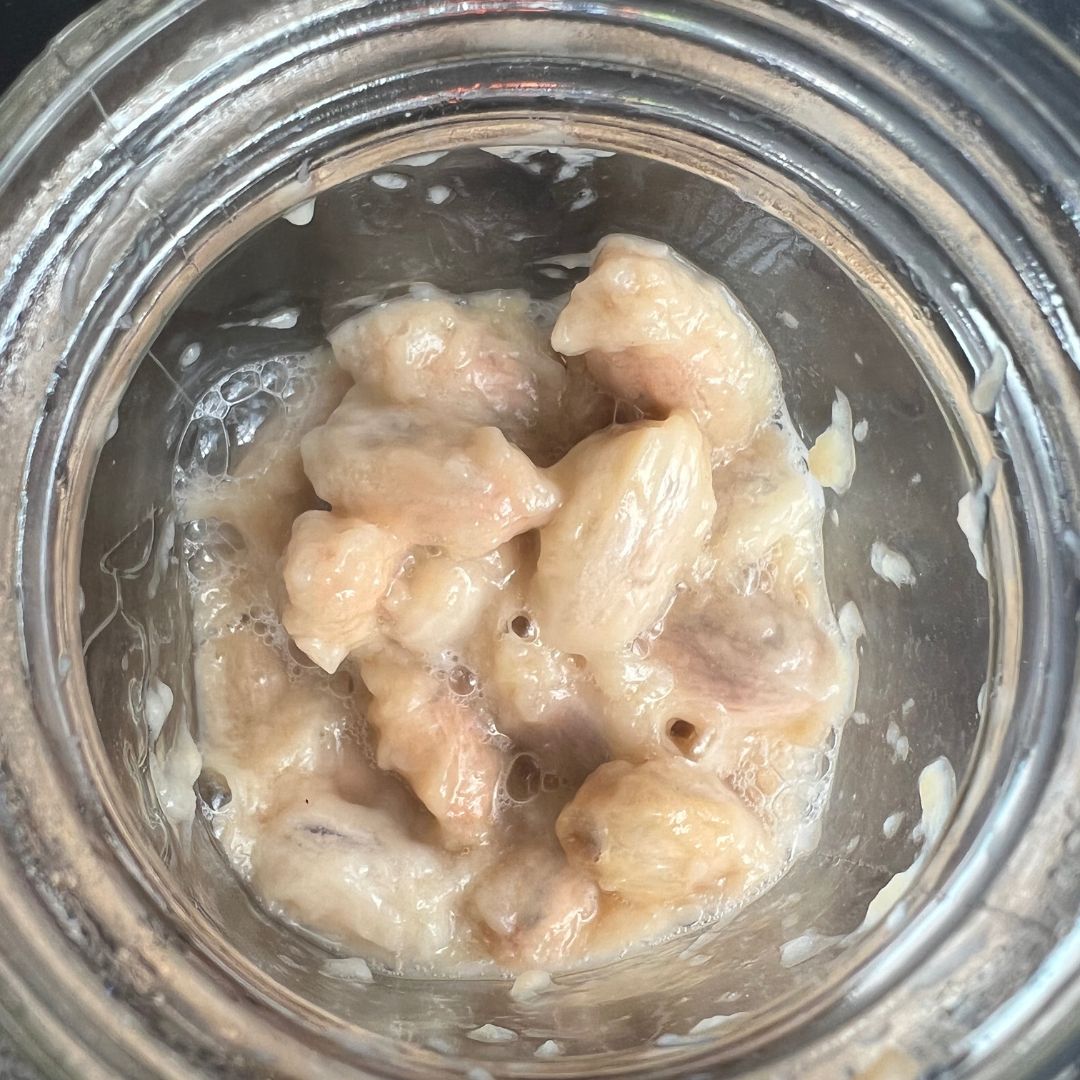
What most people do is take those alien seeds and put them into a bowl, then cover that bowl with a towel and let it ferment at room temperature for 5-7 days until all that cacao pulp comes off and turns into liquid.
Attempt 1 – June 2022
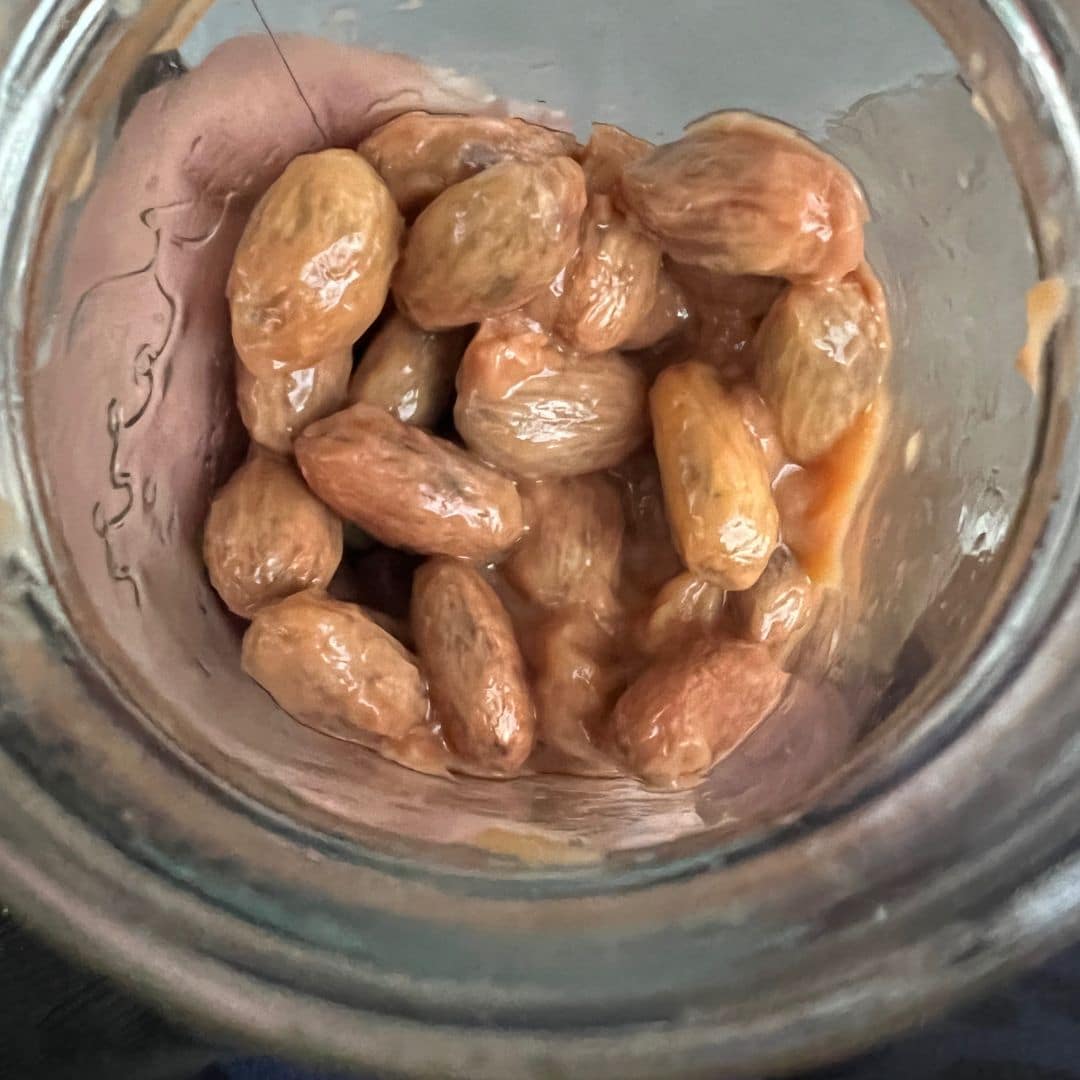
What is traditionally done when growers make farm fresh chocolate is that these beans are wrapped in a banana leaf and left outside in the sun to ferment for 5-7 days.
I recently moved from the icy tundra that is New Hampshire to beautiful, sunny Nevada. So, I decided to take the more authentic/farm fresh route and ferment these outside.
It’s important to note that fermentation starts to occur at about 100•F so that is why I wanted to do this outside. But also important to know is that yeast dies off at about 150•F.
If your yeast dies off or if too much moisture is lost as a result of being too hot, your beans will not ferment correctly, leaving the chocolate bitter with kind of a funky taste.
So just to be sure, if you live in a hot climate and you want to do this outside. Check the beans for temperature with a thermometer and make sure to not leave them with the sun beating down on them.
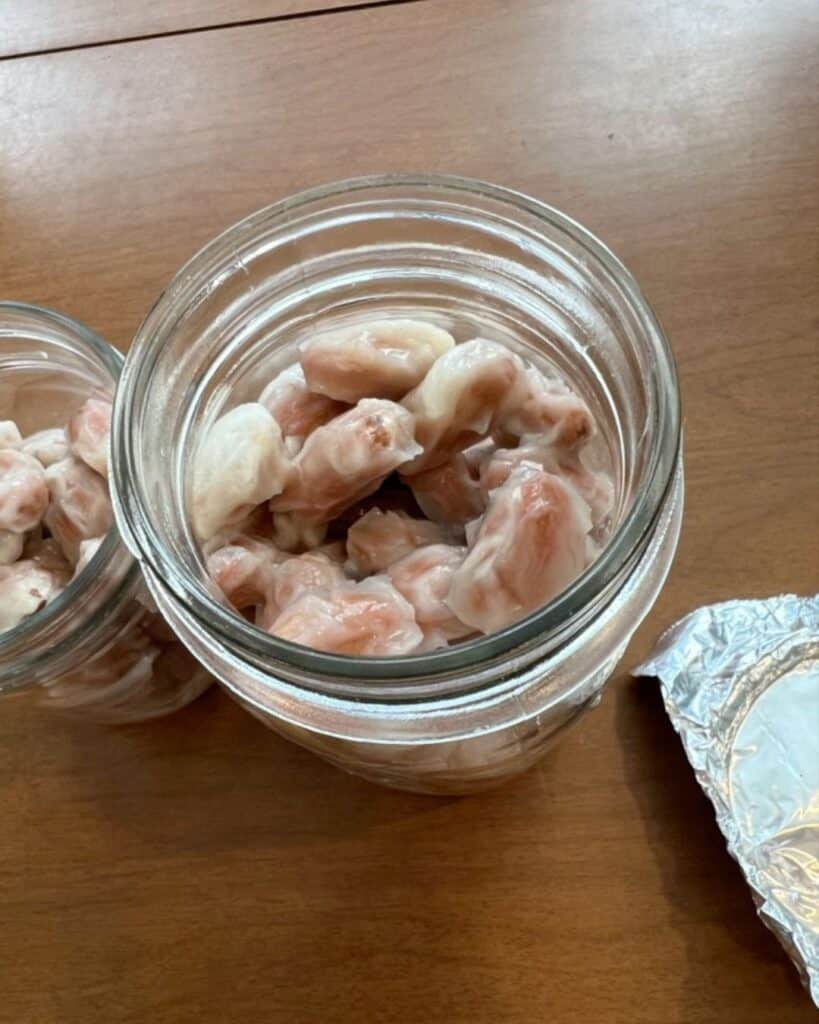
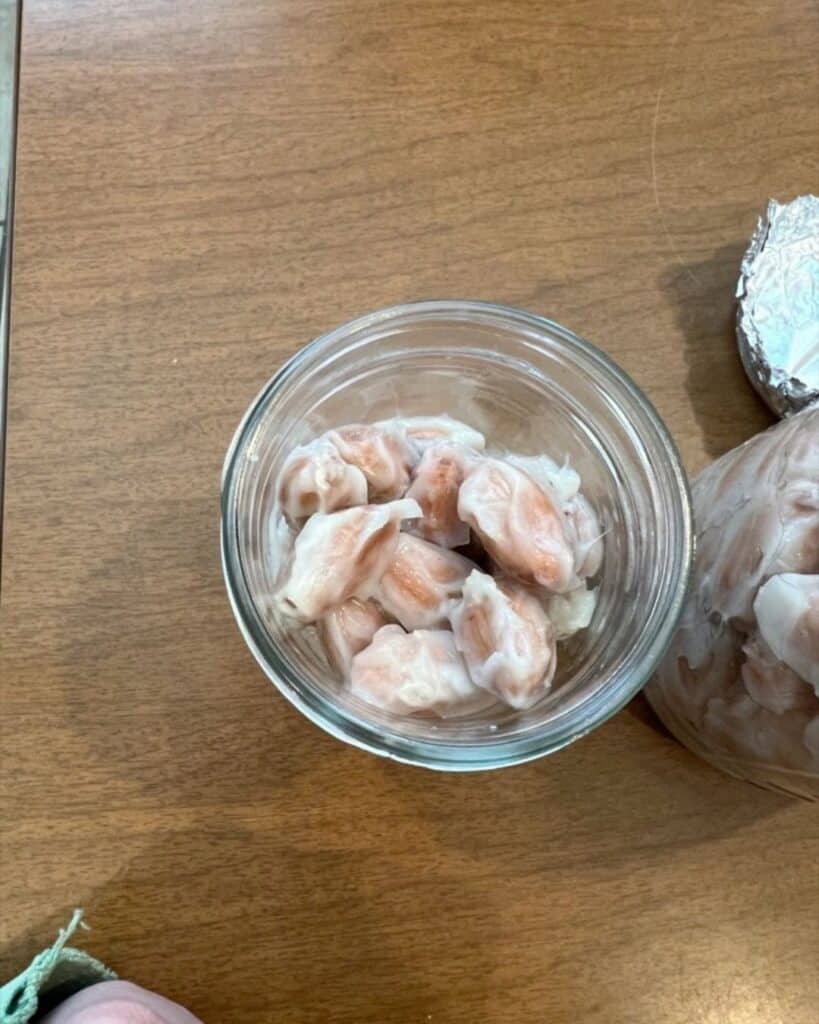
I did not have the banana leaf so I placed these beans in a mason jar and then I went out twice a day to stir the beans but other than that. I just let them do their thing.

I think they may have gotten too hot because at times they were in direct sunlight. This may have contributed to the taste of the final chocolate bar.
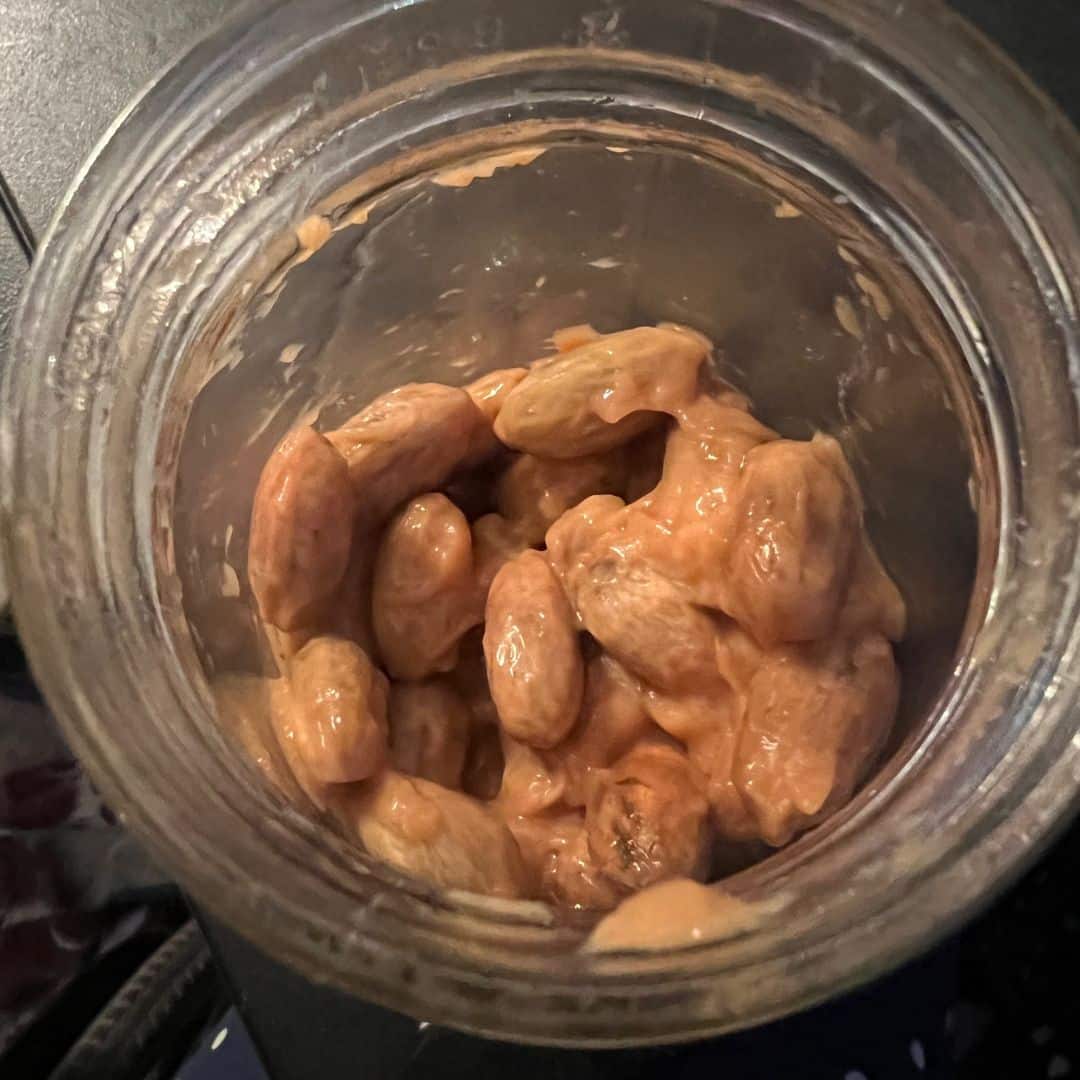
Attempt 2 – April 2023
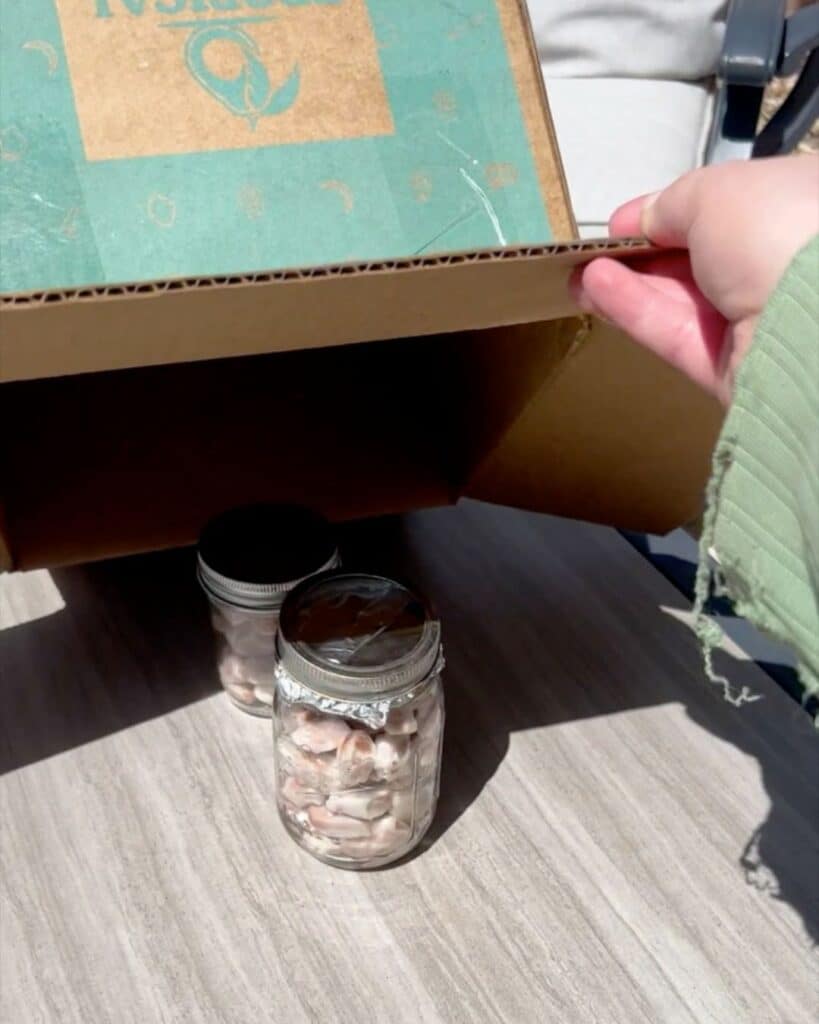
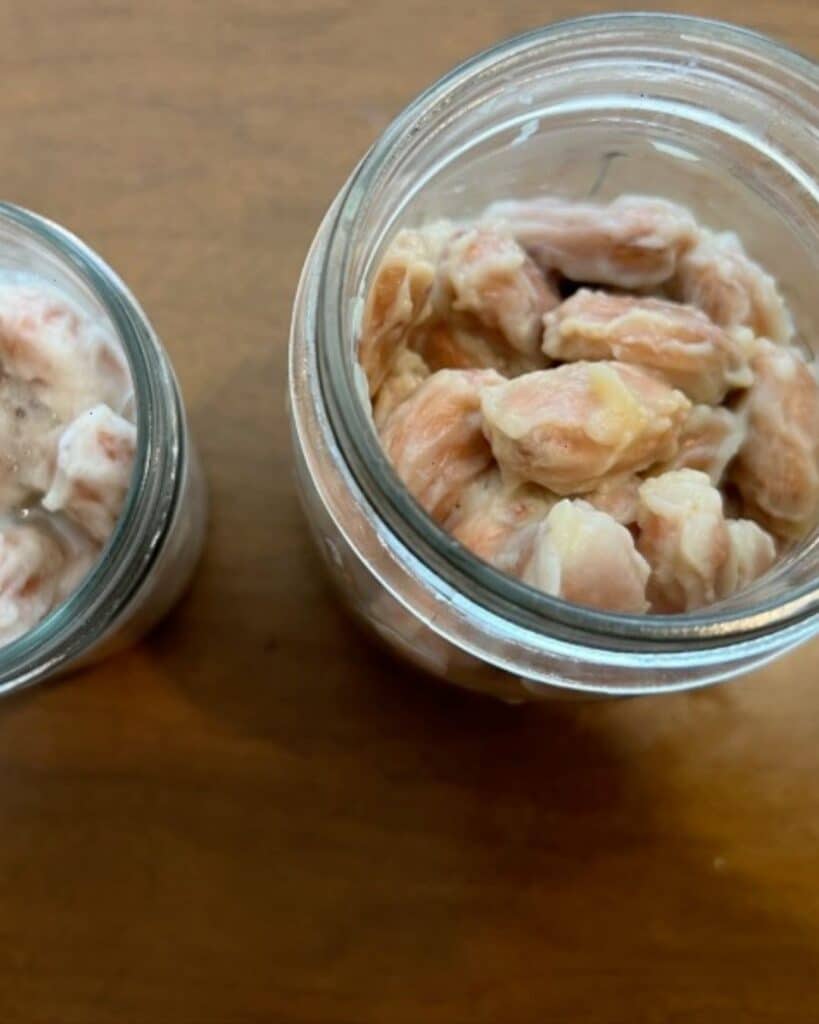
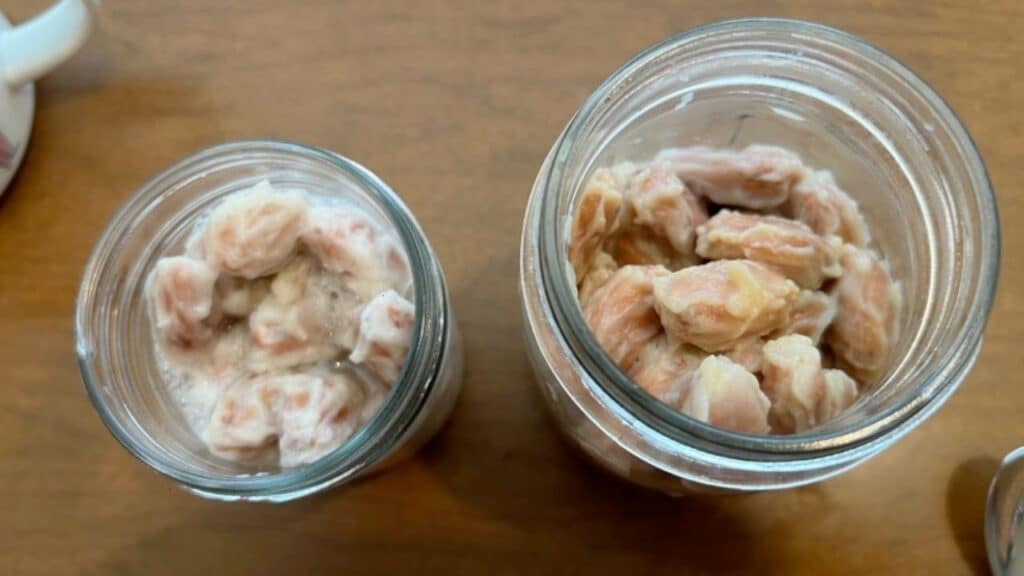
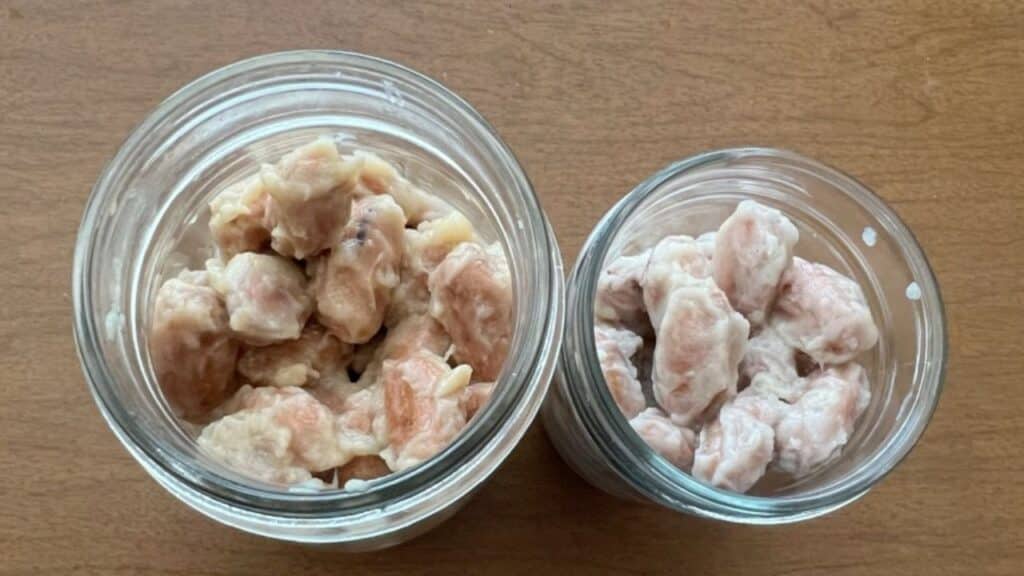
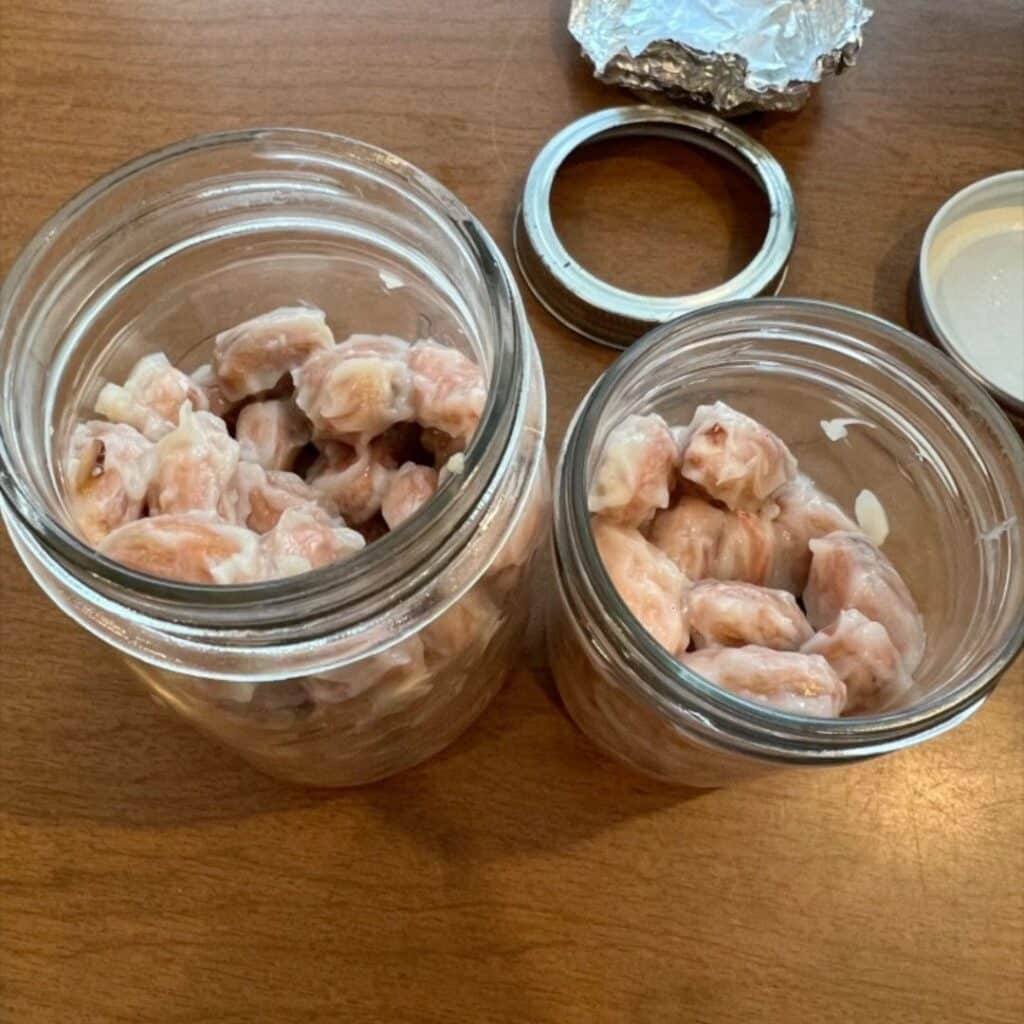
This time around I put the beans in jars outside like last time but shaded the beans under a box so that they would never be in direct sunlight. Because I got 2 pods this time instead of one, I had to split the beans up into 2 jars.
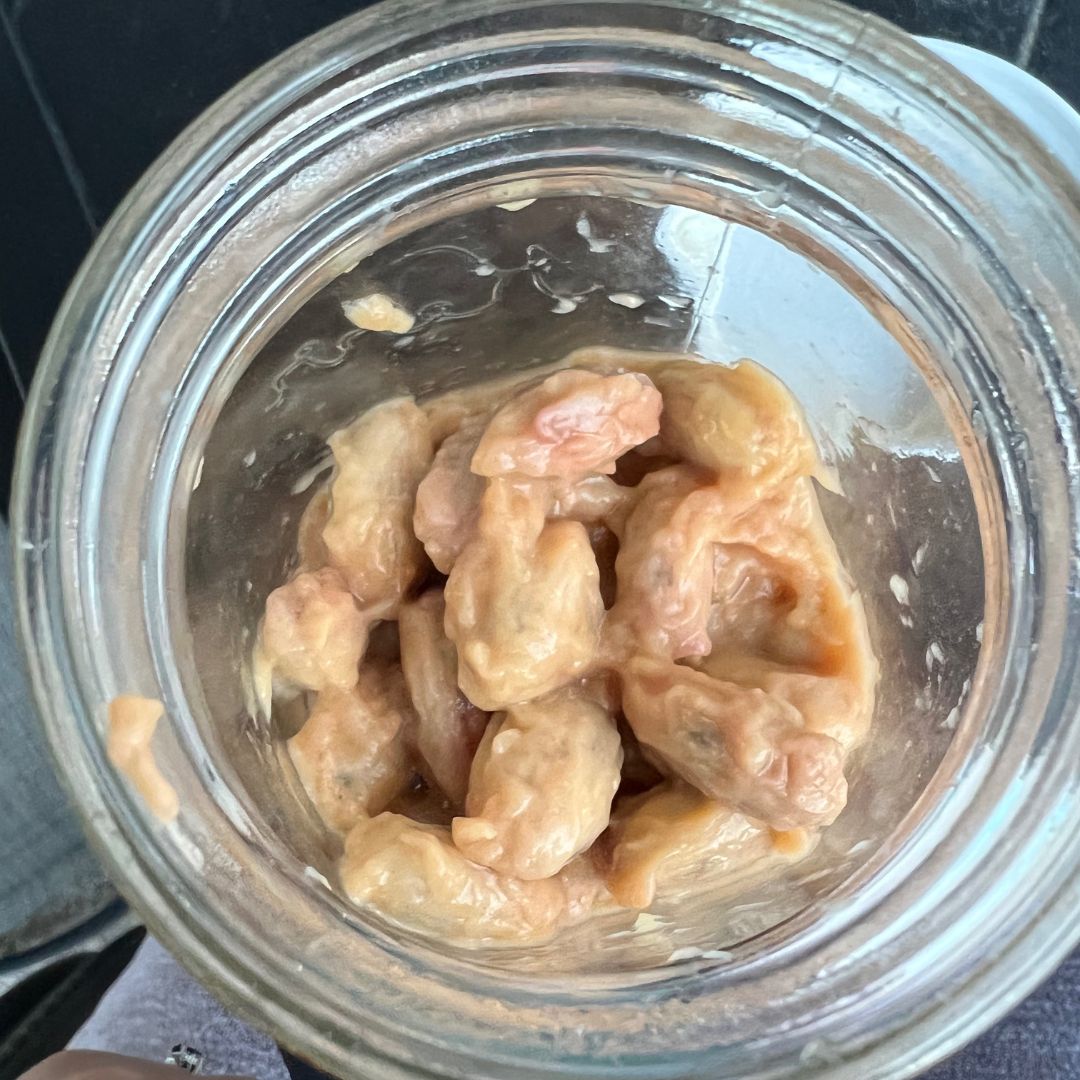
Around day 4, I found that one jar of beans was fermenting a little faster than the other. So I then put the beans all together in a bowl with a lid and let it ferment for another 6 days.
Because I knew that the temperature outside was a little cooler than last time, I let them ferment for longer this time.
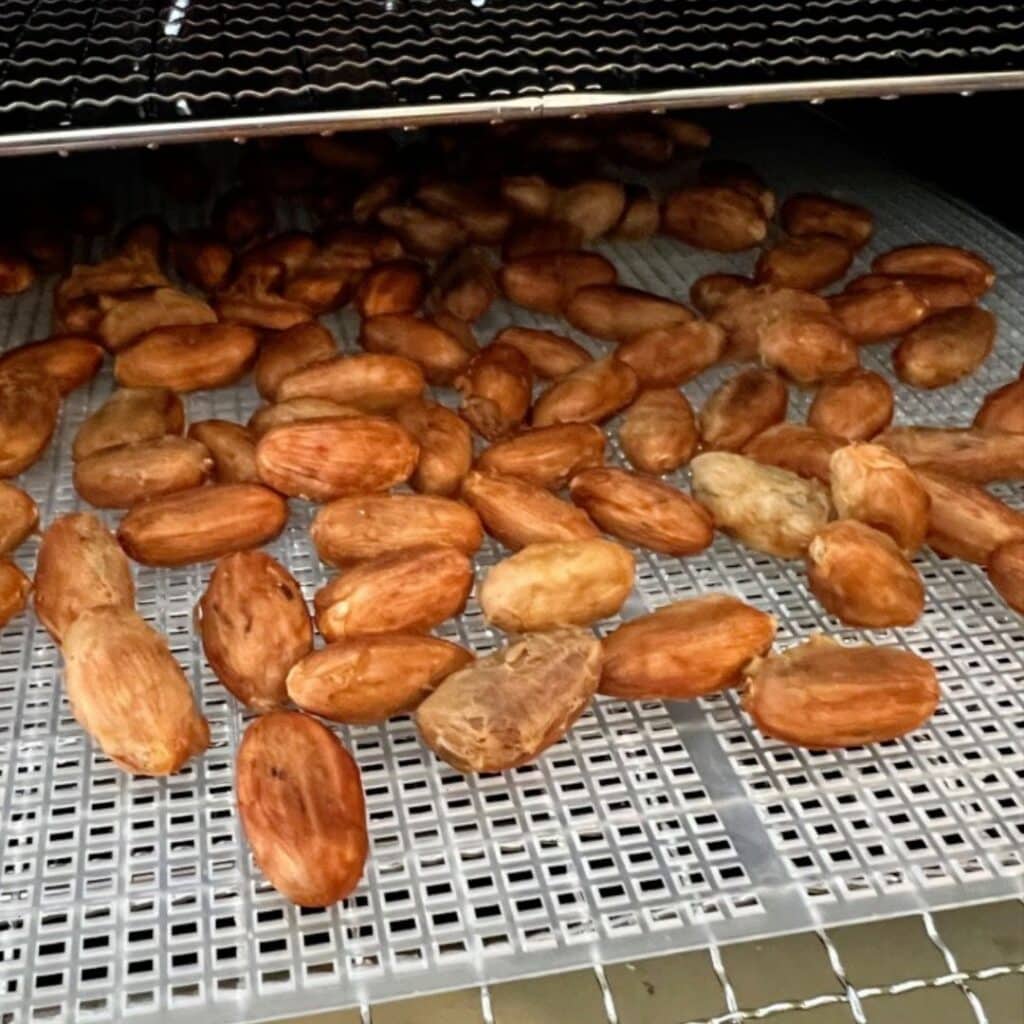
Prepping The Cocoa Beans/ Cacao Nibs For Roasting: Step 2 – Drying
When you are done with the very long process of fermenting your beans, you can start the second step in this process. Drying. Again, there are a few ways to do this.
You can let these dry at room temperature for about 3 days or until dry, you can put them in the food dehydrator for 2 days or until dry or if you live in a warm climate like I do, you can put them outside for about 2 hours or until dry. Just leave them out in one flat layer on a sheet tray.
Attempt 1 – June 2022
I decided to dry them on the sun and that took about 2 hours.
Attempt 2 – April 2023
It was in this attempt that I learned the importance of not only getting the beans dry but getting them crispy. If they are not completely dry, roasting will take longer.
This time around, I dried them in the sun again like last time. When I took them inside and baked them, I found that they were still a little soft. So I put them in the dehydrator for 10 hours until very crispy.
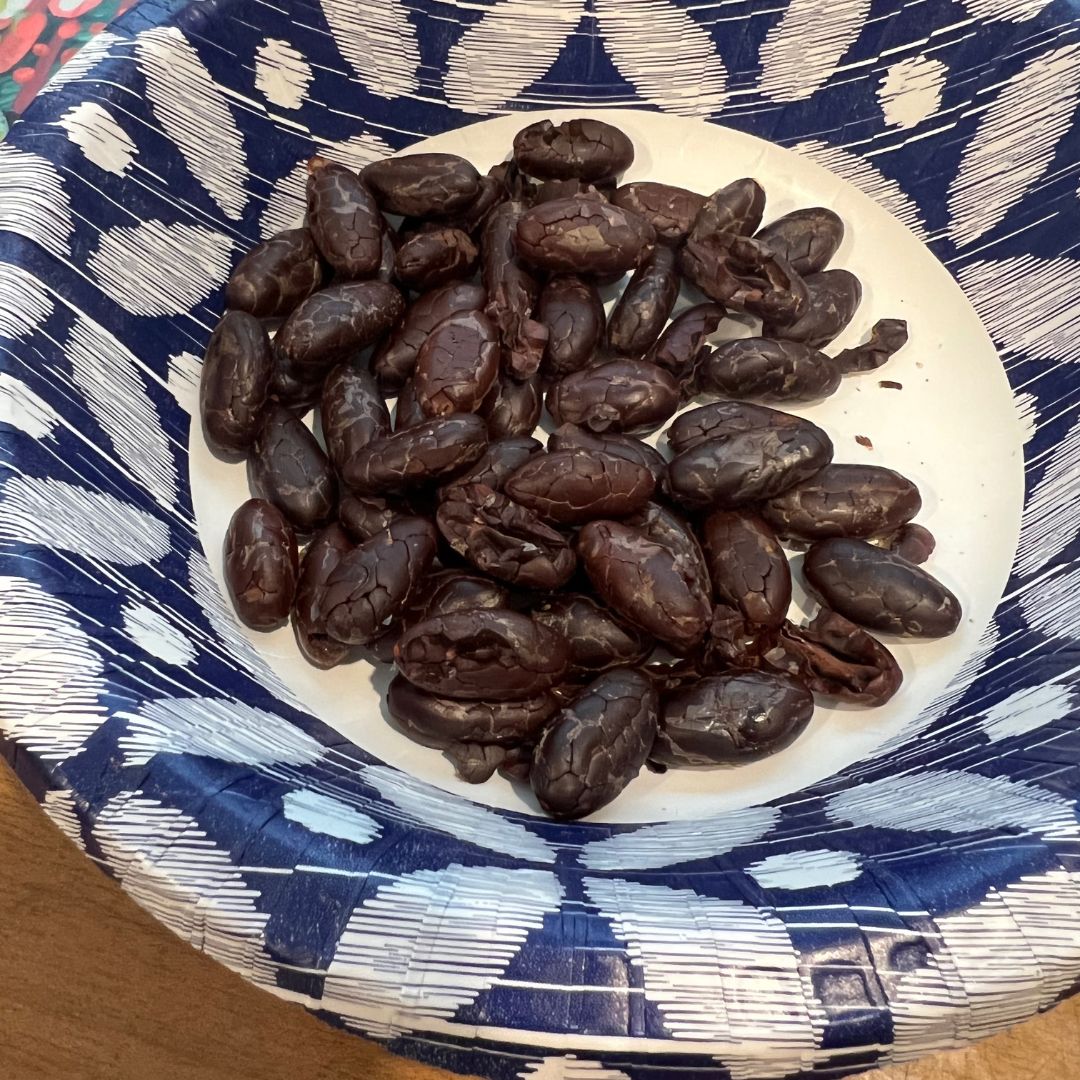
Tending To The Fresh Cacao Beans: Step 3 – Roasting
Maybe you have seen this word spelled “Cocoa” and then other times it’s “Cacao” The difference is that “cacao” is the raw unprocessed form of the bean. “Cocoa” is the cooked and processed final form. So that is why cocoa powder is “cocoa’ powder because it is the processed version of a cacao bean. Cocoa butter is the same.
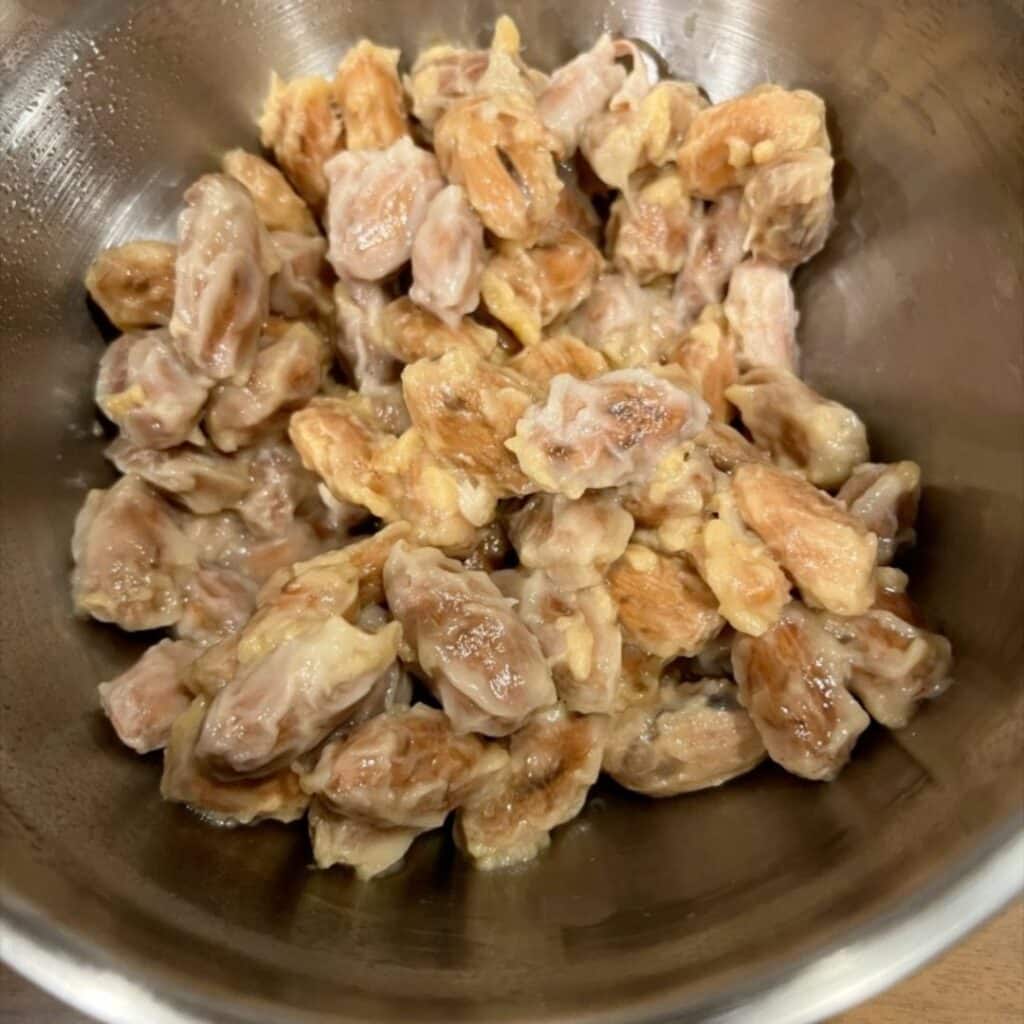
So at this point what you have is raw cacao. What we have to do now is roast these beans.
This is very much a trial and error process. So first, I’ll tell you what I did this time and what my result was and then I will talk about what I am going to do next time.
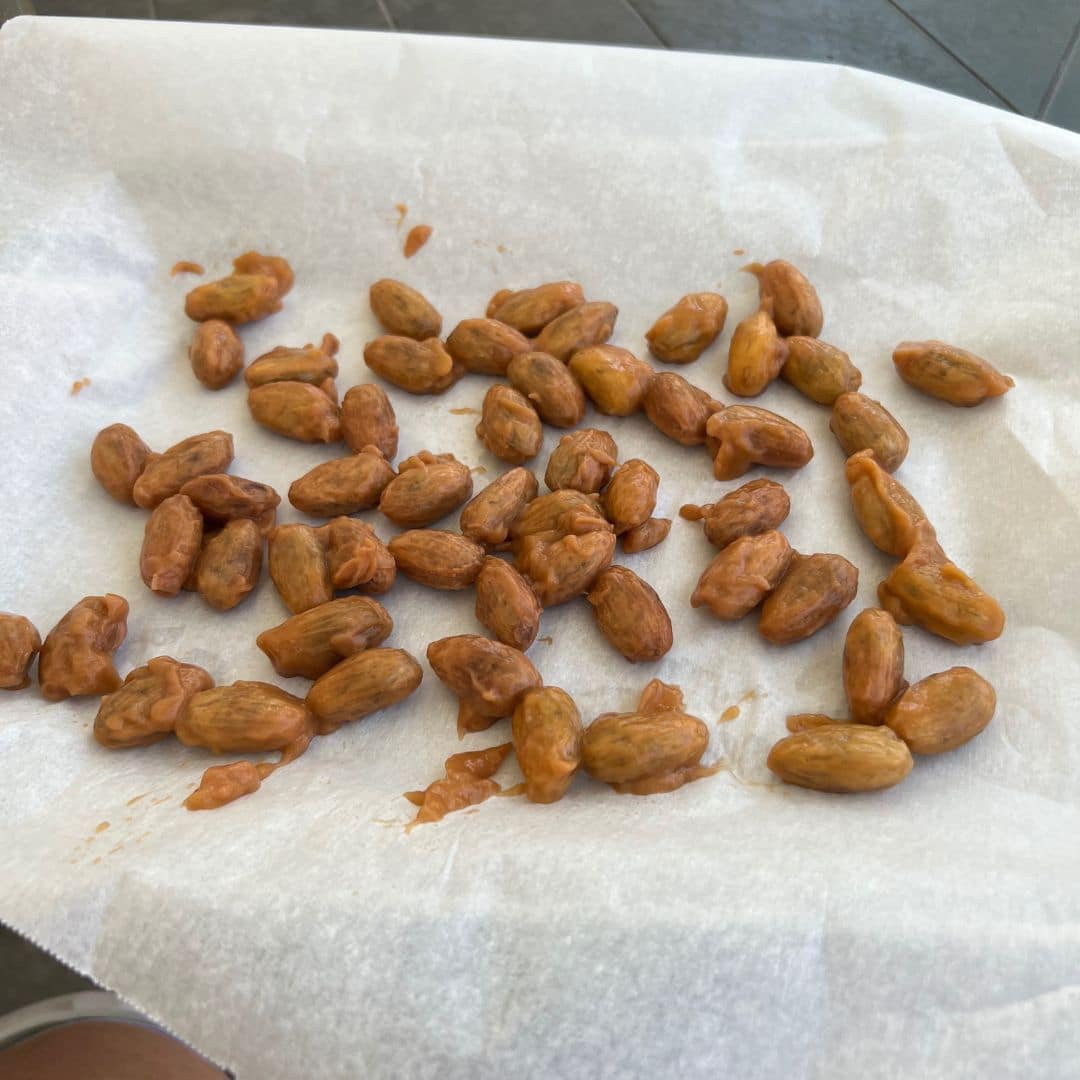
Attempt 1 – June 2022
This time, I roasted the beans on a baking sheet at 266•F for 30 minutes and then turned the oven up to 285• for another 5 minutes. When the roasted cacao beans are ready, you should smell a chocolaty smell and the husk/or shell should just crack right off easily.
I didn’t get any of this by the time the thirty minutes was up but I was afraid of burning them so I gave them another 20 minutes at 285• and the husk was still very stubborn to come off. Still no chocolaty smell. It didn’t just crack off like I was told should happen. But like I said I was afraid to burn them so I just pressed on. That may have effected my final flavor as well.
Next time, I am going to try to put these in the oven at about 350• for 5 minutes in a glass baking dish not on a cookie sheet. And then continue to drop the temperature by 25• every 10 minutes and do that for about 30 minutes. I think that last time the temperature was just too low.
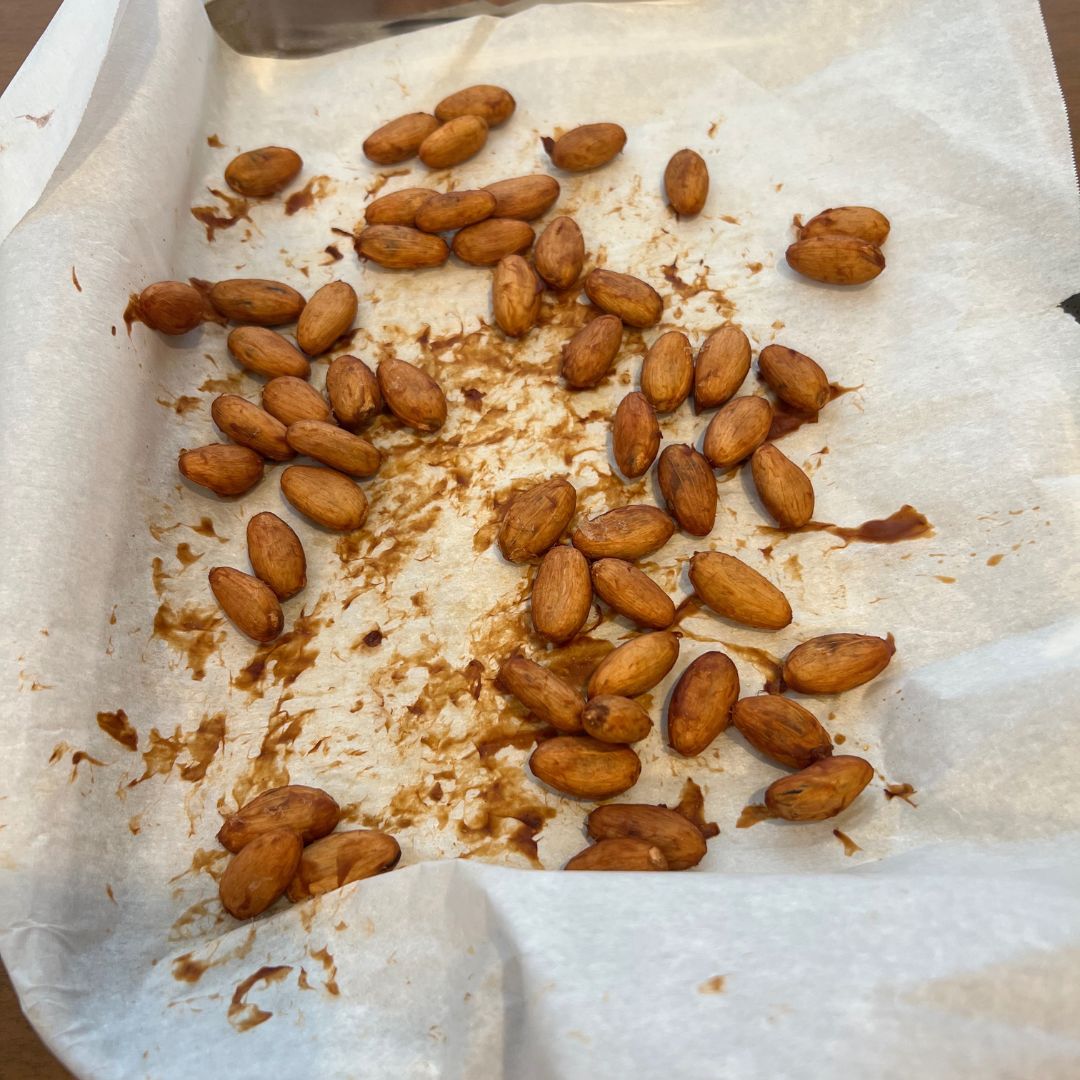
Attempt 2 – April 2023
As I said before I put the beans in a glass baking dish baked them at 350* for 5 minutes and then lowered the temperature by 25• every 10 minutes. By the end of the 30 minutes.
I still did not smell any chocolatey smell so I placed them back in a 350• oven for 10 minutes. And I still smelled no chocolate smell.
So I baked them down at 270• for another 15 minutes. I then smell a small hint of chocolate.
At this point, I was afraid of them burning so I shut them off but I should have let them bake more.
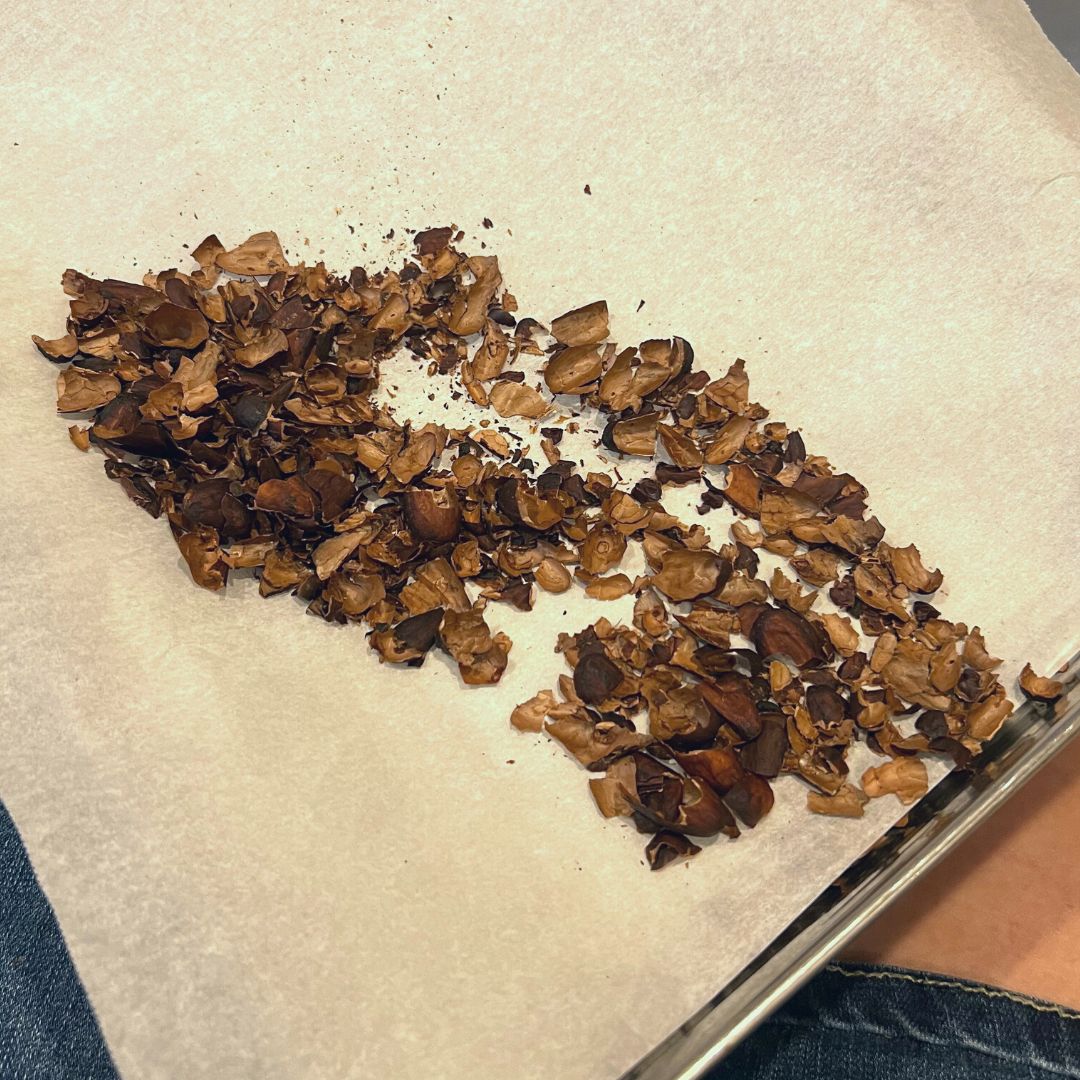
Still Tending To The Fresh Cacao Beans: Step 4 – Winnowing
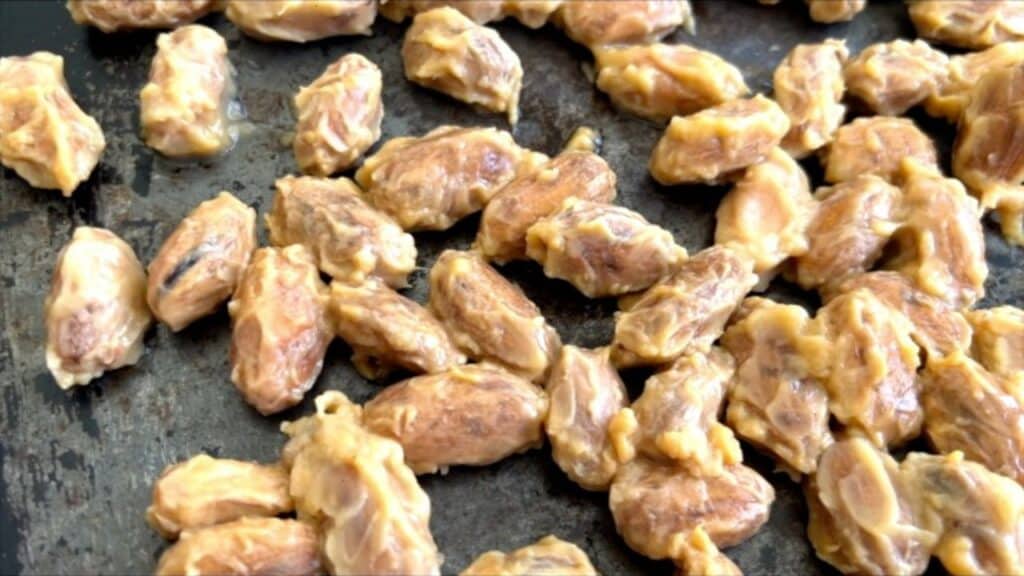
This is where I started to have trouble. The beans were very difficult to winnow. “Winnowing” is just a fancy word for pealing the shell or husks off of the bean. If you have roasted the beans correctly, the shells should crumble right off of the cacao nib or beans when you give them a squeeze.
Attempt 1 – June 2022
The shells did not come off easily at all. I had to literally chip away at these guys.
Attempt 2 – April 2023
The shells did come off easier this time but still not as described. They stuck to the bean at certain times and were incredibly stubborn.
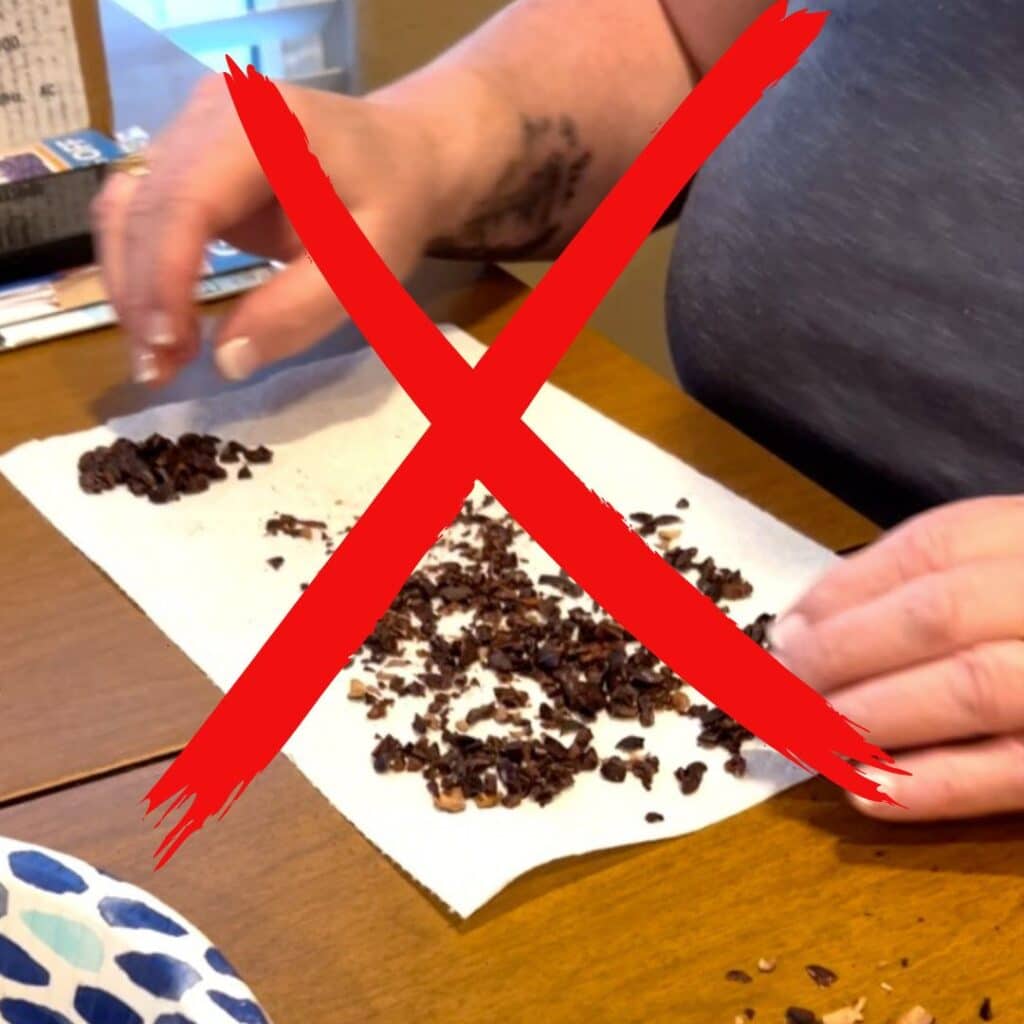
Also, I watched many Tiktok videos that told me to put the beans in a bag and bash them with a meat mallet to get the shells off. DO NOT DO THIS! You will end up with a huge mess that you have to sift through to figure out what is shell and what is bean. Trust me, don’t do it.
Instead just squeeze the bean to crack it. But I won’t lie to you and say this process was easy.
Transforming The Cacao Beans Into Chocolate: 5 -Grinding
Chocolate is made up of 3 things in general, Cacao beans or cacao mass, sugar and cocoa butter.
Now, after this ridiculously long process, we can finally make our chocolate.
The first step that we have to do is grind the beans.
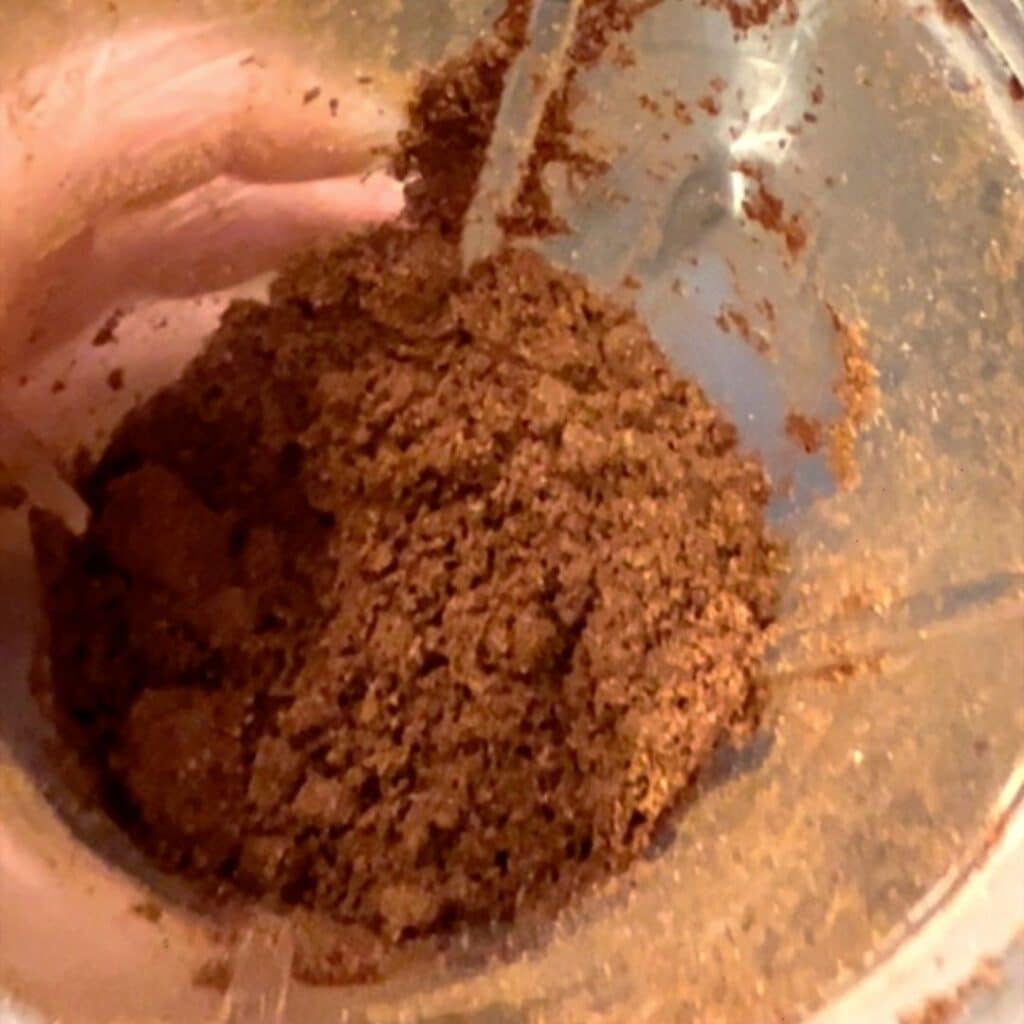
This is just, grinding those cacao beans into a paste. The way I did this is with a coffee grinder. I just ground them until I reached a paste consistency. In this step, chocolate liquor could also be made.
Fun fact, if you grind the beans until they are a powder you have cocoa powder. But we are making chocolate so we want it into a paste.
Then, you will grind up the sugar. You want to put the specified amount for you ( I will show you how to calculate that below) in the coffee grinder and grind until you get powdered sugar.
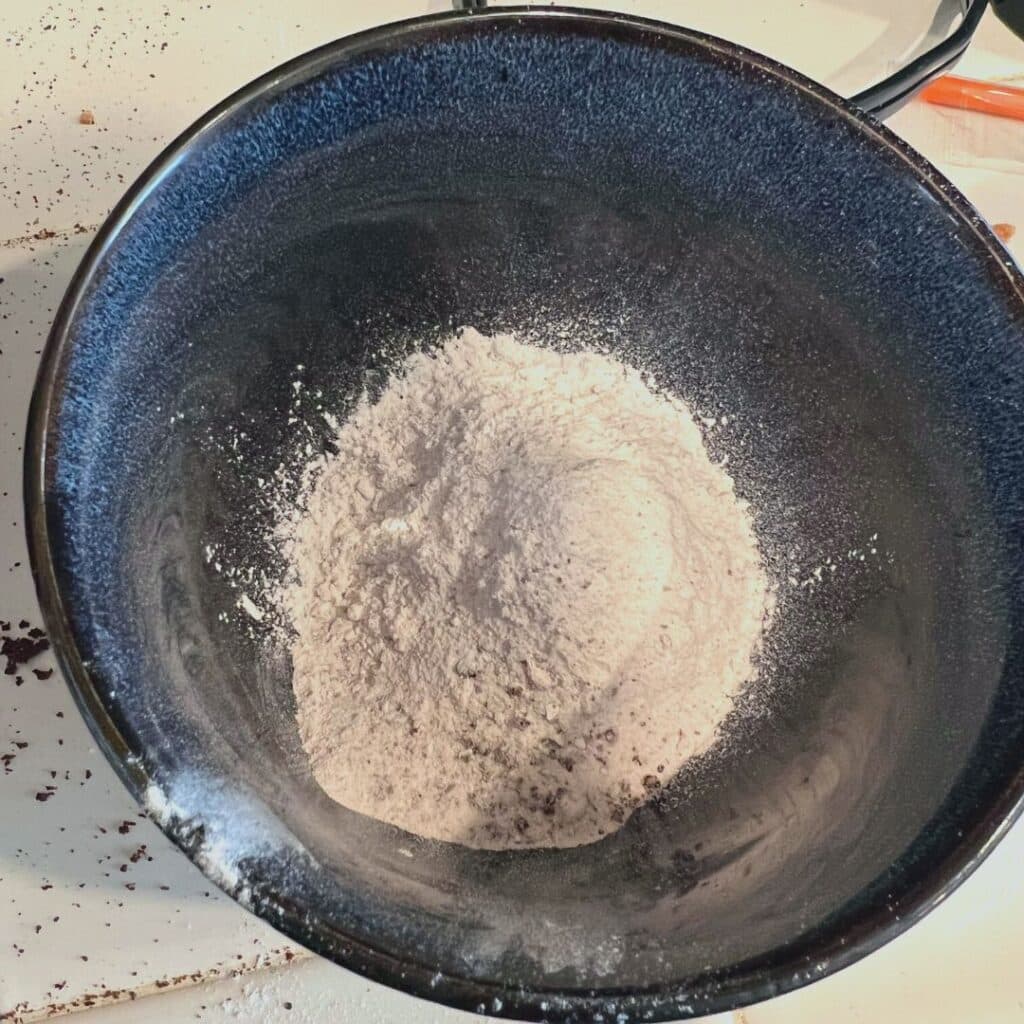
Once you have the beans ground down to a powder, you can add come sugar and some melted cocoa butter. Now, grind this all into a paste.
What Does The Percentage On Chocolate Mean And How To Get Dark Chocolate, Semi – Sweet Chocolate, Milk Chocolate Or White Chocolate
Before I even did that, I got together my ingredients to actually make a chocolate bar. This comes along with some choices. I am making a 65% dark chocolate bar.
All the percentage on a chocolate bar means is the percentage of actual cacao beans or cacao mass and cocoa butter that are in our chocolate.
So for a chocolate bar that is 100g, 60% or 60g will be cacao beans, 5% or 5g will be cocoa butter and the other 35% will be sugar (35g).
Find out what percent of cacao that you want and do the math.
Remember, the lower the number, the sweeter the bar. The higher the number, the more bitter the bar.
99 – 65% Cocoa is Dark Chocolate, 65- 55% is Semi Sweet Chocolate, 55 – 35% is milk, and white doesn’t have any cocoa mass.
You can measure that all out with a kitchen scale.
Final Transformation From Cacao Bean Into Chocolate: Step 6 – Conching
Conching is just simply, grinding this paste up into a liquid so that when this is a chocolate bar it isn’t gritty. This is a harder process than it sounds.
Commercially, and in farm fresh scenarios people that do this a lot place the paste into a conching machine or a Melanger for 8 to 24 hours to grind it. This machine has stones that turn and grind the chocolate.
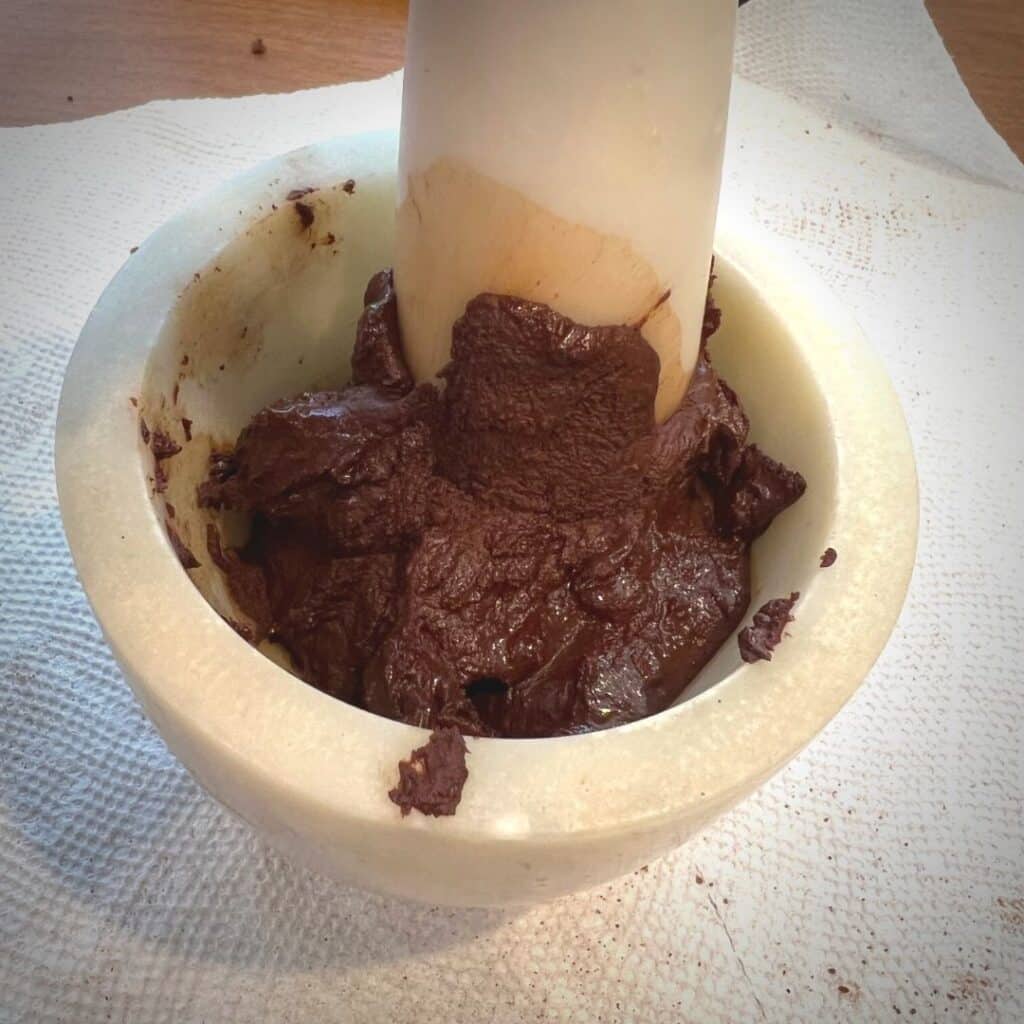
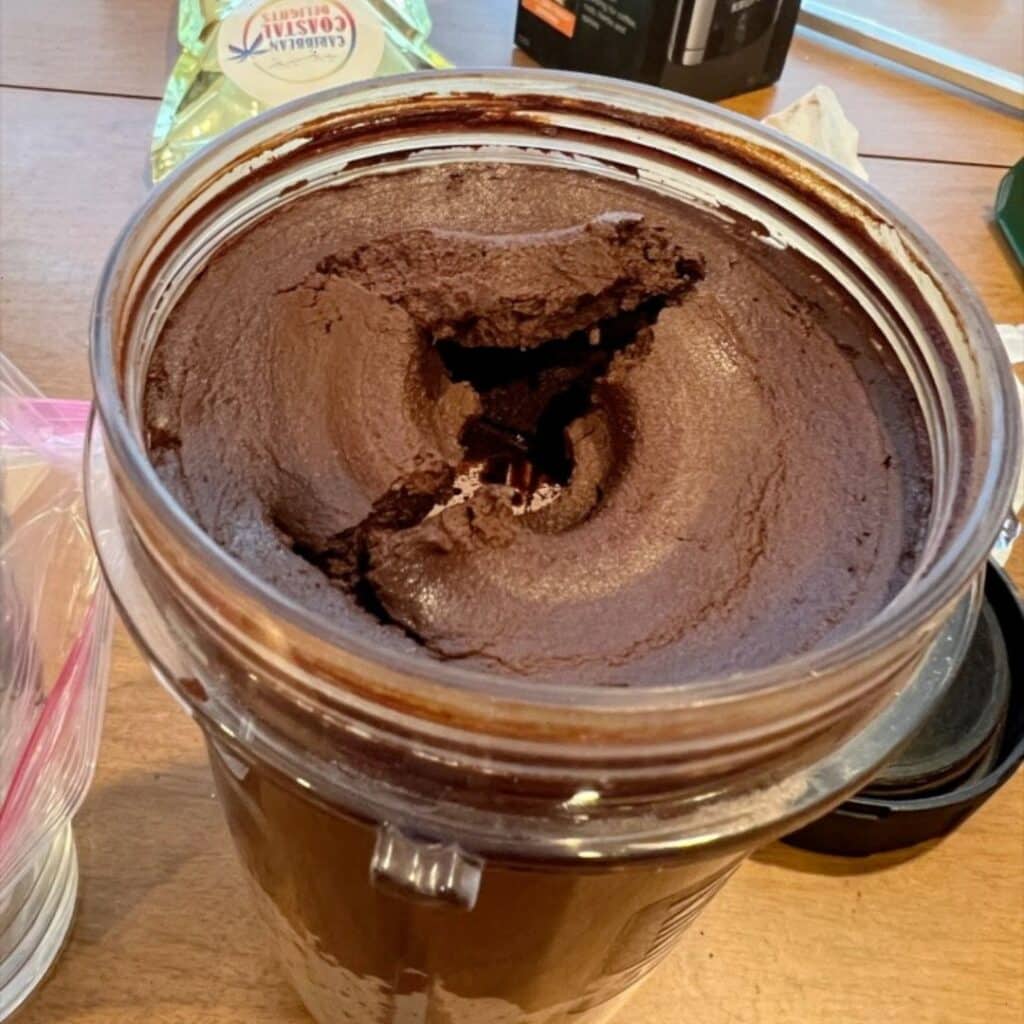
If you do not want to spend hundreds of dollars on that there is a DIY route. By using a mortar and pestle I ground this chocolate down for 4 hours. Spoiler alert, the end result was still grainy.
My Little Rant About Blenders
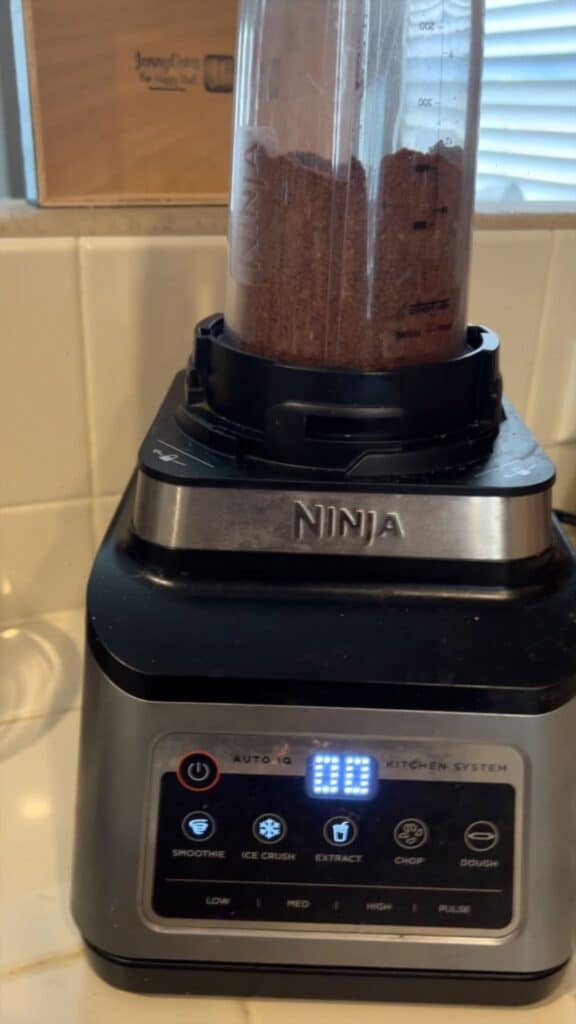
I was talking to a friend about this afterwards, and when she did it, she put her chocolate into the Ninja Blender and blended it until smooth.
Any high powered blender will be great for this but I would recommend the ninja. I use mine every day for sauces, smoothies, nut butters, and drinks. And it is a third of the price of the very highly promoted Vitamix.
Attempt 2 – April 2023
I used the Ninja blender to blend this up about 5 times at a minute each and then end result was still gritty buy much less that the first time. If I try this again I might blend this 10 minutes at a minute each.
How To Make Your chocolate bar: Step 7 – Tempering
Phew, home stretch! You’re almost there. Now that my chocolate was conched, I had to temper it. I went into this when I did my “homemade reseese’s peanut butter cups” post.
But basically, tempering is the process of getting chocolate into it’s ideal beta crystal form so that when it is solidified into a chocolate bar, it will be stable and not melt at room temperature, it will be very glossy and shiny and it has a nice snap when you break it apart.
You can do this in many ways.
I will go into further detail about all of this in my “All About Chocolate” post that is coming soon.
Seeding
This process starts by splitting the chocolate into 1/3 and 2/3. I then melt the amount of chocolate that is the bigger portion over a double boiler to a certain temperature (dictated by the kind of chocolate).
I then add in that unmelted chocolate or in this case the chocolate that you did not melt further into the melted chocolate to cool it down to a desired temperature that is again dictated by the type of chocolate.
Tabling
This method is the process of heating all of the chocolate to certain temperature to melt it and then it is poured onto a marble slab. It is then agitated with a pallet knife or bench scraper until it cools down to another certain temperature.
Microwave
The microwave method is by far the easiest in my opinion.
First put 75% of the chocolate that you have in a microwave safe, plastic bowl and put it into the microwave for 30 second intervals at high power, stirring in between until the chocolate is half melted and then do 15 seconds until the chocolate is completely melted.
Then with the other 25% of unmelted chocolate, you are going to add that in in small handfuls, stirring in between each interval until completely melted. If the chocolate doesn’t fully melt you can pop it into the microwave for 10 seconds to warm it slightly. Just be sure to keep it below a certain temperature.
Beta Crystals – Freeze Dried Cocoa Butter
Beta Crystals are freeze dried cocoa butter powder. All you have to do with this is melt your chocolate, cool it to a certain temperature and add in a couple scoops of this powder. Mix it in and that’s it. It’s ready to use. This can be found on amazon at the link above.
Sous Vide
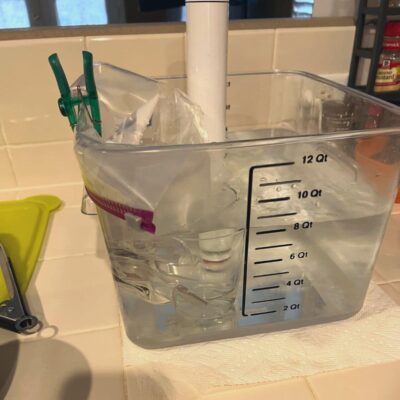
A Sous Vide is a cooking device that is used to heat a tub of water to a certain temperature and it ensures that the temperature never goes over the temperature that you set it at.
It doesn’t matter how long you leave it. It will stay precisely at that temperature. This is the method that I used to make this chocolate bar.
To do this though, you have to make sure that absolutely no water gets into your chocolate because as you may know, water and chocolate are not friends. Just a drop of water will cause chocolate to seize and be ruined.
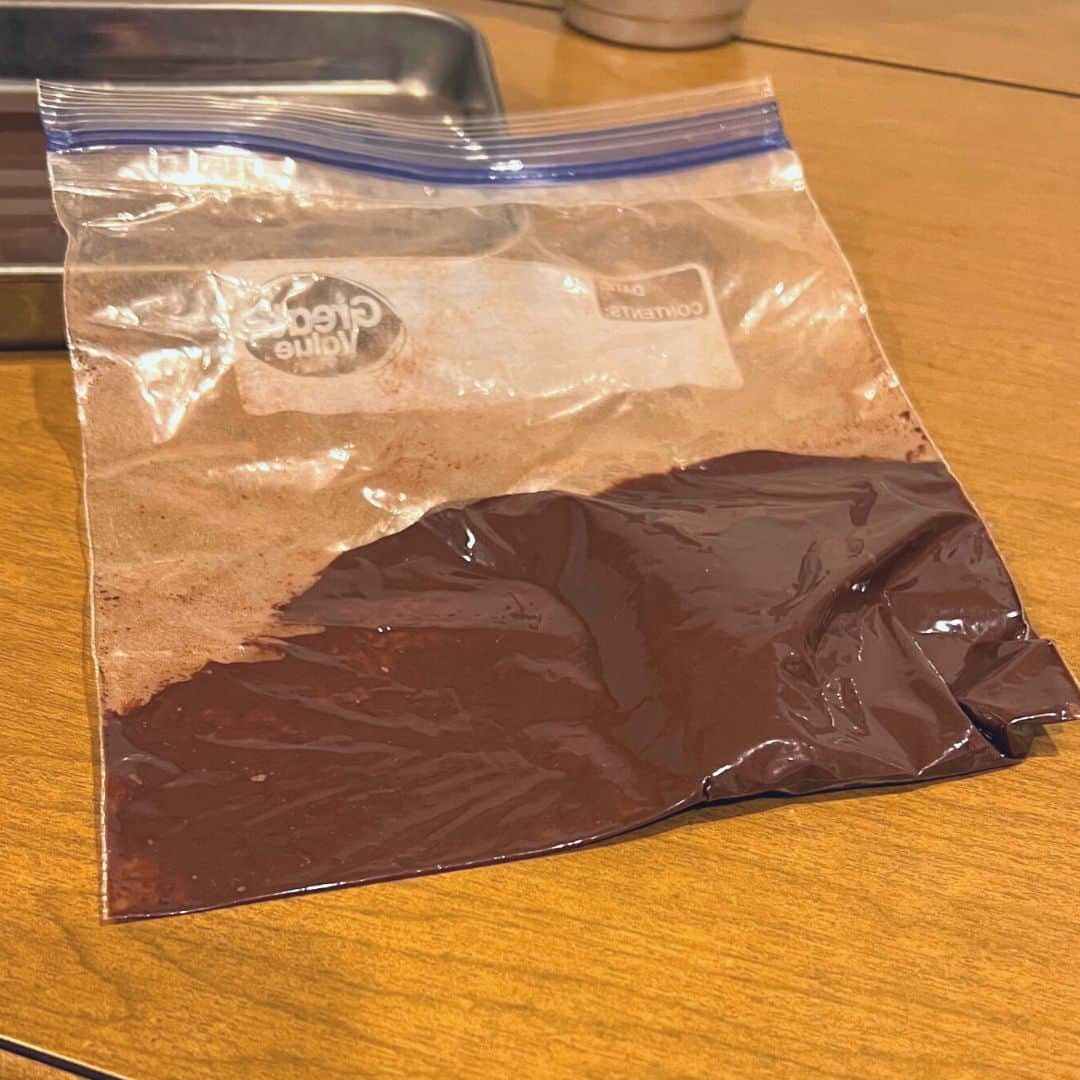
So you can do a few things. You can put the chocolate in a vacuum sealed bag or you can put it in a double bagged zip locked bag that is clipped to the side of the tub of water.
After that was done, my first step was to set the sous vide to 122•F. Remember, I am making dark chocolate.
The temperatures will be different depending on the type of chocolate that you want to make. Once there, I cooled it down to 82•F and then back up to 90•F. Once that is done, I just took the bag out of the tub and dried it off really well. I then snipped the corner of the bag and I was ready to fill up my mold.
Finally There!: Step 8 – Molding
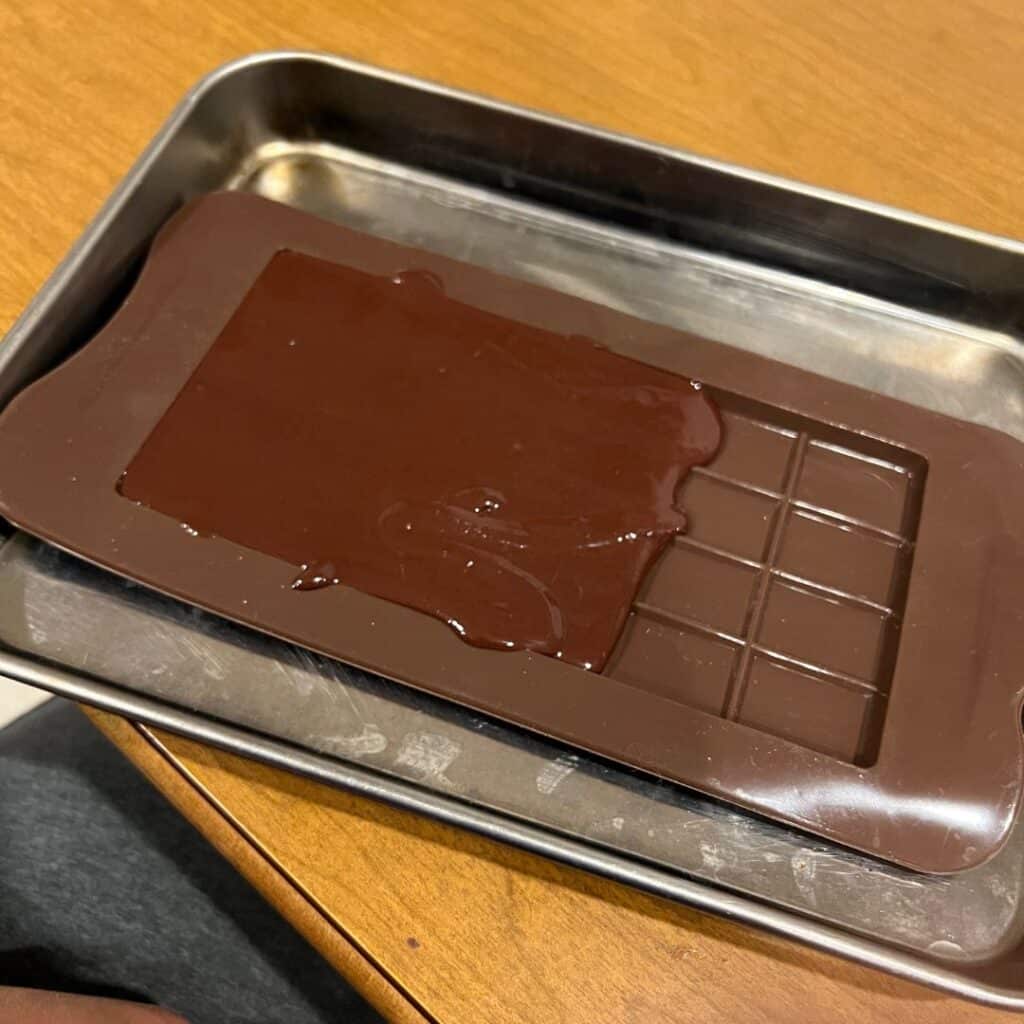
All that is left to do now is to squeeze your melted chocolate into a chocolate mold.
I used an actual chocolate bar mold but you can use whichever chocolate mold that you would like.
There are molds for all different shapes, there are silicone molds that make cleaning easier, there are bicarbonate molds that are a little sturdier, you can even use iced cube molds. Whichever you like.
Be sure that whichever mold you use, you tap the mold on your work surface to settle the chocolate and get out any air bubbles. This will take 3-5 minutes to harden.
How I Did
Attempt #1
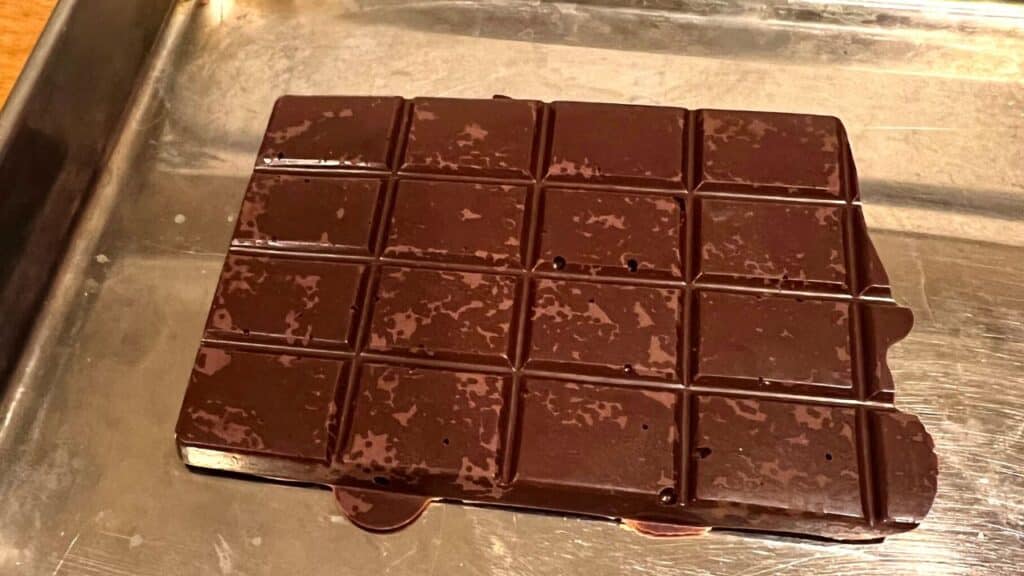
Tempering
As you can see there is a little bit of white streaking which is called blooming. This can be an indication of tempering that wasn’t perfect. But all the other indications of a good temper were there. It was shiny besides the streaks. It has a good snap and it’s stable at room temperature.
My suspicion is that my mold was just the smallest bit wet when I put the chocolate in and as I said before, chocolate and water do not mix. That’s the only reason that I’m not a huge fan of silicone molds, they can be hard to get completely dry sometimes.
Texture
As far as texture, as I said before this did turn out grainy. Chocolate when it typically is made by professionals (not a clumsy little goofball such as myself), it is put into a machine and grinding for up to a day. I did it by hand in a mortar and pestle for 4 hours. It will obviously not be the same. Next time, I will absolutely use my high powered blender. I am interested to see if that helps.
Taste
Finally taste, the taste was good. Definitely the right level of sweetness. The only downside is that it had a bazaar aftertaste which I can only describe as plasticy. This could be a couple of things, it could be that I got the beans too hot during the fermentation process and it could also be that I did not roast the beans for long enough. So I will definitely be using the corrections that I described before to correct that next time.
Attempt #2
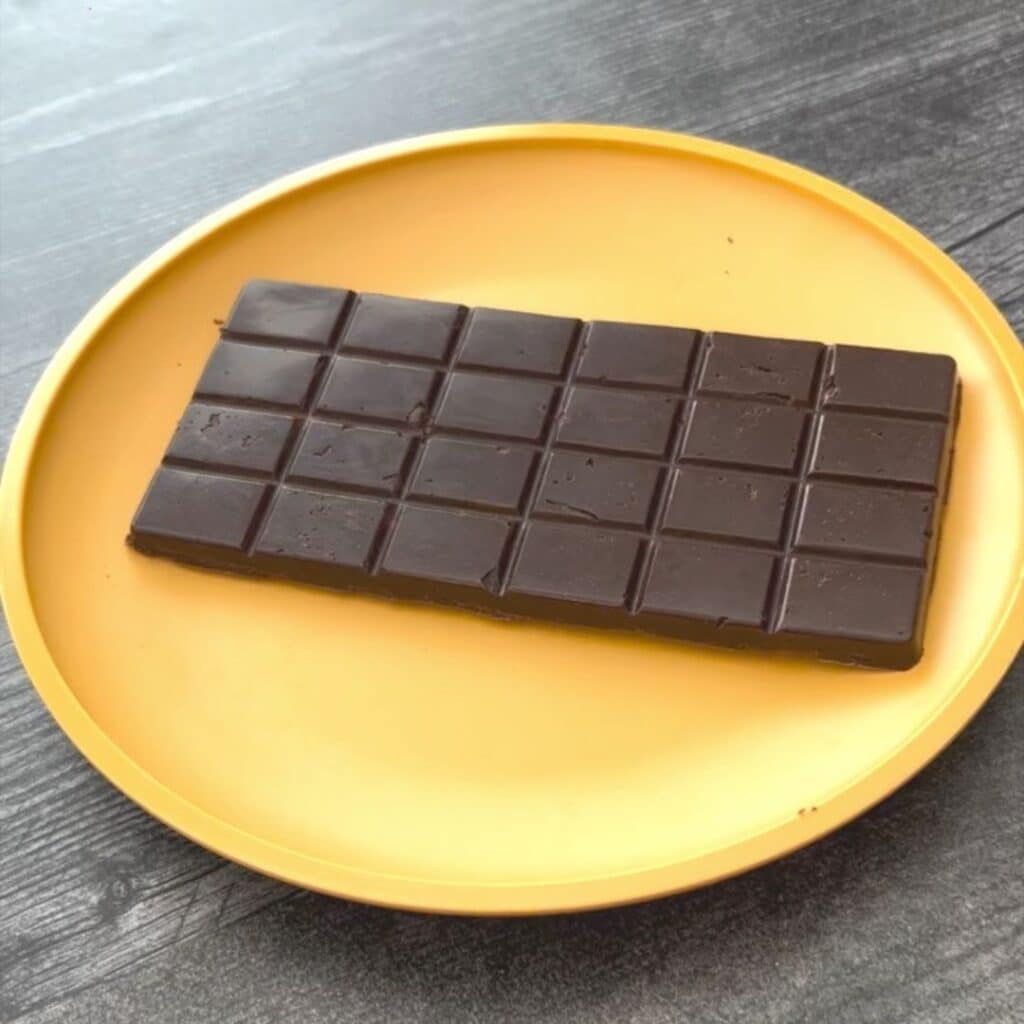
Tempering
Funny story, so I used the sou vide to temper my chocolate and at the end of tempering when I went to spread the chocolate into the mold it was very thick which made me think that the temper was wrong.
When I Went to unfold the bar, it was perfect! It was shiny, it had a great snap, and it did not melt in my hand.
Texture
The blender was a wonderful choice! It was still a little gritty, but not definitely an improvement. Next time, I will bed it even more.
Taste
This is the part that leaves me a little stumped. I think fixed all of the issues that I had with fermentation last time and it did taste better than last time but there was still a bit of a plastic taste but no bad after taste.
I think that maybe I did not bake them long enough. That is my best guess.
If there are any question, please let me know but and that’s pretty much it! That’s how to make chocolate from scratch from a fresh cacao pod.
Thank you so much for joining me today. This was a very long one but again I think it was a really fun process and I can’t wait to try it again.
Leave me a comment for any questions that you might have or any suggestions for anything you want to see next.
Follow me on Facebook, Instagram,pinterest, twitter and snapchat to see what I’m up to next.
Remember, don’t be afraid to “bake” a mess. And I’ll see you next time.
If you have any questions or comments please don’t hesitate to leave a comment down below, message me on instagram, facebook or leave me an email.
That was a fun read. Thank you for taking the time to explain the whole process and all the different things you tried.
You’re welcome! I will absolutely be trying this again too so stay tuned! It’s really fun to experiment and see what works best. Thank you so much for reading!