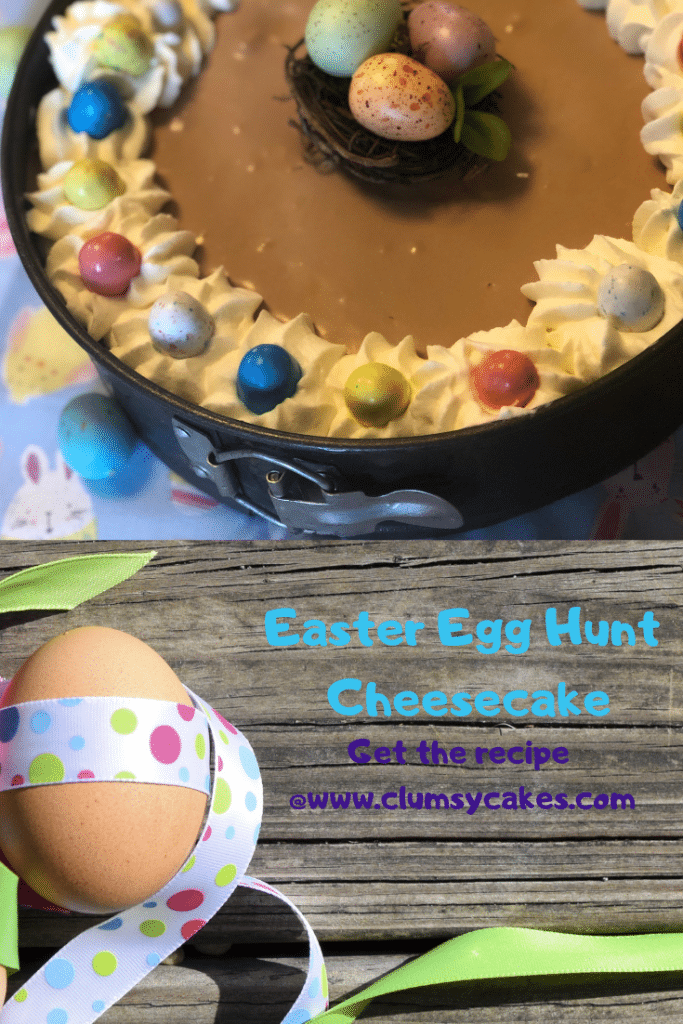
Happy Easter Everyone! One of my favorite things in Easter is the Easter Egg hunt. So I thought why not put that into a cheesecake. I did this idea last year for Easter but with a baked cheesecake. You are probably smarter than me and realize that if you put chocolate eggs in a batter and then bake it, they are just going to melt. Not all the way but they are still going to melt some. Well, that is exactly what happened. Like I said, they did not melt all the way but the colors on the candy coating ran and I did not get the desired look and texture that I was going for. So let’s try this again. No bake this time. Hey you live and learn, right? So ,let’s make an Easter Egg Hunt Cheesecake the right way.
When I started this blog I had a few goals in mind. One was to share my love of baking with you all. The other was I was hoping that this would be a little bit of therapy for me. I was hoping that I would learn to calm down and not take it so seriously. I really admire the way that my mom and my sister cook. They just throw things in a bowl and then in the oven for an undetermined amount of time and it always comes out perfect. Not me, I need to know all my measurements and precisely how long it’s going to be in the even and what I am looking for. They just inherently know all of that or have the confidence that if they don’t it’ll still turn out fine. Most times when things don’t go right in my baking I literally cry. I am already getting better but this one really tried my nerves. Let me show you why.
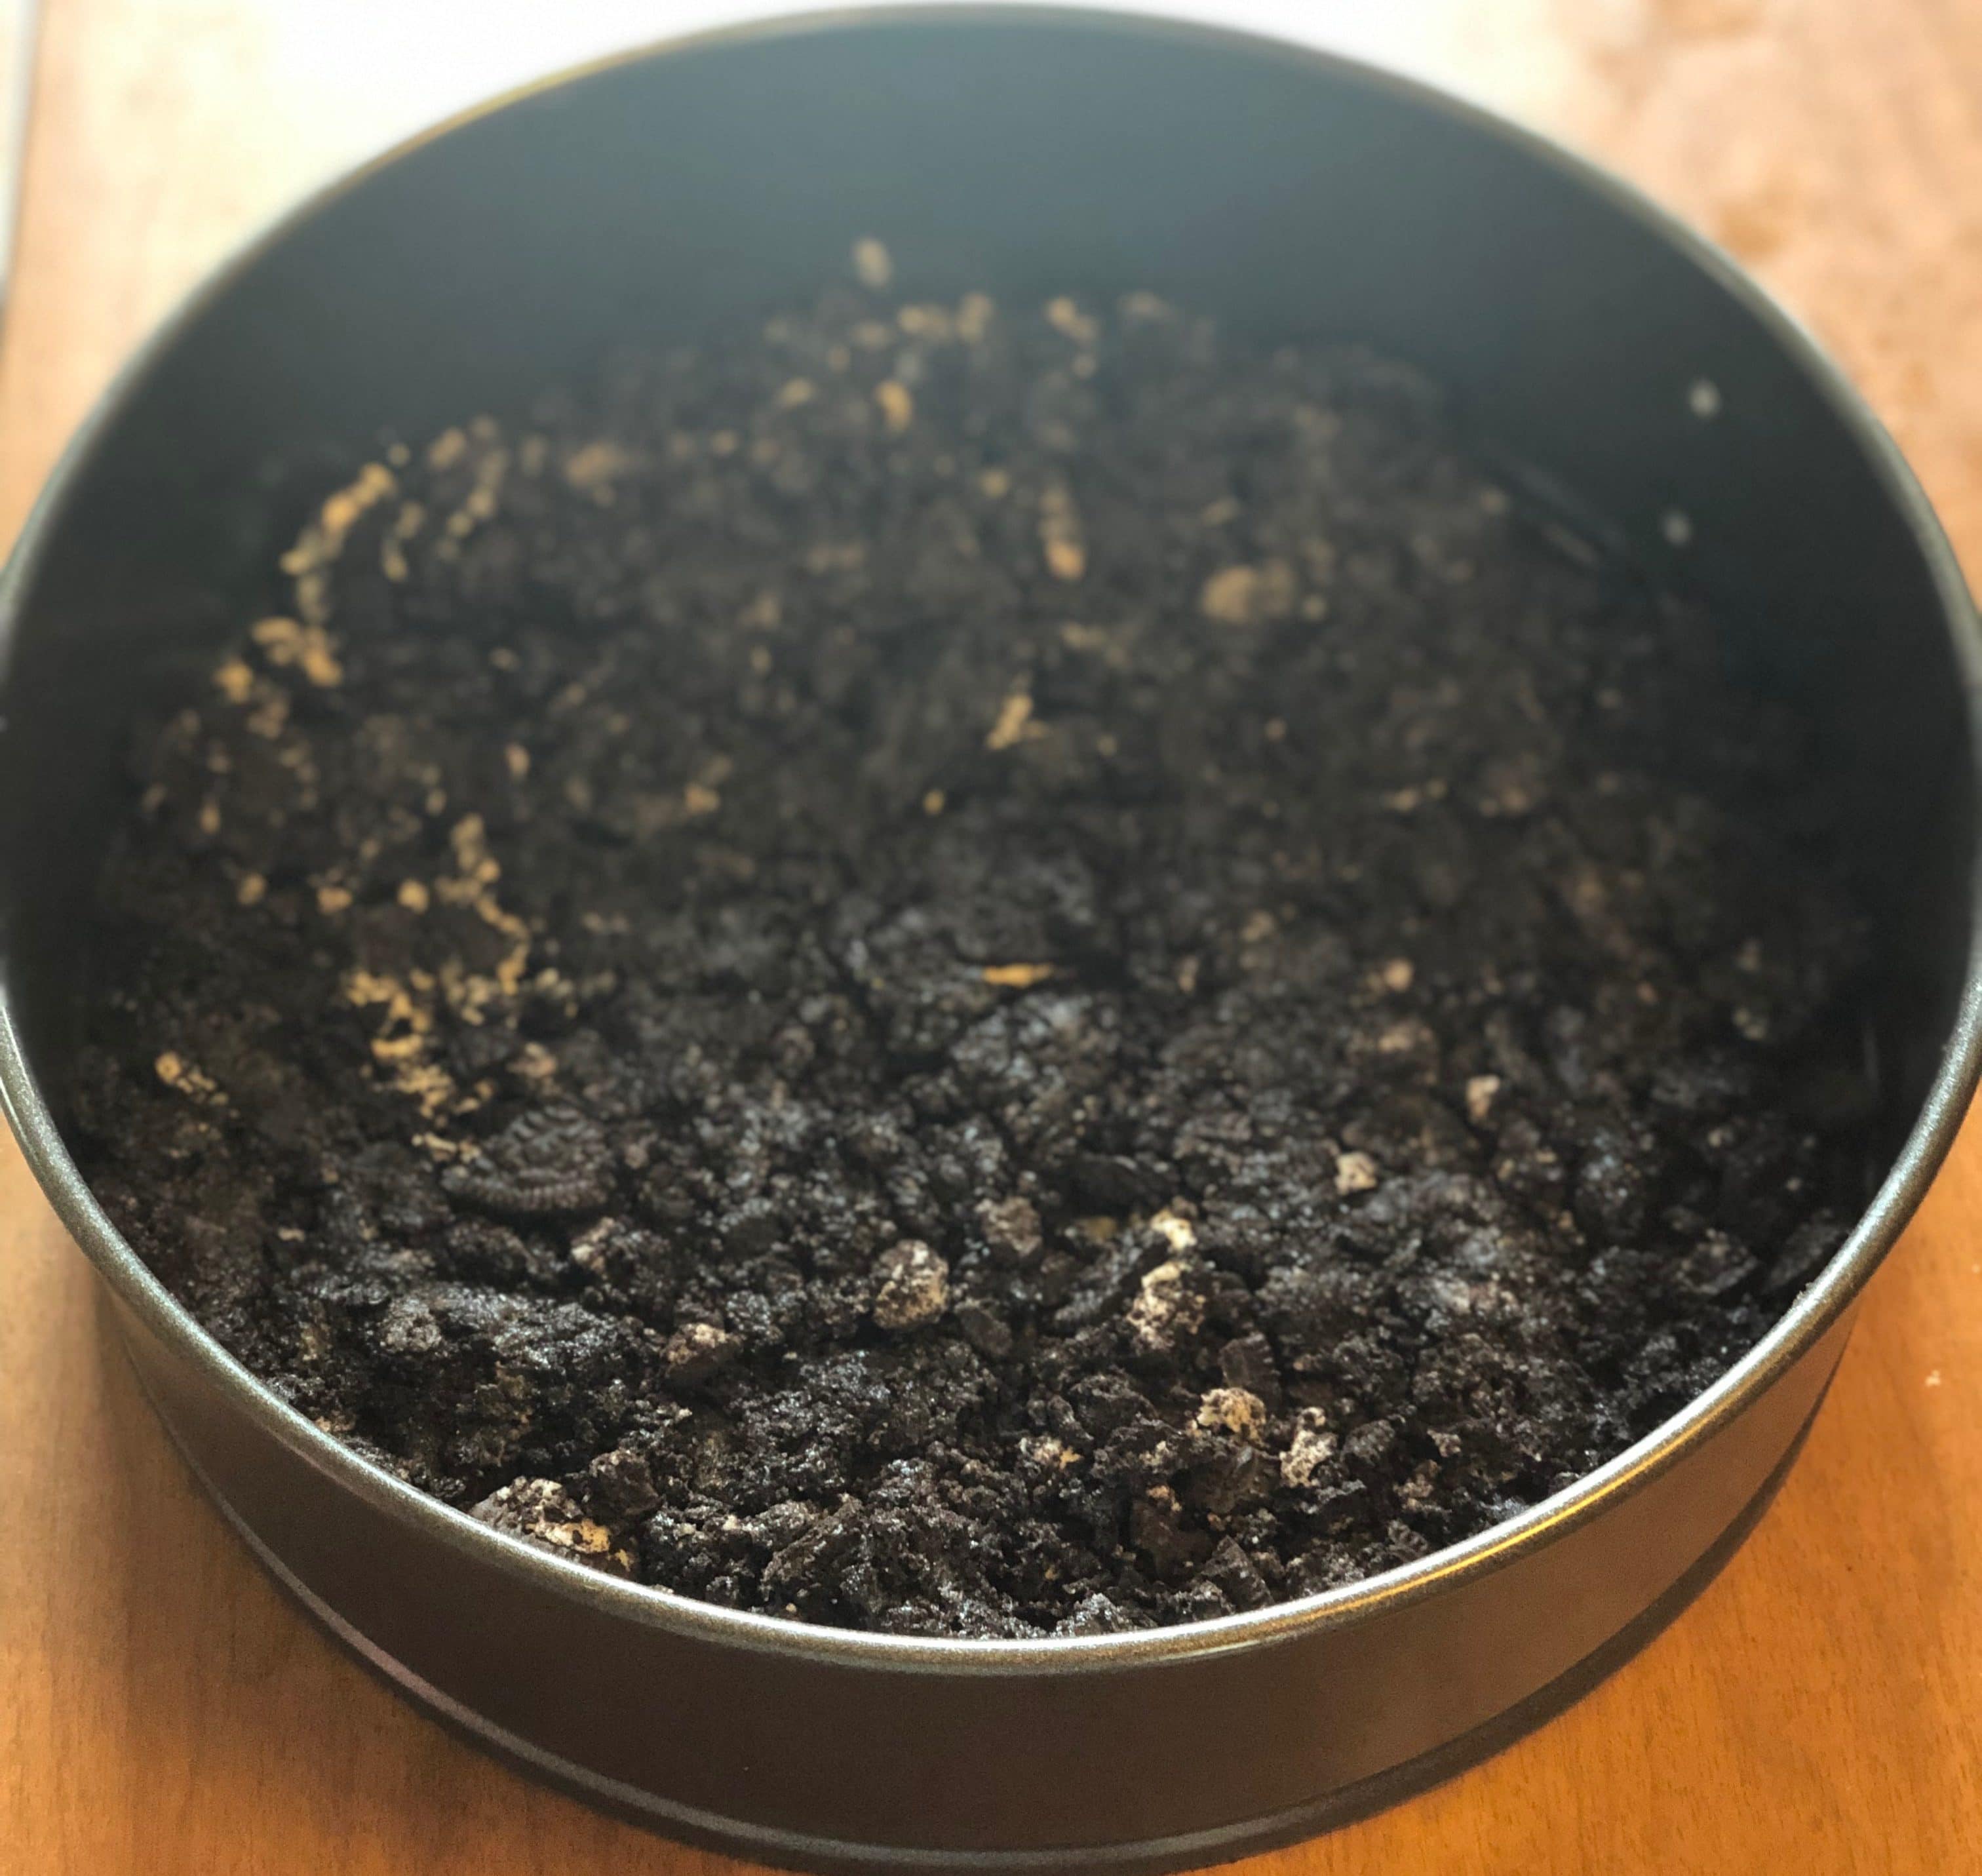
Before I got into making the batter I had to do a little prep work. Because this is a no bake cheesecake and will not be taken off the base of the pan, the parchment paper will not be needed unless you want it there for easier cleanup. No bake means no water bath so you do not need aluminum foil either. All you need to do is spray the pan with some non stick spray. But we do need to prepare our crust. So go ahead and prepare an Oreo Crust but do not bake. Set in the freezer until our batter is ready.
This is where the trouble started. To whip up my whipped cream, I needed the bowl and the whisk to be perfectly clean. Any oils that somehow are still on your bowl from the last thing you made will keep your cream from whipping up. So to make sure that everything is as clean as possible I whipped up my cream first until stiff peaks formed and then set aside in the fridge until the end of the recipe. But because it was only going to be in there for about 20 minutes I did not cover it with plastic wrap. CRUCIAL MISTAKE!
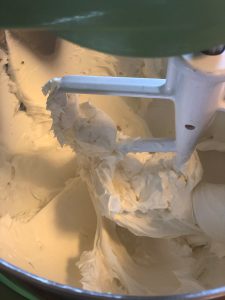
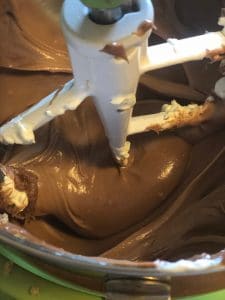
But I did not know at that point of the horror that was going to arise from this so I happilly went on to the next step. I put the softened cream cheese into the bowl of my stand mixer fitted with a paddle attatchment and beat the cream cheese on medium speed until smooth. And I made sure to scrape down the bottem and the sides of the bowl to make sure all that cream cheese gets incorperated.
This is where another bump in the road heppened. So this was supposed to be a peanut butter and chocolate flavored cheesecake. But when I went to grab the peanut butter, there was only chunky peanut better. I did not buy smooth because at any given time there is an over abundance of smooth peanut butter in my house. This time there was not. In retrospect I should have checked before I went to the store. Whoops.
I did however, buy chocolate to melt. When I went to find it for the recipe it was no where to be found. Great. What I did find however was nutella. which is incredible so I substituted a cup of that instead. Which may have been a blessing in disquise because this made a very thick cake and if I had used a cup of chocolate and a cup of peanut butter like I had planned it would have probably overflowed or I would have had to throw batter out.
So, I pressed on and added in the nutella and beat until incorperated. If you go with the penut butter and chocolate option you can always add more or less chocolate and peanut butter to taste. I was kind of going for a reese’s peanut butter cup taske so thats why I went for equel parts. At any rate just make sure that you scrape down the bottem and the sides of the bowl and and beat once more until smooth.
Next we are going to add in the sugar,plain greak yogurt and vanilla. Beat on medium speed to incorporate. Scrape down the bottom and the sides of the bowl to make sure everything is incorperated and beat one more time until smooth.
Here is where disaster struck. As I said earlier, I put the whipped cream that I did earlier in the fridge. My mom had chicken out on the counter thawing in a bag. My dad came home and put the chicken in the fidge because it was done thawing and he put it on the shelf right aboveve my whipped cream. The bag leaked and got chicken juice all in my whipped cream. So needless to say, I could not use that whipped cream and because my stand mixer was being used and dirty I could not make more whipped cream. But I have seen on pinterest that you can just put the heavy cream straight into the batter and beat the mixture up until thick. So I tried that because it was really my only option at that point.
If you did this right up until this point you can just gently put the whipped cream in with the cream cheese mixture. Fold the 2 mixtures together in a figure 8 motion until it is one mixture and you no longer see any streaks of whipped crea
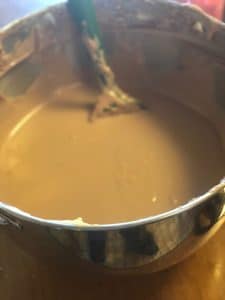
At this point it was still pretty leaky but I just added in the chocolate eggs and fold them in until they were evenly distributed throughout the batter.
I was feeling the urge to cry welling up in my throat. The batter was way too leaky but I just trusted in pinterest and poured the batter into the pan. I put the cake it the freezer to hopefully firm it up. I left it there until I was just about to go to bed so It was in there for a few hours, At this point it was firming up so I was encouraged Then I put the cheesecake in the fridge overnight to set because I didnt want it to be a block of ice. I got it out this morning and it was slightly thicker but still soupy. I then put it back in the freezer where it will stay until I serve this on easter.
For the correct version you are just going to put this in the fridge overnight to set up. And then in the morning you are going to take off the sides of the cake and decorate it. (see below)
Right now I still have the urge to cry and I”m scared of the outcome but I wanted to put all of this in the blog because mistakes happen and you have to just make the best out of it. I want to be completely real with you guys. I am not perfect no matter how much I wish I was. And I will never give the illusion that I am.
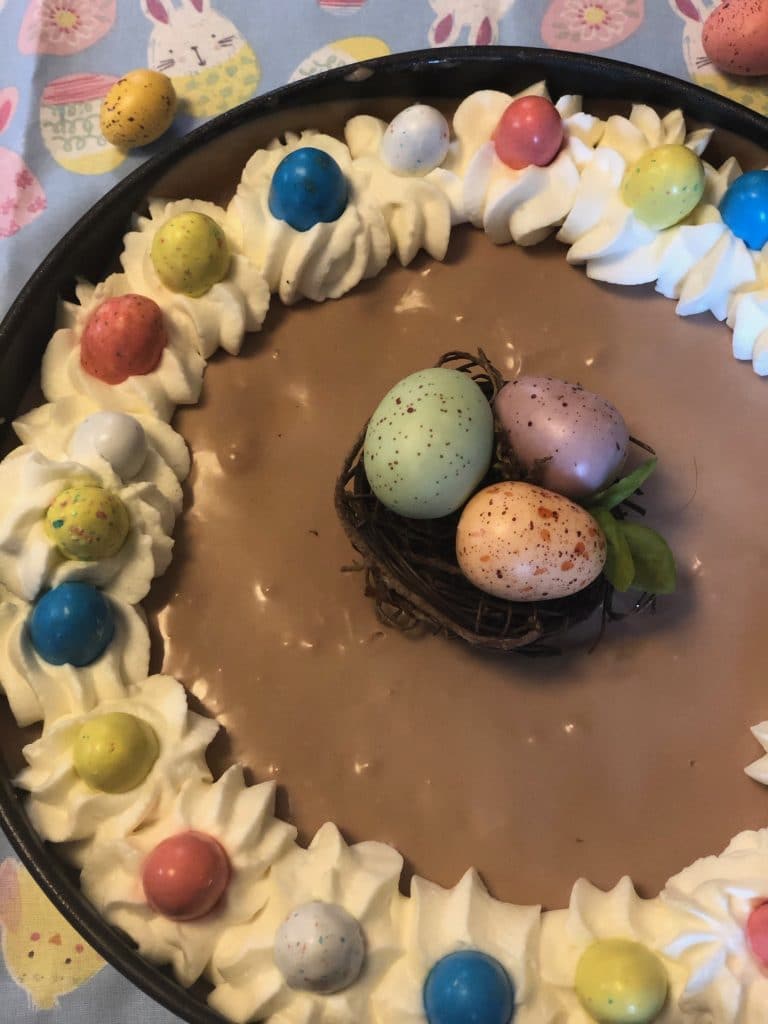
So, I am going to change up my idea and make this into a frozen cheesecake. Kind of like an iced cream cake. So, I decorated the cake and stuck it back in the freezer until tomorrow when I am going to serve this. The picture is going to be with the sides still on because the cake is not fully set yet and I dont want it to fall apart.
I hope you all enjoy this mess of a blog today and what I made out of this disaster of a situation. I wanted this to be a lesson that things happen and you don’t have to just scrap the whole thing when that happens. You can still make something slightly differant but still equelly delicious. I hope you all have an amazing Easter with family and friends. If you liked this cake please leave a comment and share with your friends and if you try this, please take a picture and share it with me on social media.
Easter Egg Hunt Cheesecake
A chocolate no bake cheesecake with chocolate eggs running through out. Topped with whipped cream and more chocolate eggs for decoration.
Ingredients
Components
- 1 Recipe of No Bake Cheesecake (Substitute brown sugar for granulated sugar)
- 1 Recipe of Oreo Crust
- 1/2 Recipe of Stabilized Whipped Cream
Oreo Crust
- 2 Rows of Oreos
- 4 Tbsp of Unsalted Butter
For Cheesecake
- 3 Blocks of Cream
- 1 Cup of Brown Sugar
- 1 Pint of Heavy Cream
- 1 Cup of Nutella
- 1/2 cup of Plain Great Yogurt
- 1 Tbsp of Vanilla Extract
For Stabilized Whipped Cream
- 1/2 Pint of Heavy Cream
- 1.6 Cup of Granulates Sugar
- 1/2 Packet of Unflavored Geliton
- 1 Tbsp of Cold Water
- 1/2 Tbsp of Boiling Water
Instructions
For Crust -
- Prepare a 9 inch springform pan just by spraying it with non stick spray.
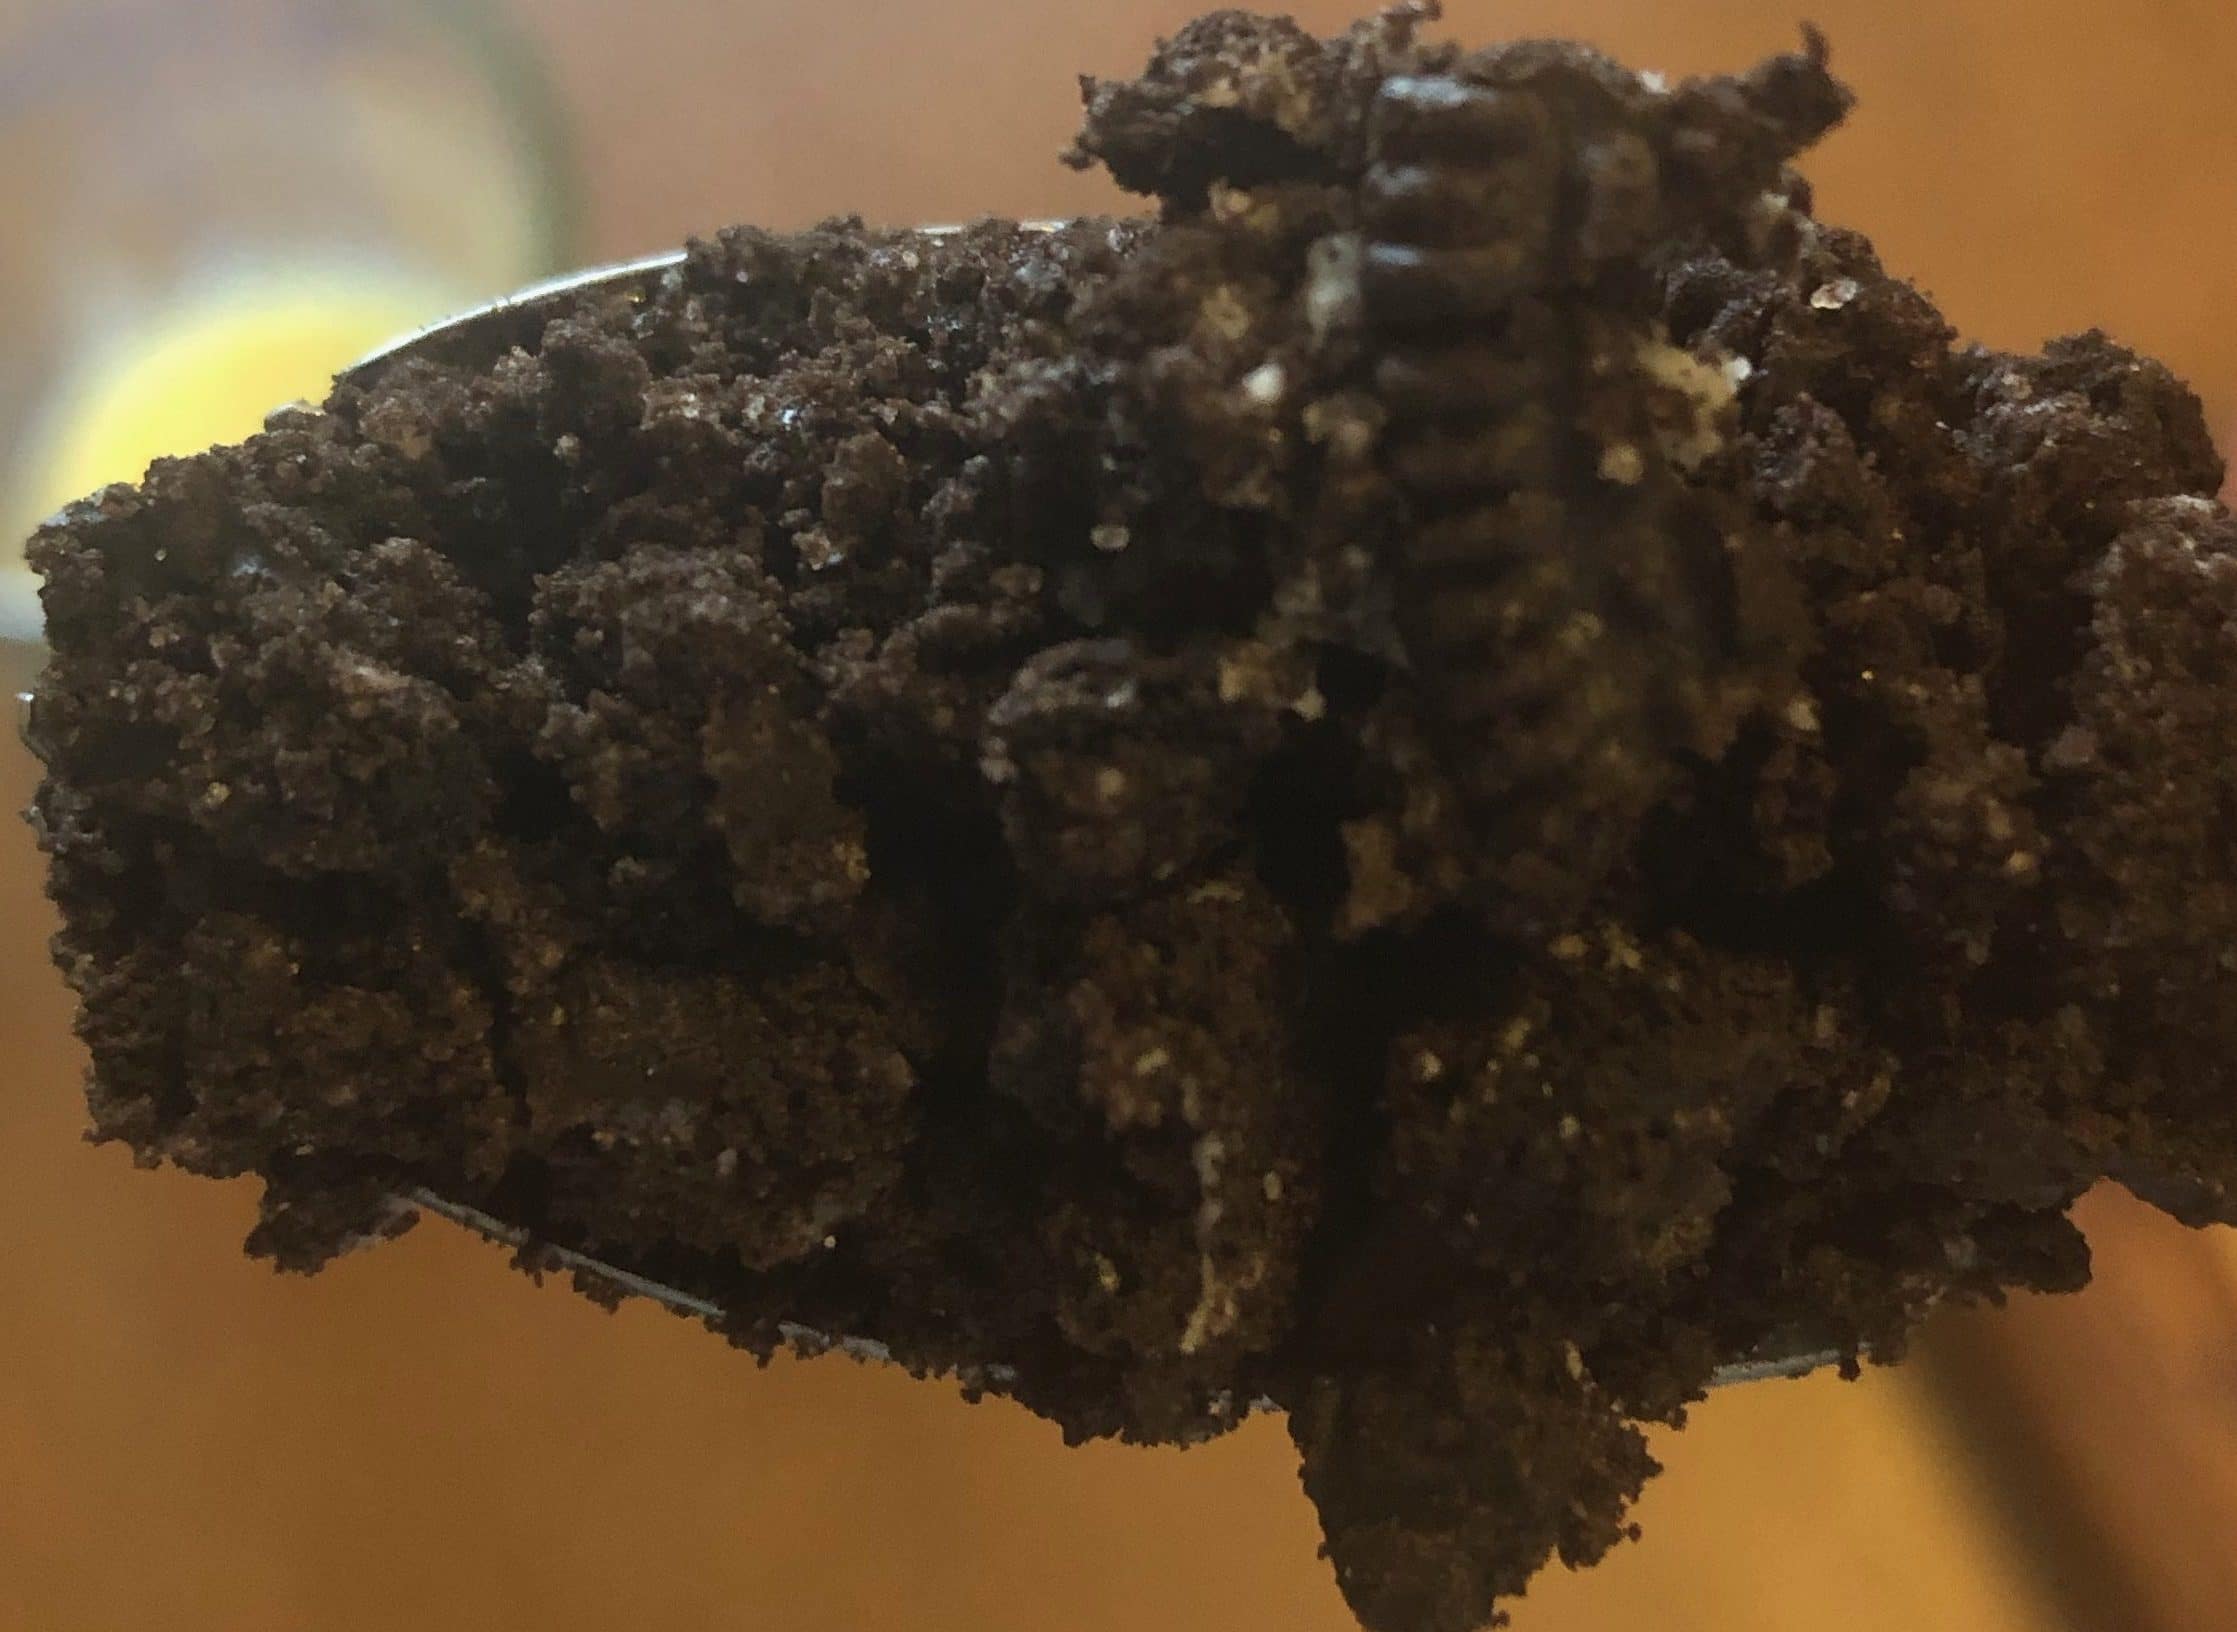
- Crush the Oreos in a food processor or a ziplock bag with a rolling pin until you get coarse crumbs.
- Add the butter and pulse in the food processor or massage it around in the bag to incorperate. You are looking for the texture of wet sand.
- Leave the crust in the freezer for 1 hour.
For Cheesecake -
- Place the heavy cream for the cheesecake in the bowl of your stand mixer fitted with a whisk attachment or regular bowl and a hand mixer. Whip it up on medium speed until stiff peaks form.
- Transfer the whipped cream to a different bowl. Set aside in the fridge.
- Add the softened cream cheese to the same bowl (No need to wash it first). Beat until smooth. Scrape down the bottom and the sides of the bowl and beat again until smooth.
- Add the melted chocolate and peanut butter and beat until incorporated. Scrape down the bottom and the sides of the bowl and beat once more until incorporated and smooth.
- Add the sugar and beat until incorporated. Scrape down the bottom and the sides of the bowl and beat again until incorporated and smooth.
- Add the greek yogurt and the vanilla extract and beat until incorporated. Scrape down the bottom and the sides of the bowl and beat once more until incorporated and smooth.
- Remove the whipped cream from the fridge and fold it into the cream cheese mixture.
- Add in the chocolate eggs and fold until the eggs are evenly distributed throughout the batter.
- Pour this into the prepared crust. Spread the batter out all the way to the edges of the pan.
- Place in the fridge overnight to set.
For Stabilized Whipped Cream -
- Place the pints worth of whipped cream in the bowl of your stand mixer fitted with a whisk attachment or regular bowl with a hand mixer. Whisk until it starts to develope some volume. This will take about 3-4 minutes.
- Add the sugar and whisk until soft peaks form. This should take another 2-3 minutes.
- In the meantime, add the gelatin to the cold water and stir to make sure all the granules are submerged. Let sit to absorb for about 5 minutes.
- Add the boiling water to the gelatin mixture to melt it again.
- Pour this mixture into the heavy cream and let it whip until stiff peaks form.
- Place in the fridge until you are ready to use this.
To Decorate -
- Place the whipped cream in a place it in a piping bag.
- Un mold the cheesecake by slowly taking off the sides of the pan.
- Slowly and carefully pipe small dollops of whipped cream all the way around the cake. How many is up to you.
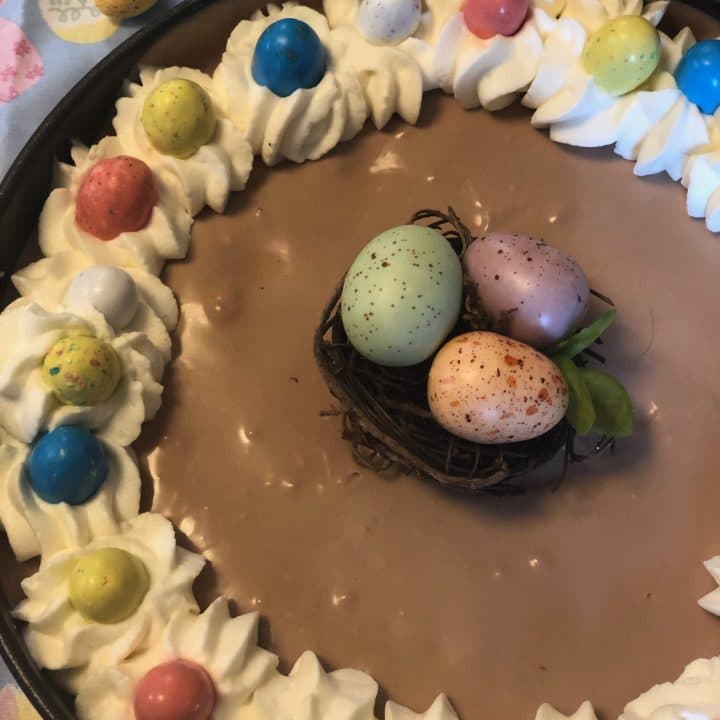
- Add a chocolate egg in the middle of each dollop and add the birds nest in the middle.
You May Also Like:
Chocolate,Guinness and Mint Cheesecake
If you have any questions or comments please don’t hesitate to leave a comment down below, message me on instagram, facebook or leave me an email. Also show me your recreations of this cake if you make it!
Facebook –facebook.com/Clumsy-Cakes-2058041137644585
Instagram-instagram.com/clumsy-cakes
pinterest –pinterest.com/clumsycakes
email – [email protected]
I love the way you decorate the top with those little eggs; I’m gonna try that!
aww thank you! I’m glad you like it!