Disclaimer: This post contains affiliate links. This means that I will receive a small commission from any purchase made from this post at no additional cost to you.
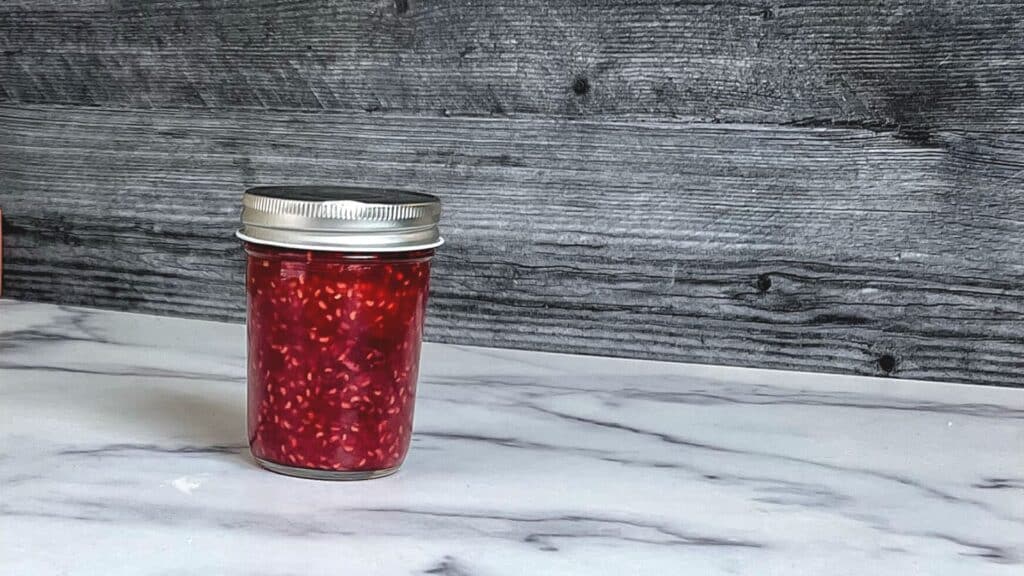
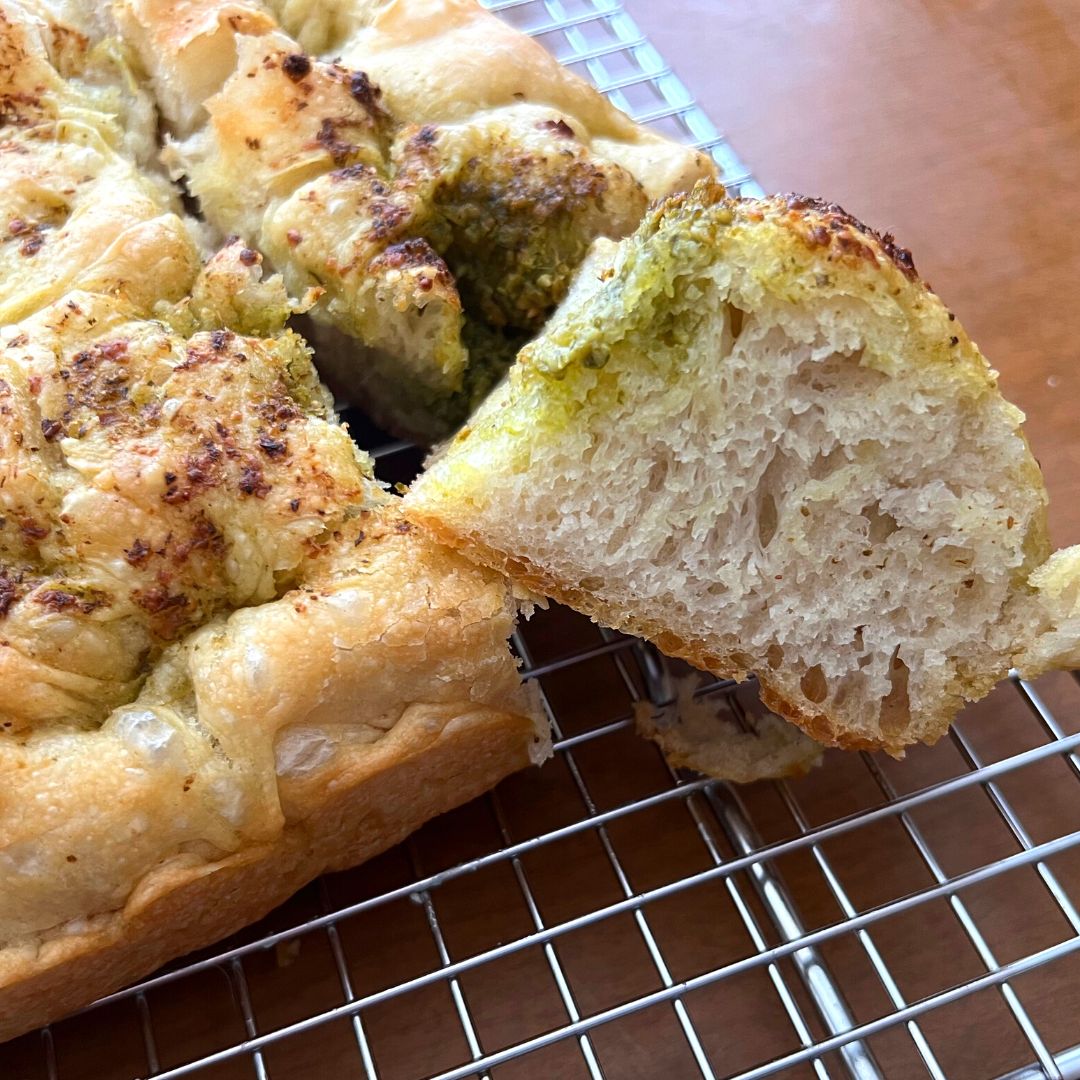
Hey guys, this week we are going to continue with recipes that use up those fruit, veggies and herbs that are coming up in your summer gardens. Last week we made a focaccia with basil pesto sauce. Now, this week I am sharing one of my favorite homemade jam recipes. Raspberry Jam.
What Homemade Jam Recipes Have Been On The Blog Before?
This first one of my homemade jam recipes that is on my blog is my Hot Jalapeño Jelly. This is a savory jelly that is a little different than this raspberry jam in that it uses pectin to make the jelly clump together.
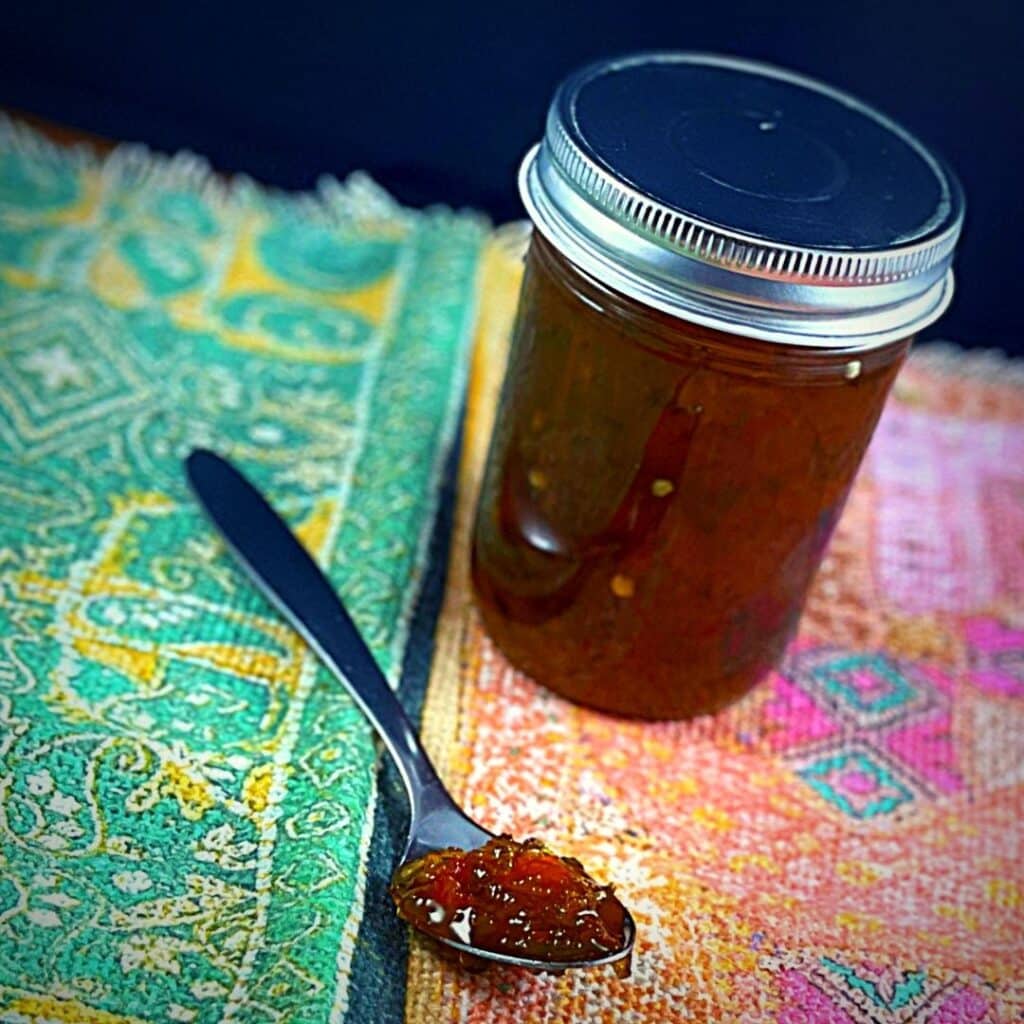
In the raspberry jam recipe I just reduced the jam down and thickened it that way. So, in a way while both are easy, this one was even simpler.

Homemade Jam Recipes – The Sheet Test
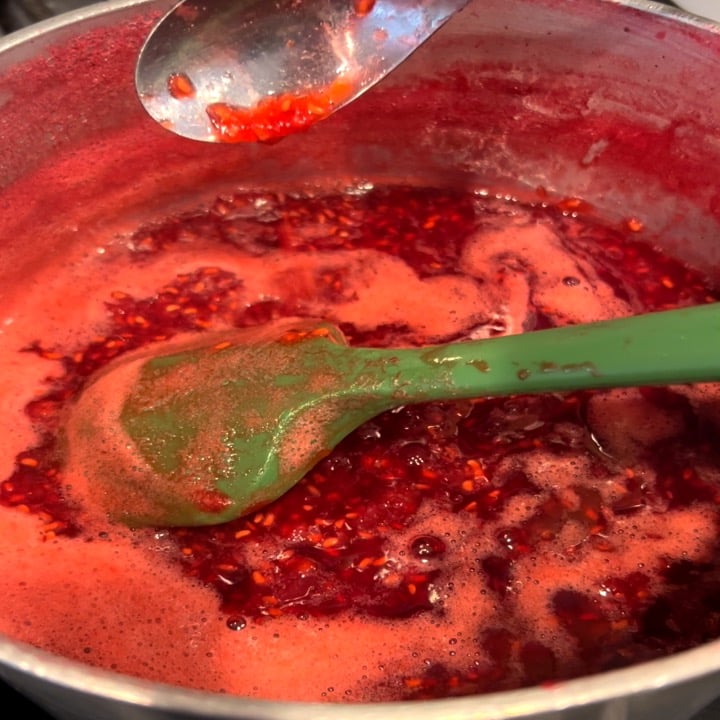
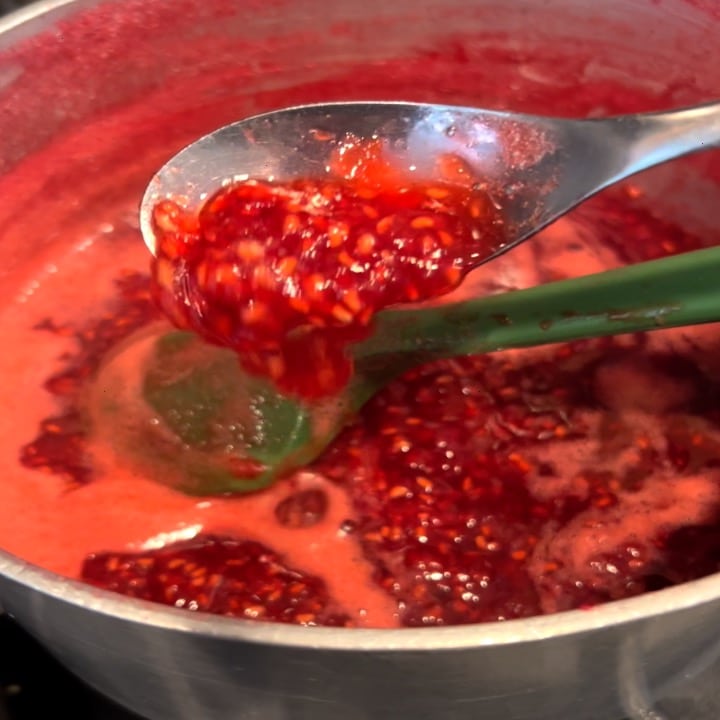
The sheeting test is a quick way to check if your jam is at the right consistency. This can be done in 2 ways. One way is to put a plate in the freezer for about 20 minutes. Drop a small amount of jam on the plate and if it gels up, then it’s ready.
The other way and the way that I used is to pick some of the jam up with a spoon and let it dribble back into the pot. If you see the jam falls back into the pot in individual droplets, it is not ready but if the droplets come together in a sheet like formation then it’s ready.
How To Can Your Homemade Jam Recipes
This jam recipe actually is one that keeps better frozen but if you would like to can it and keep it in your pantry, you absolutely can. Canning is very simple. First, you need some mason jars. These can be any size but just keep in mind that that will change your yield. This recipe was designed to make 4 (8oz) jars of jam.
After you have jars and lids, they have to be sterilized. To do this, just place the jars and lids in a pot of water. Make sure the water extends no less than an inch above the jars. Bring the water to a boil and boil the jars and lids for 10 minutes. Do not let too much water evaporate off. You want at least 1 inch of water above the top of the jar.
When the jars and lids are sterilized, take them out using tongs and let them cool.
When the jam is done, just ladle it into your jars. If possible use a canning funnel or any wide mouth funnel to make this as clean as possible.
Then, seal the jars tight and put the jars standing up back into the pot with water. Boil again for 10 minutes. Make sure that water stays at least an inch above the jars. If too much water evaporates, the jars can actually explode from the pressure build up.
Then by using canning tongs, take the jars out of water and place them on your work surface. Let them sit for 24 hours to seal completely. Then your homemade jam recipe is shelf stable and will last for up to a year. But, in my experience the jam gets a bit brown after a while when canned but frozen it will keep better.
And that’s it! That’s how I made one of the greatest homemade jam recipes ever. As you can see this jam is incredibly simple and can be canned so that it is shelf stable or frozen. It has been my experience that frozen keeps a bit better. Come back next week to see another recipe to use up things that you have harvested from your summer garden. Leave me a comment for any questions that you might have or any suggestions for anything you want to see next. Follow me on Facebook, Instagram, pinterest, twitter and snapchat to see what I’m up to next. Remember, don’t be afraid to “bake” a mess. And I’ll see you next time.
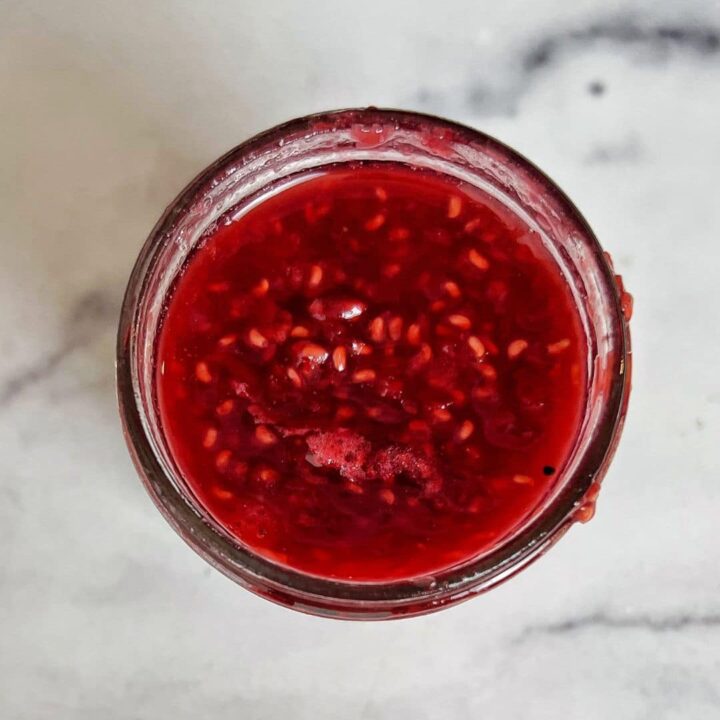
Raspberry Preserves
A sweet and tangy raspberry jam.
Ingredients
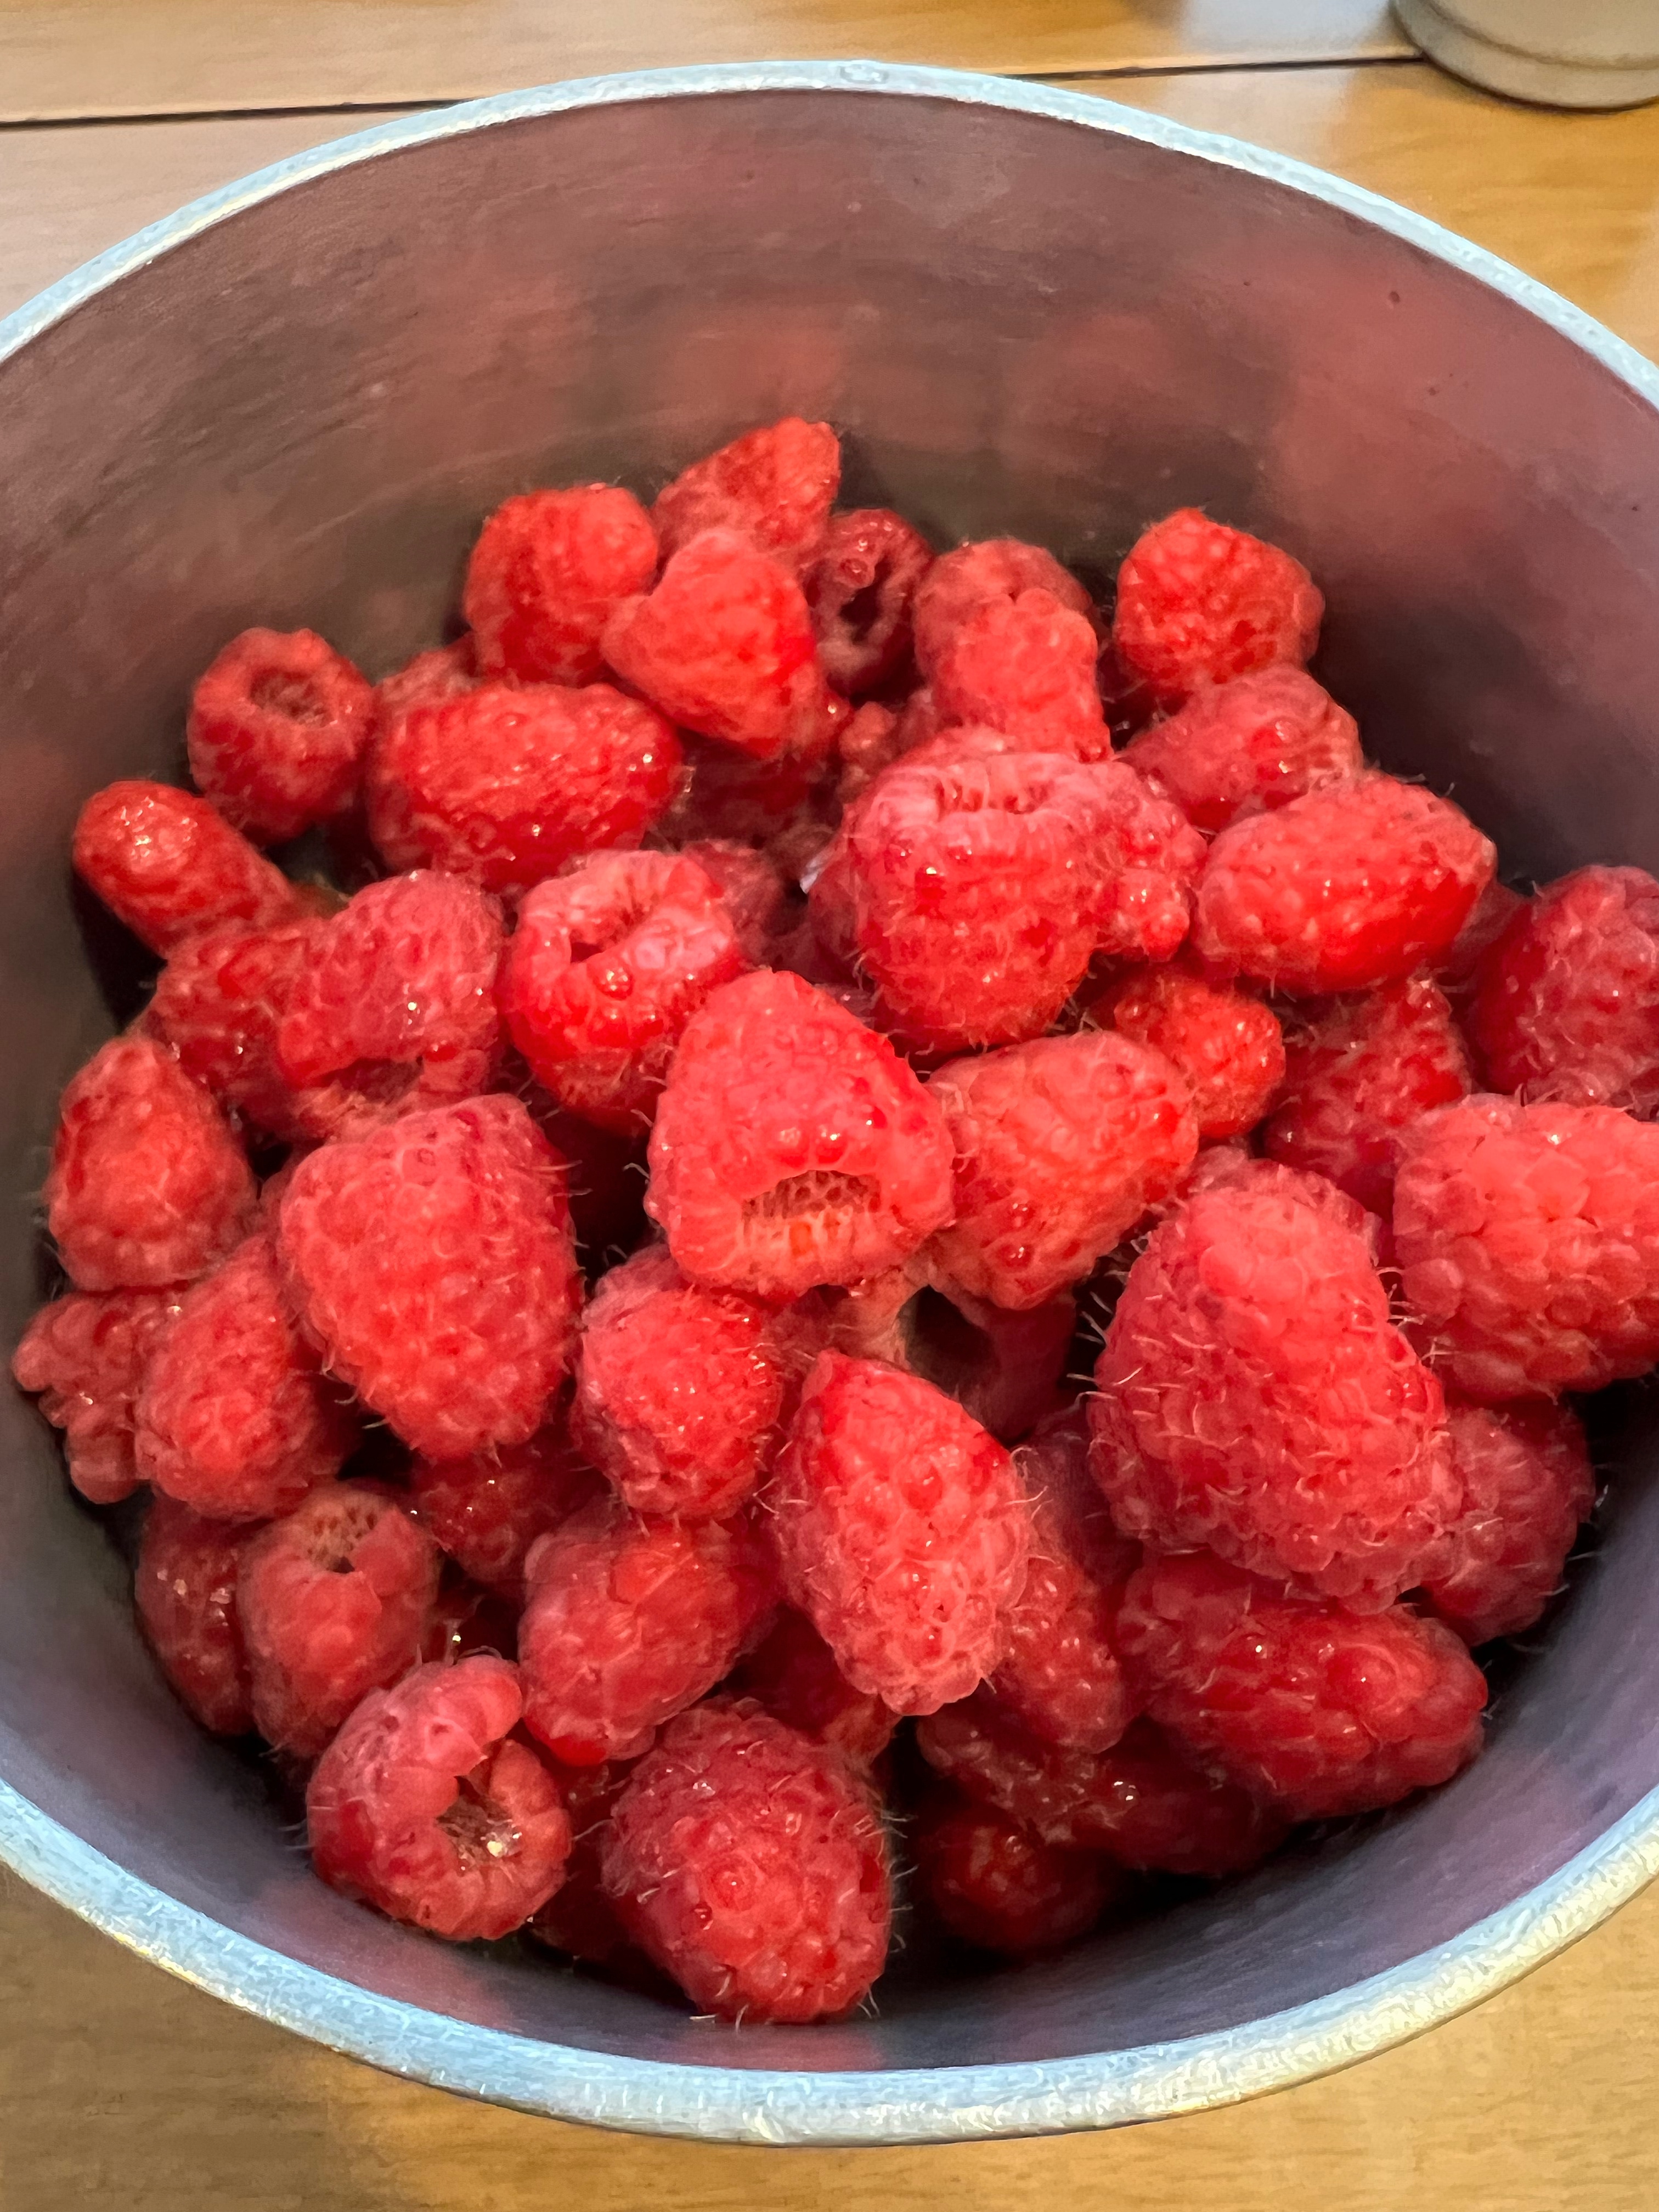
- 6 Cups of Fresh Raspberries
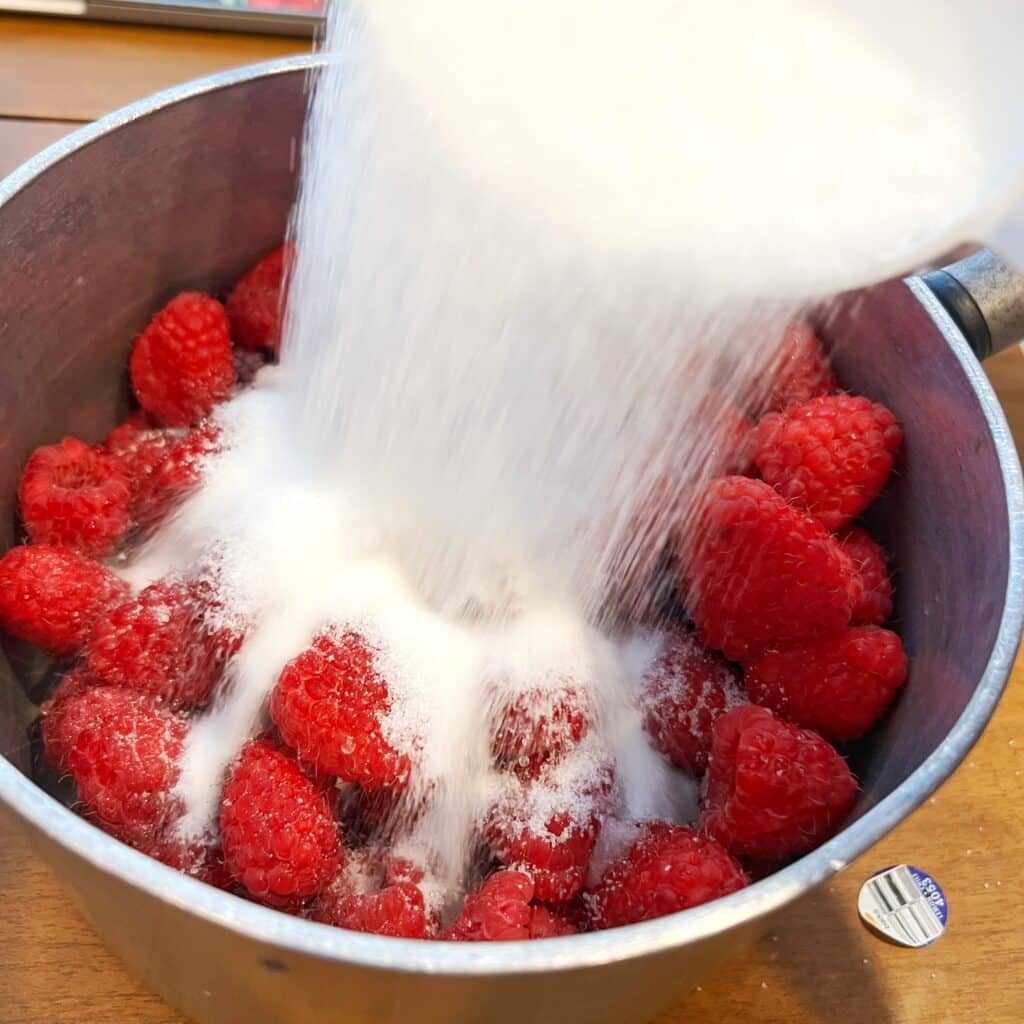
- 2 Cups of Granulated Sugar
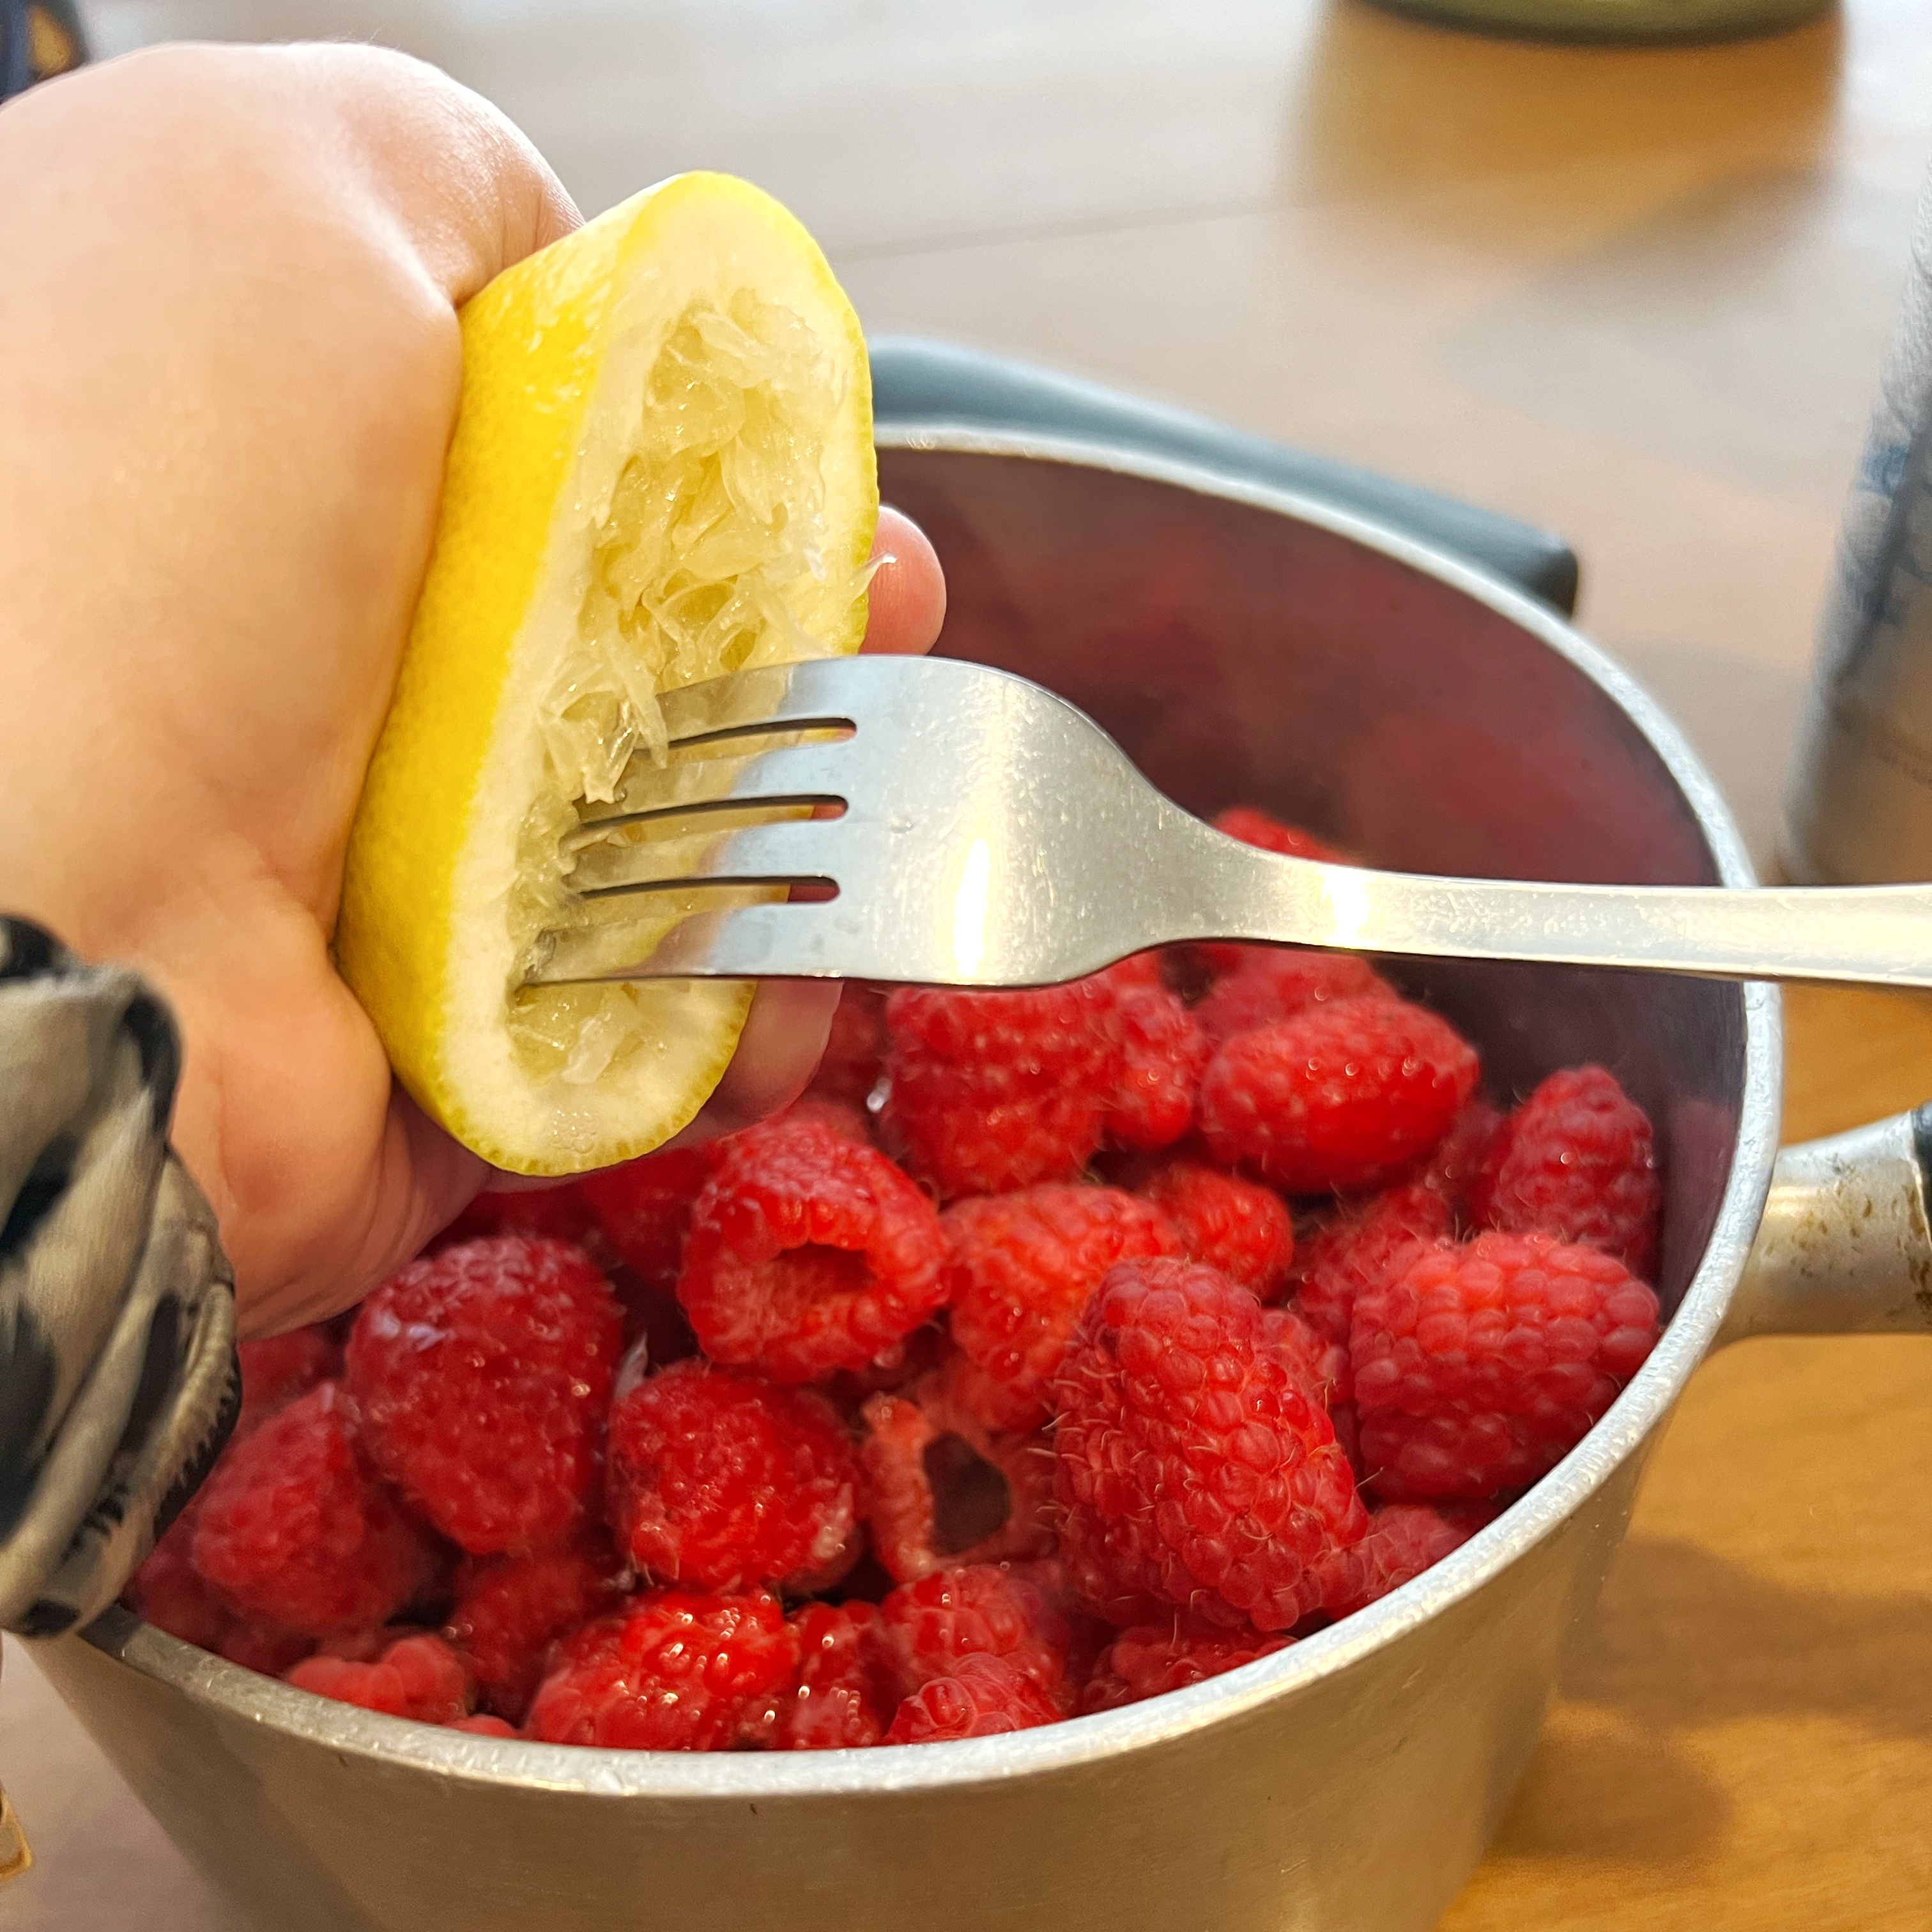
- The Juice of 1 Lemon
- 1/4 of a Teaspoon of Salt
Instructions
- Add all the ingredients to a large heavy bottem sauce pot.
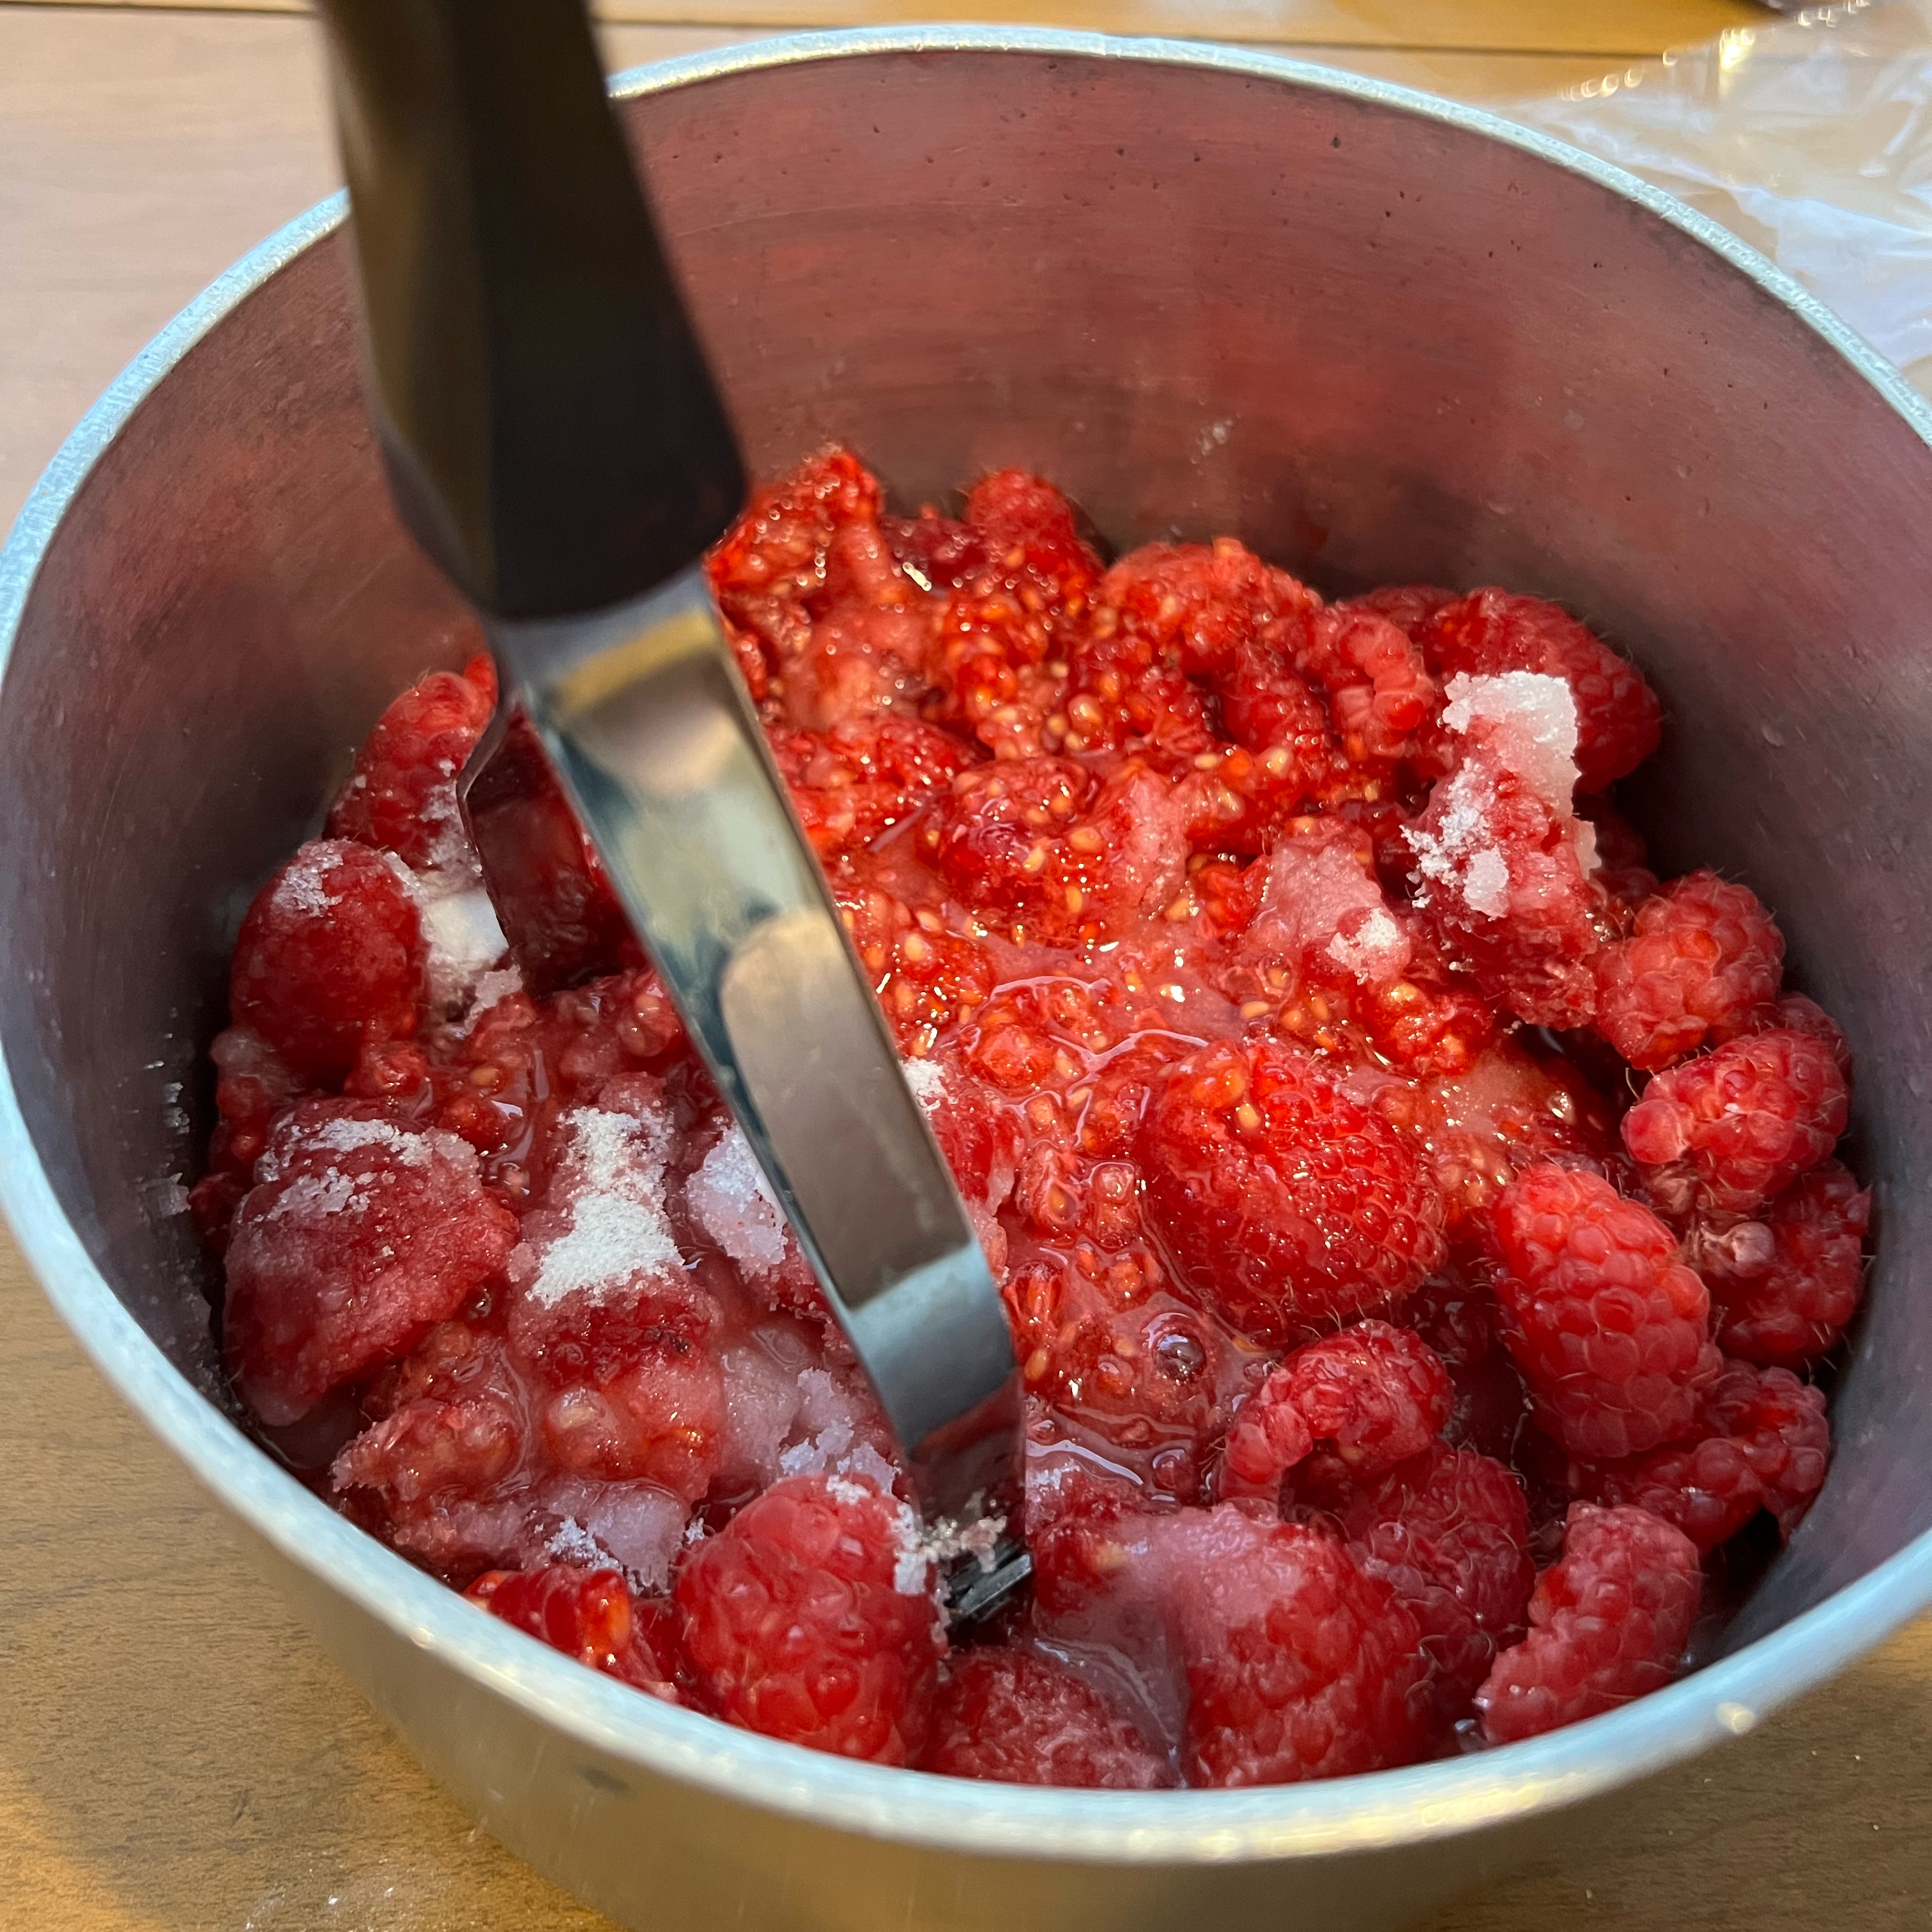
- Mash with a potato masher until everything is evenly mashed.
- Bring to a hard boil on high and boil for about 10 minutes or until thick enough to pass the sheet test. (See above) Stir Constantly.
- Using a ladle, fill up each jar with the jam. Leave about 1/4 of an inch of room at the top of the jar.
- Seal the jars tight and place them in a large pot, standing up. Fill up the pot to about 1 inch above the tops of the jars.
- Bring to a boil over high heat. Once at a boil, continue boiling for 10 minutes.
- Unopened jam will stay good in your pantry for up to a year.
Notes
Give the jars 24 hour after boiling to properly seal.
Make sure to watch the jam when boiling at all times because it can very easily boil over.
Raspberry preserves, I find keeps better frozen than canned.
If you have any questions or comments please don’t hesitate to leave a comment down below, message me on instagram, facebook or leave me an email.