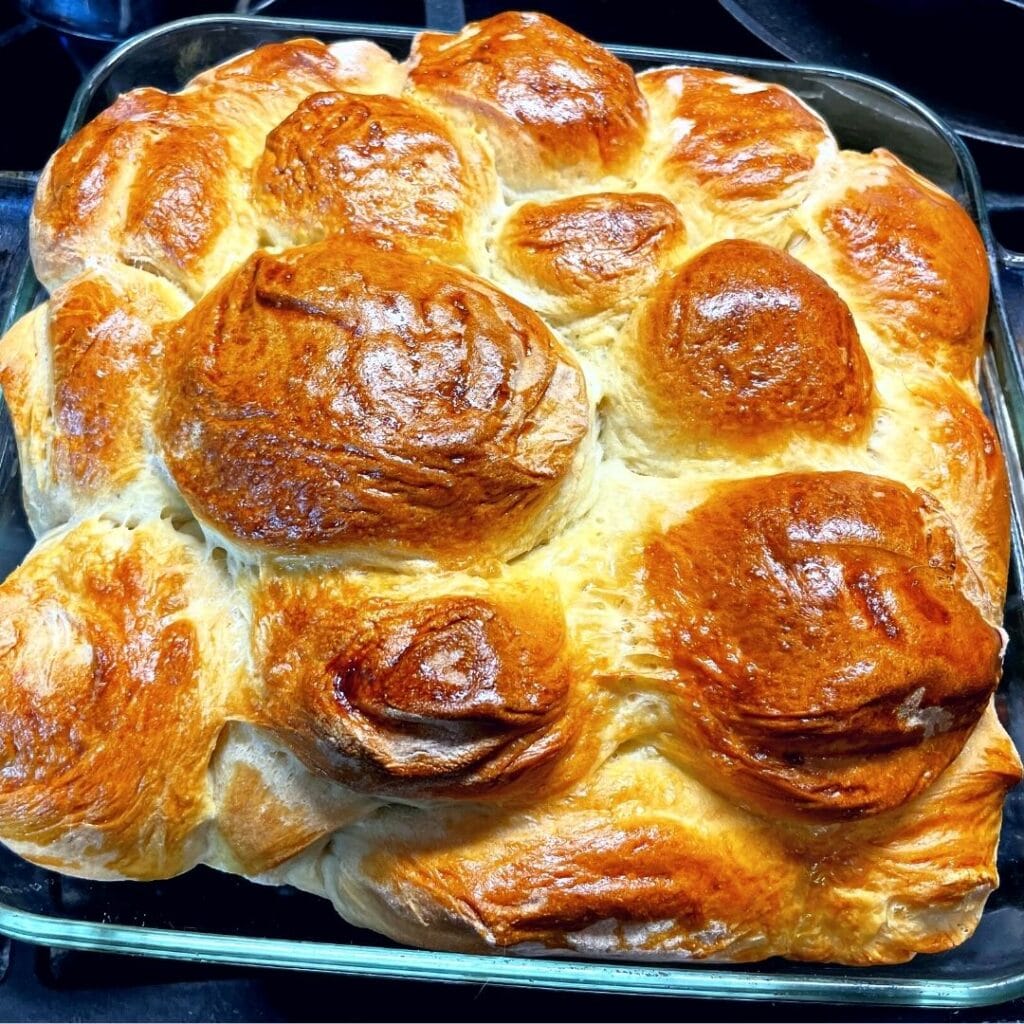

Dinner Rolls/Pull Apart Bread
Prep Time:
1 hour
Cook Time:
45 minutes
Additional Time:
5 hours
Total Time:
6 hours 45 minutes
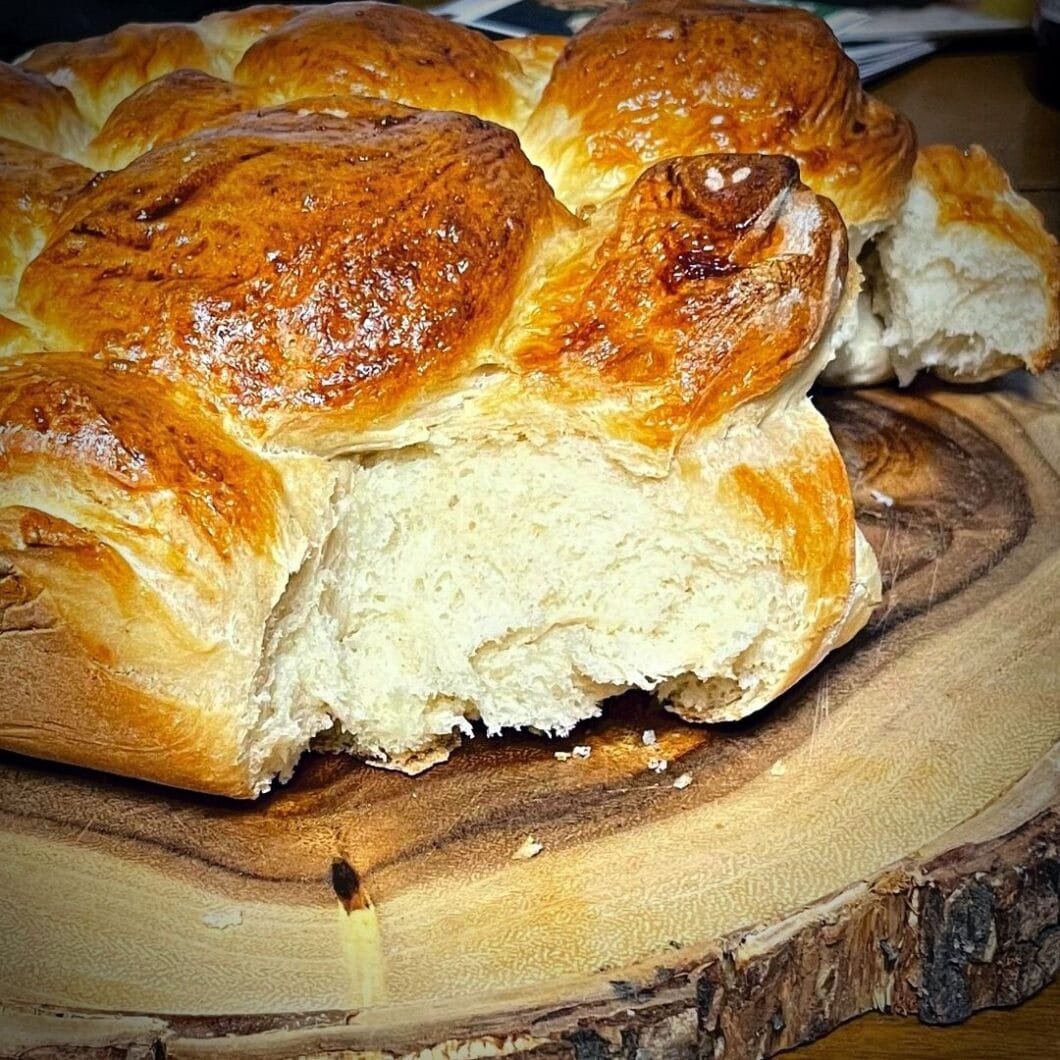
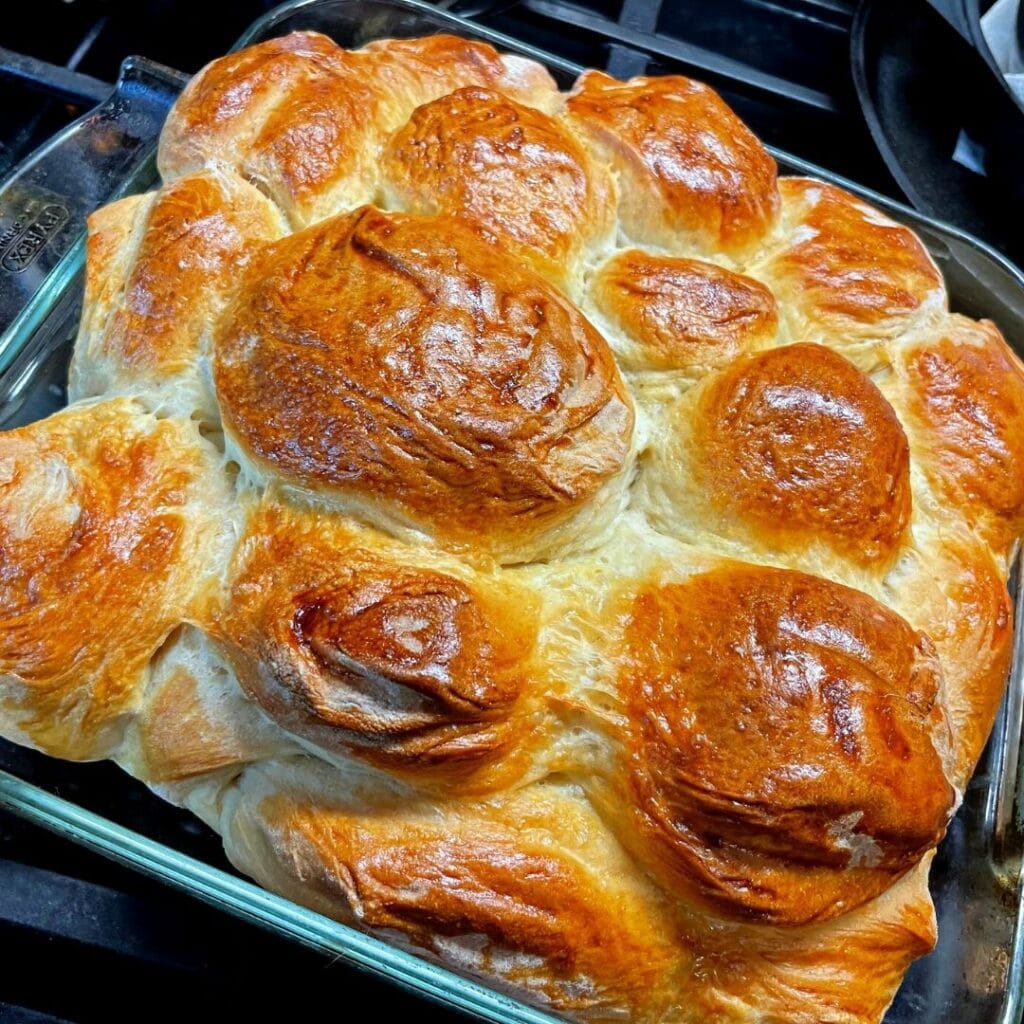
A fluffy and warm homemade, dinner roll/pull apart bread baked to golden brown perfection on top.
Ingredients
- 3 1/2 Cups of All Purpose Flour
- I Packet or 2 1/4 tsps of Instant Dry Yeast.
- 4 1/2 TBSP of Sugar
- 1 TBSP of Salt
- 2 Cups of Whole Milk
Instructions
- Heat the milk in a small saucepot one the stove or in the microwve until it gets to btween 100 and 110 •F.
- Spinkle a tbsp of the sugar and the yeast into the milk and leave it to proof for about 5 minutes until the mixture is bubbly and foamy and smells like bread.
- Sift all the dry ingrediants together and with a pastry cutter, cut in the crisco until you get small pea size bits of cristo in the flour.
- When the yeast has proofed pour that mixture into the dry mixture.
- With a dough hook attachment on you mixer or by hand in a bowl. Mix this up until you get a dough that comes together.
- Add flour little by little (a 1/2 cup at a time) until the dough pulls away from the bowl in one mass and does not stick to your fingers. Just be patiant.
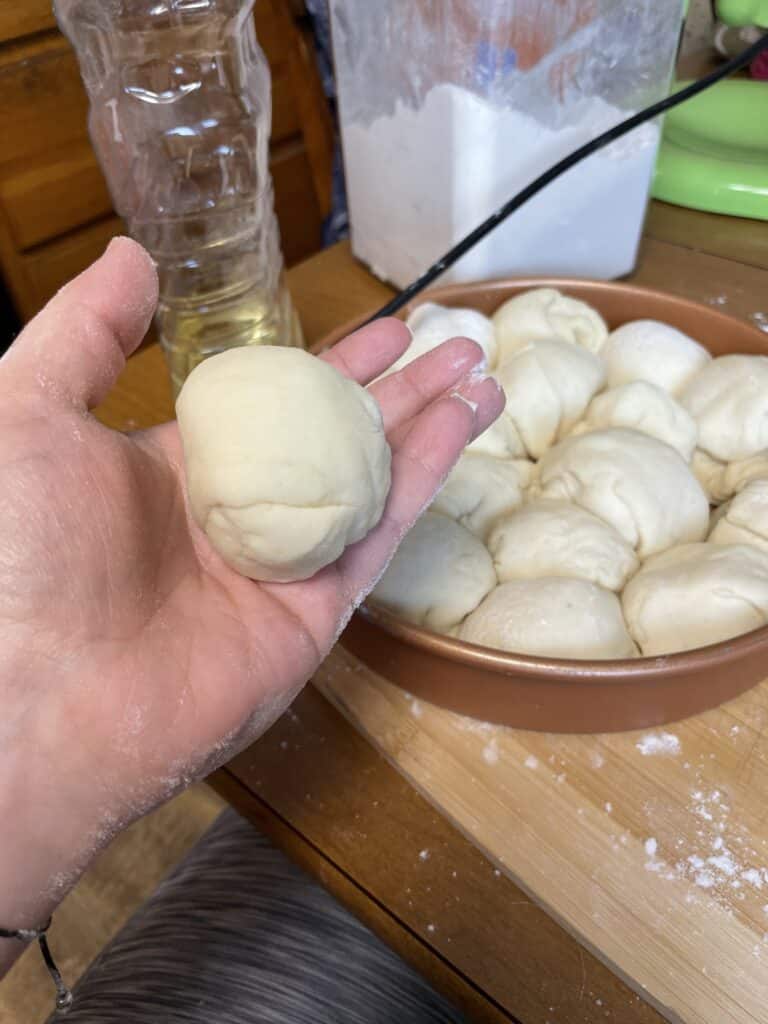
- Pinch the dough into a ball pinching the ends under.
- Place it back in the bowl and cover the bowl with a kitchen towl.
- Leave it to proof for 3 hours or until doubled in size in a dry and non drafty place.
- After proofed, punch down the dough and cut it into 16 equel pieces.
- Roll each of the portions into balls and place them into a lightly oiled baking dish.
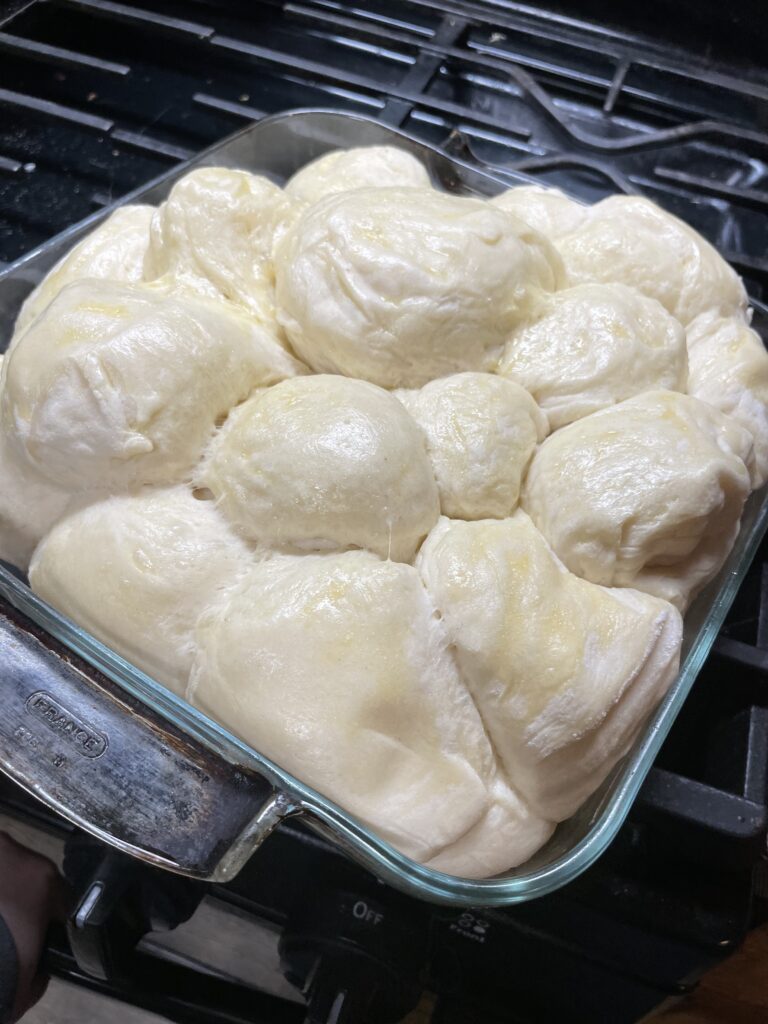
- Cover again and let it proof again for about 2 hours. Or until doubled in size.
- Brush the tops of the rolls with melted butter and bake at 350• for 45 minutes.
(Visited 90 times, 1 visits today)
This is such a great recipe! Easy and straightforward instructions. I will definitely try it! Thanks for sharing 🙂
Thank you! I try to keep it as straight forward as I can. Making bread can be so confusing. I often get frustrated with recipes.
I am gluten-free I wonder if it would work the same with maybe a 1 to 1 ratio gluten-free flour. I pinned it so I can try it. Thanks for the recipe!
I bet it would! I’m sorry, I have very little knowledge of gluten free baking but definitely let me know if that works.